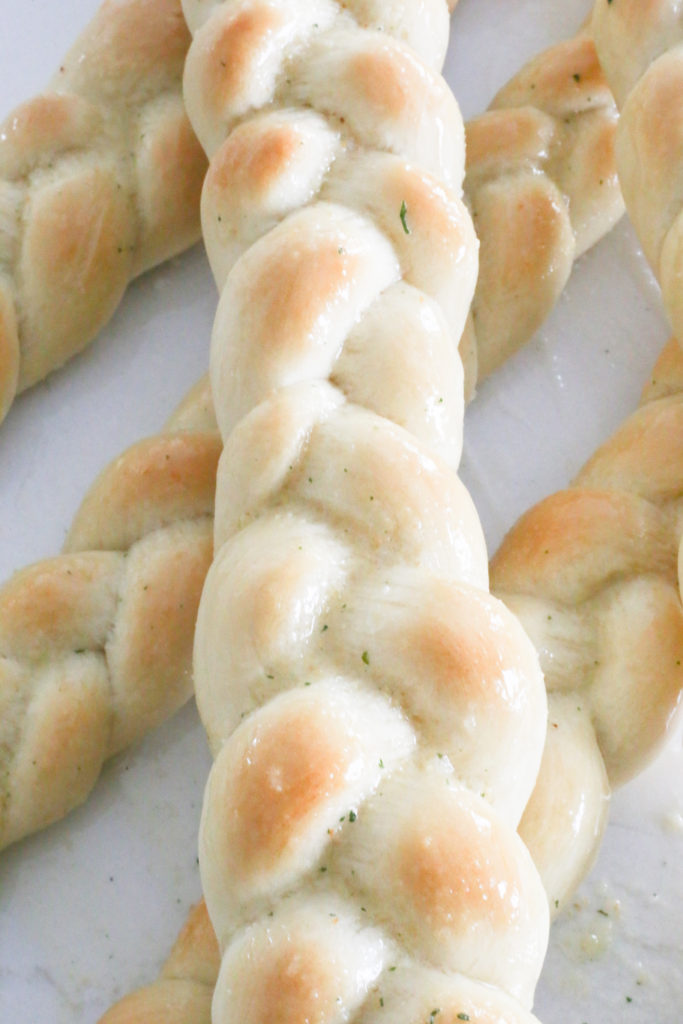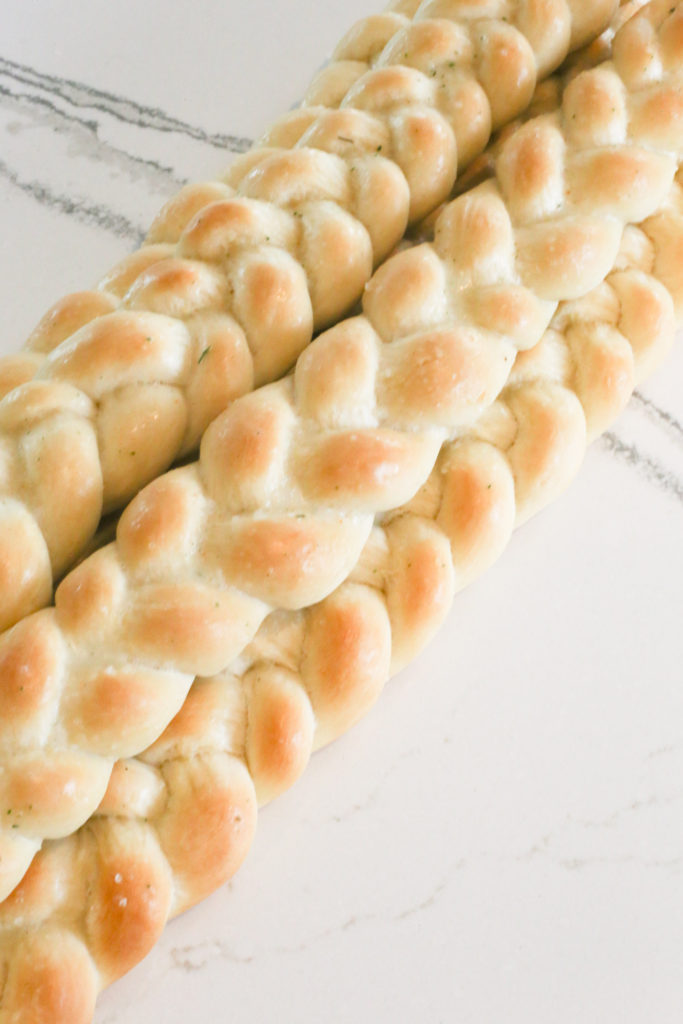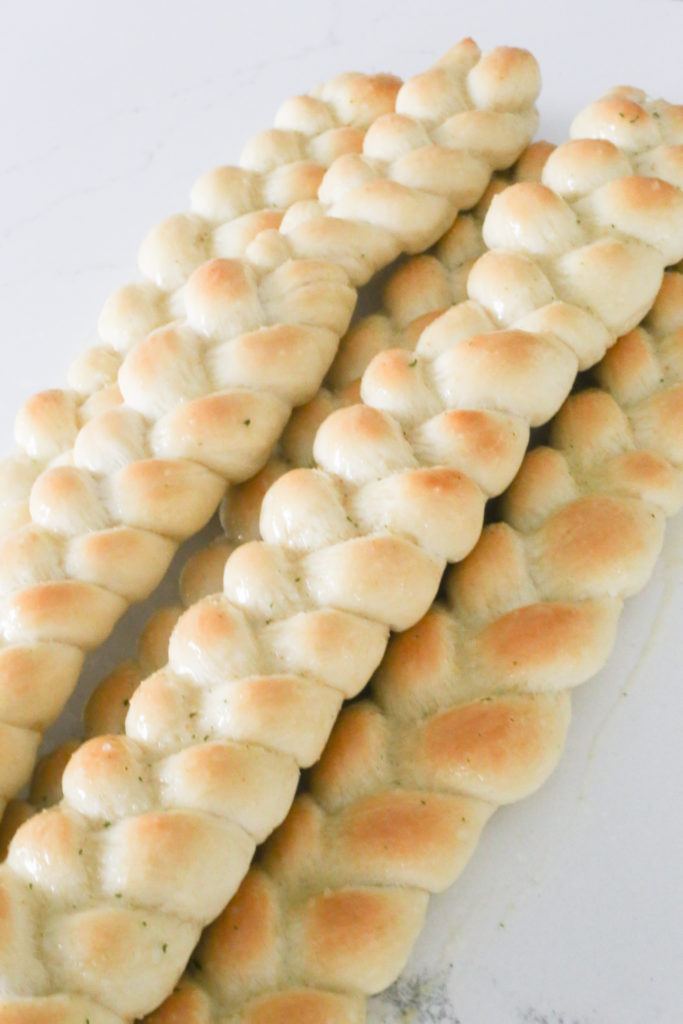
If you have garlic breadsticks on the brain, you are in the right spot!
These soft and flavorful freshly baked breadsticks are worth every ounce of effort they require.
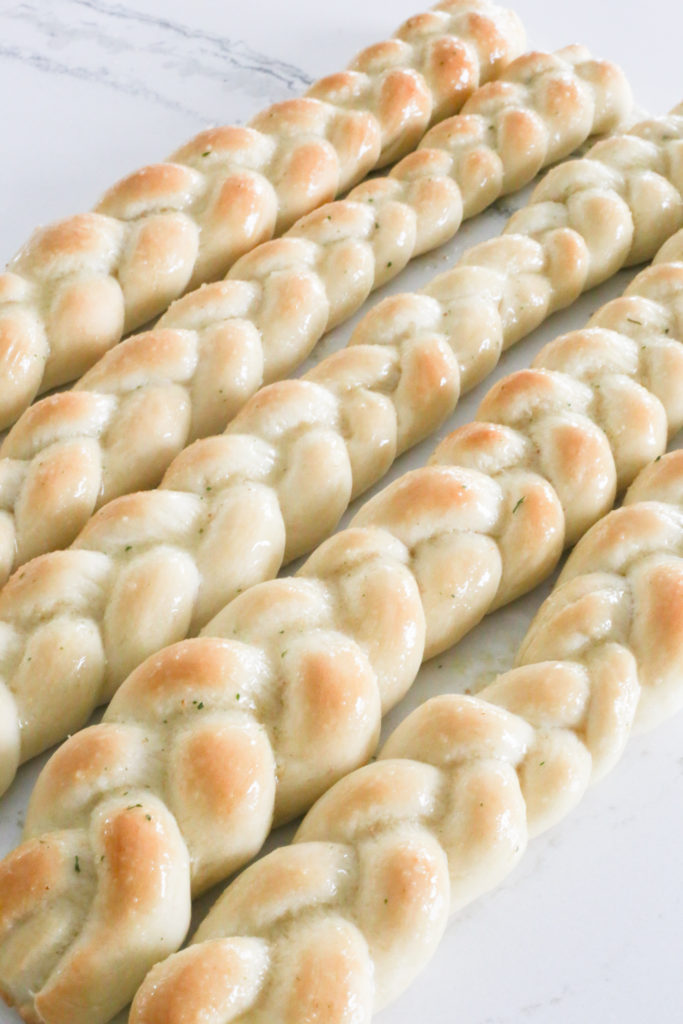
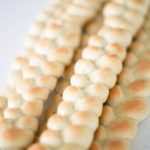
The braided rope design allows the garlic butter to seep into the cracks between the braids stands.
Need I say more?
haha I’ll hit you with the surprisingly easy recipe directly below.
But as always, to make sure yours turn out to perfection take a peek at the recipe run down below the card.
Let’s get to it!
This post may contain Amazon & Etsy Affiliate Links (Paid Links)
- 1 1/2 Tbs. Dry Active Yeast
- 2 1/2 Cups Lukewarm Water
- 2 tsp salt
- 1/4 Cup Sugar
- 1/3 Cup Light Olive Oil
- 2 large eggs
- 7 cups flour (can mix white and whole wheat)
- 4 Tbs Salted Butter
- 2 tsp Garlic Salt
-
In a large mixing bowl, add water, yeast, and sugar. Let sit for 10-15 minutes to activate yeast.
-
Mix in oil, eggs, and salt
-
Mix in flour 1 cup at a time, mixing well after each addition. As dough begins to thicken and form into a ball, knead until it becomes softened and malleable. This can be done by hand, or with a dough hook on a stand mixer.
-
Return the dough ball to a lightly greased mixing bowl and cover. Place in a warm place to rise. Bread dough will double in size, usually 45 minutes/1hr.
-
Preheat oven to 375 degrees.
-
When dough has doubled in size, punch down and form into tennis sized balls.
-
Further divide each tennis sized dough ball into three smaller balls. Begin rolling each ball into a thin rope strand. Remember they will swell as they bake so aim for thin and long pencil sized dough ropes.
-
Lying flat on the counter or work space, attach the three dough strands at the top by pressing firmly together. Begin folding a braid design down the three strands of dough rope. Work until you are at the bottom and press/fold under the ends.
-
Transfer to a lightly greased baking sheet, and bake for 18-20 minutes until lightly golden brown.
-
Promptly remove from oven and brush with melted butter seasoned with garlic salt. Serve warm.
Braided Garlic Breadstick Recipe Rundown
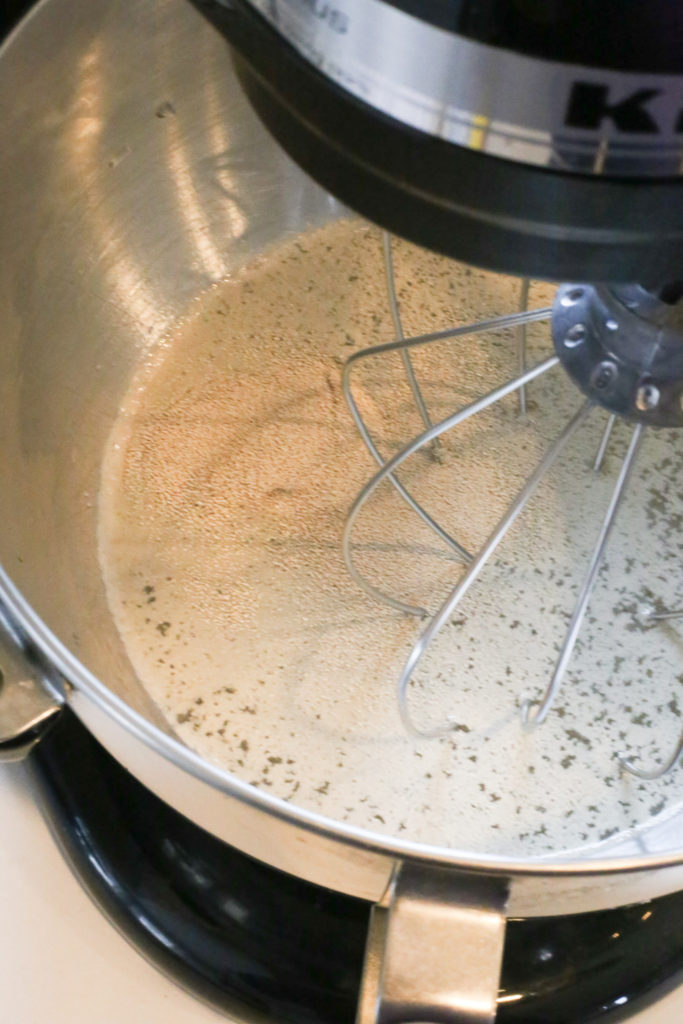
This garlic breadstick recipe begins with my go-to homemade bread recipe.
I use this same dough for the best ever cinnamon rolls, pizza crusts, sausage calzones, and more!
It always begins by combining the dry yeast, sugar, and lukewarm water.
Be careful that your water is not too hot, it can kill the active yeast cultures that cause the bread to rise!
Let this mixture sit for 10-15 minutes.
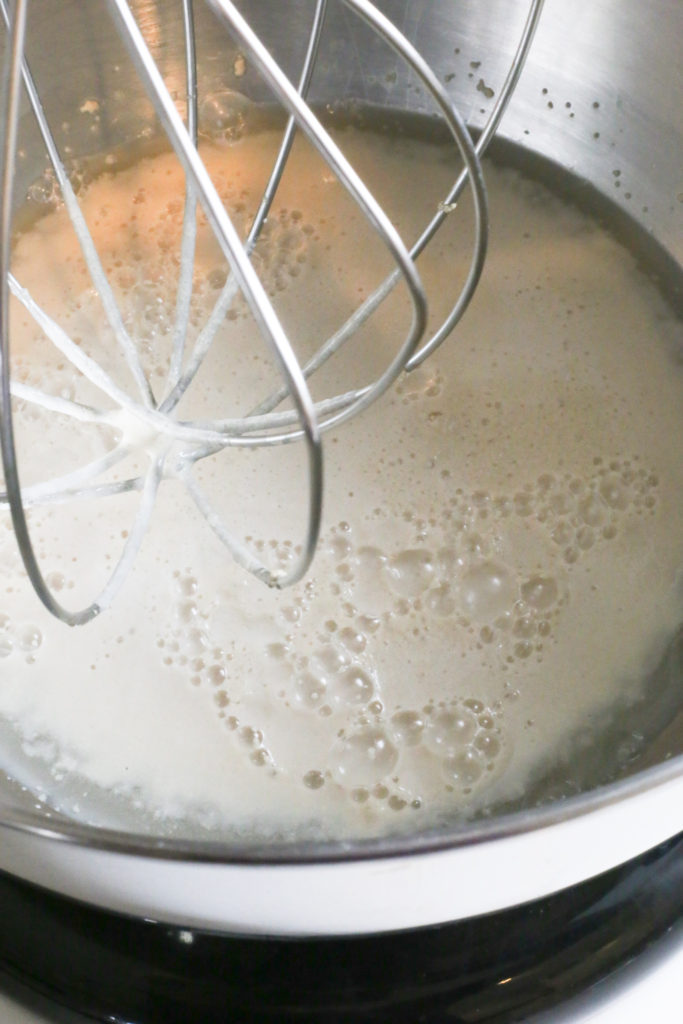
You’ll know that your yeast is activated when it has have formed a frothy foam on the top of the liquid.
If there are no bubbles or froth, it means your yeast is not active and you’ll need to try again! 😛
A little tip to extend the storage life of your yeast – keep it in the freezer.
To the activated yeast water, you’ll mix in the salt, oil, and eggs.
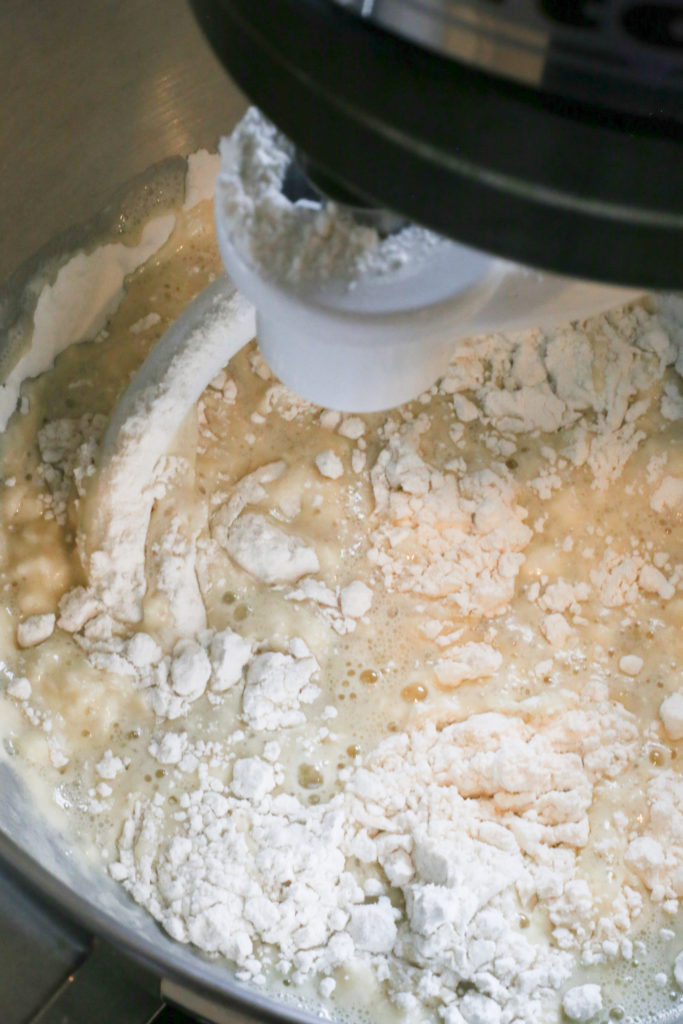
Follow by adding the flour one cup at a time.
Depending on what I’m making, I like to alternate whole wheat and white flours.
Four cups white flour to three cups whole wheat has a really yummy texture and flavor.
You can experiment with whatever you prefer! And yes, all white flour is completely fine.
It is lighter than whole wheat so typically white flour doughs will rise easier and more quickly and also requer less kneading.
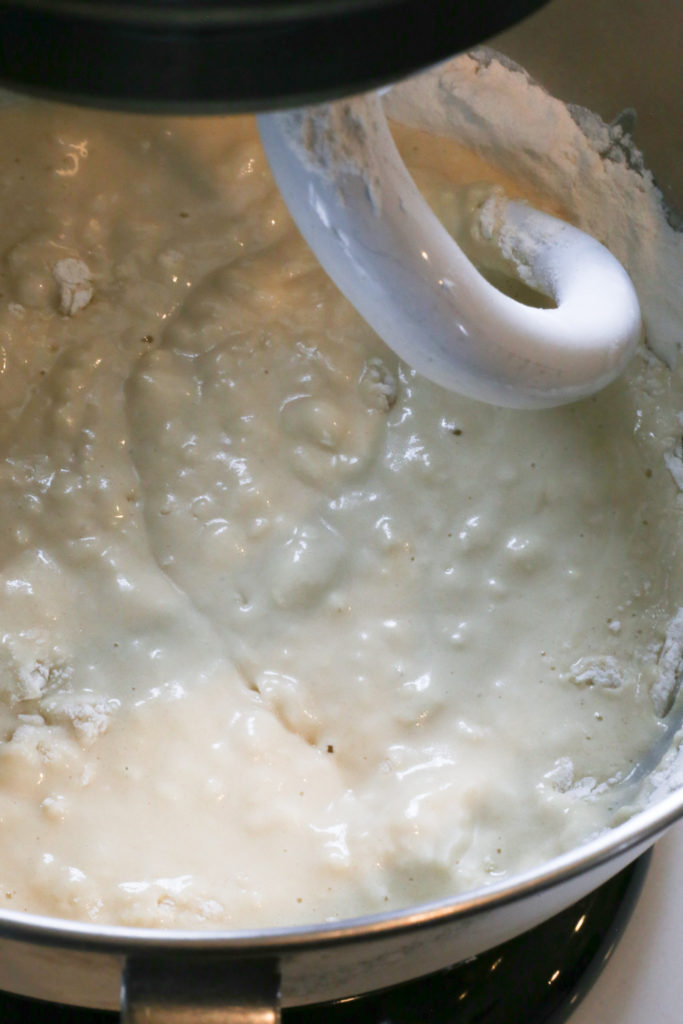
My KitchenAid stand mixer makes this bread dough recipe a breeze!
I start with the whisk attachment, and simply change out to the dough hook as I start adding flour.
This hook will both mix and knead the dough together as it forms into a ball.
I also love that I can walk away for a couple of minutes while it is mixing and kneading away.
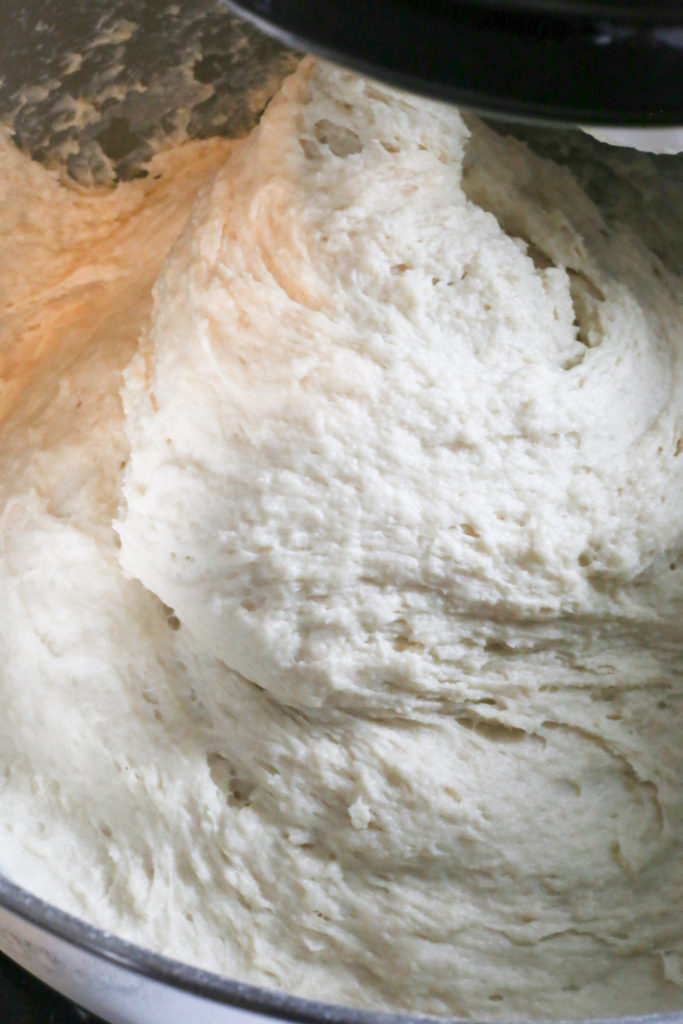
As the dough begins to thicken, it will form into a ball.
You’ll want to let the dough hook take care of a lot of the work for you!
When my flour has all been added, I let the dough hook knead the dough for 4-5 minutes.
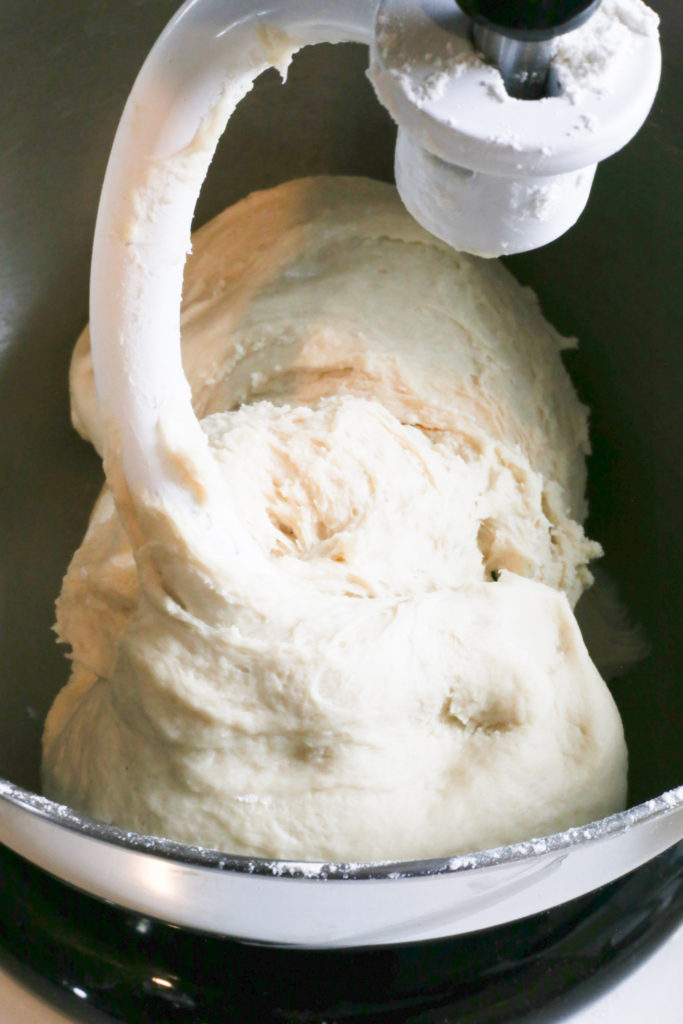
You can also do this by hand by kneading the dough ball on a flat work surface.
You’ll know the dough is ready when it is has a slight elasticity and is soft and malleable.
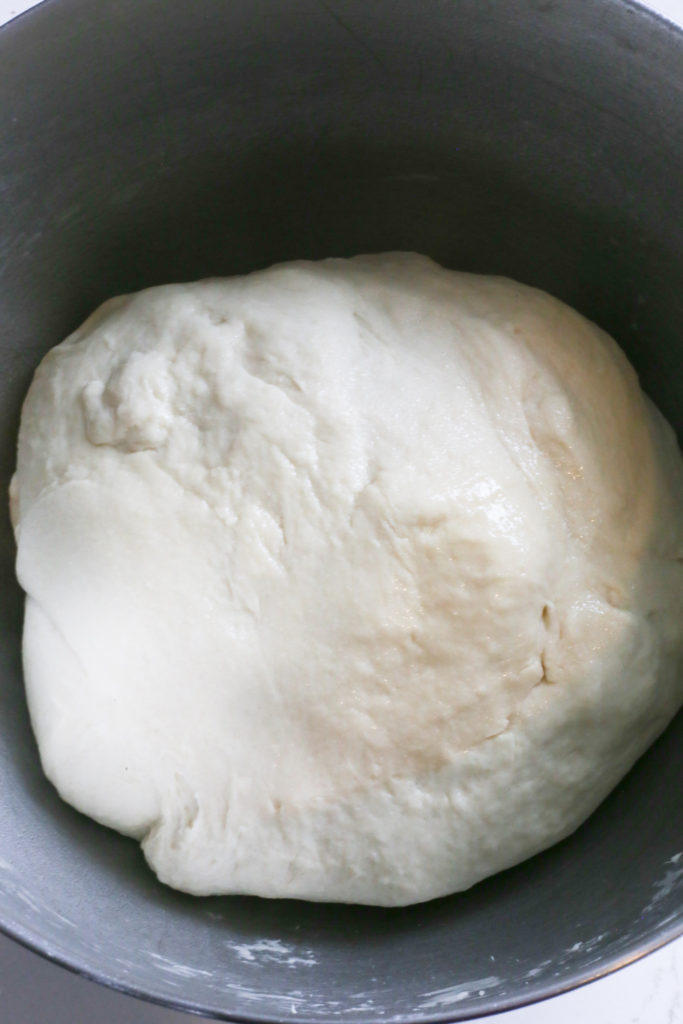
Another tip… I usually preheat my oven for a couple quick minutes while I’m finishing the kneading process.
Having a slightly warm (but not hot) place for the dough to rise will help speed up this process.
You’ll want to return the dough ball to a lightly greased mixing bowl, as well as grease the top of the dough ball.
Cover with a kitchen towel and place in a warm place to rise.
A sunny windowsill or slightly warm oven works perfectly!
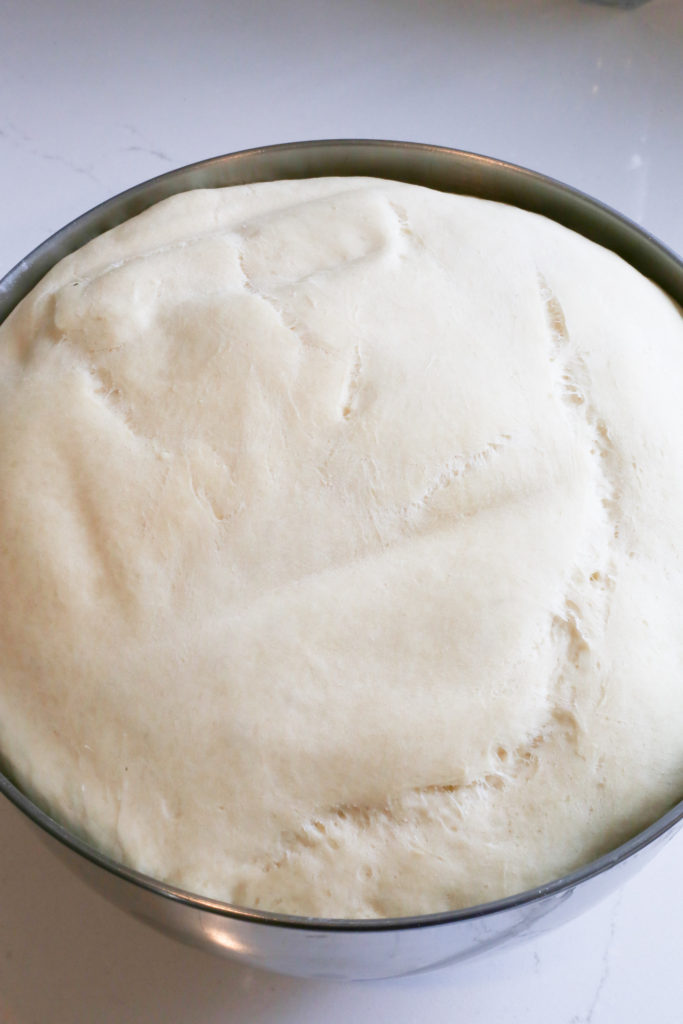
When the dough has doubled in size, you will want to punch and press the air out of the dough.
At this point you could use the dough for a million different recipes.
But for these melt in your mouth garlic breadsticks you’ll want to start making dough ropes!
Oh, and now is a good time to preheat your oven to 375 degrees.
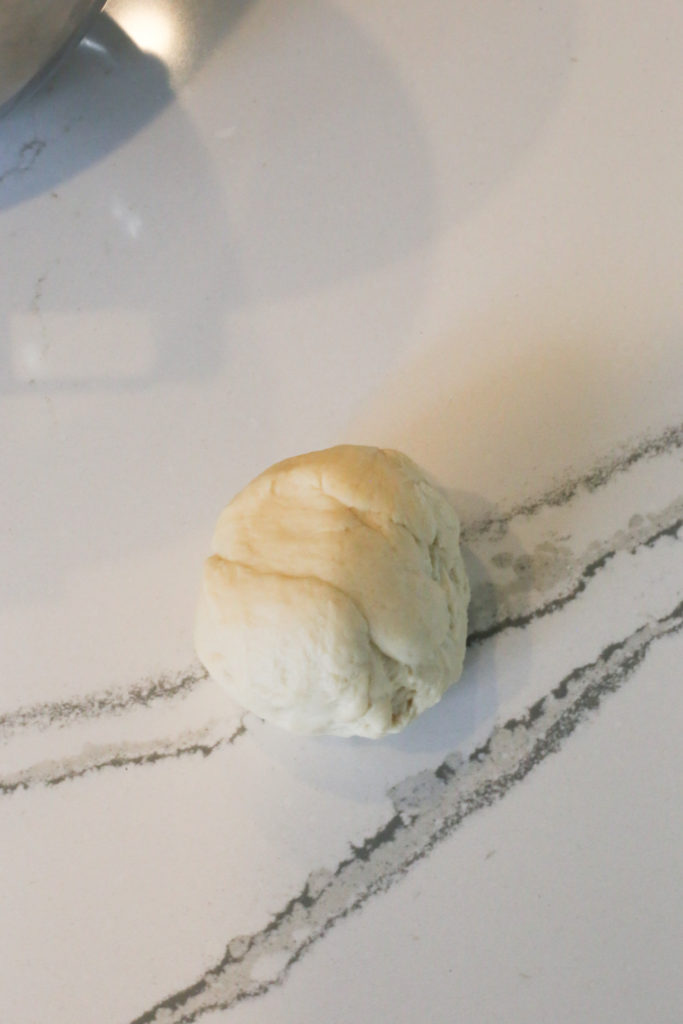
Begin with a tennis ball sized ball of dough.
Then, divide that ball in three roughly equal smaller balls of dough.
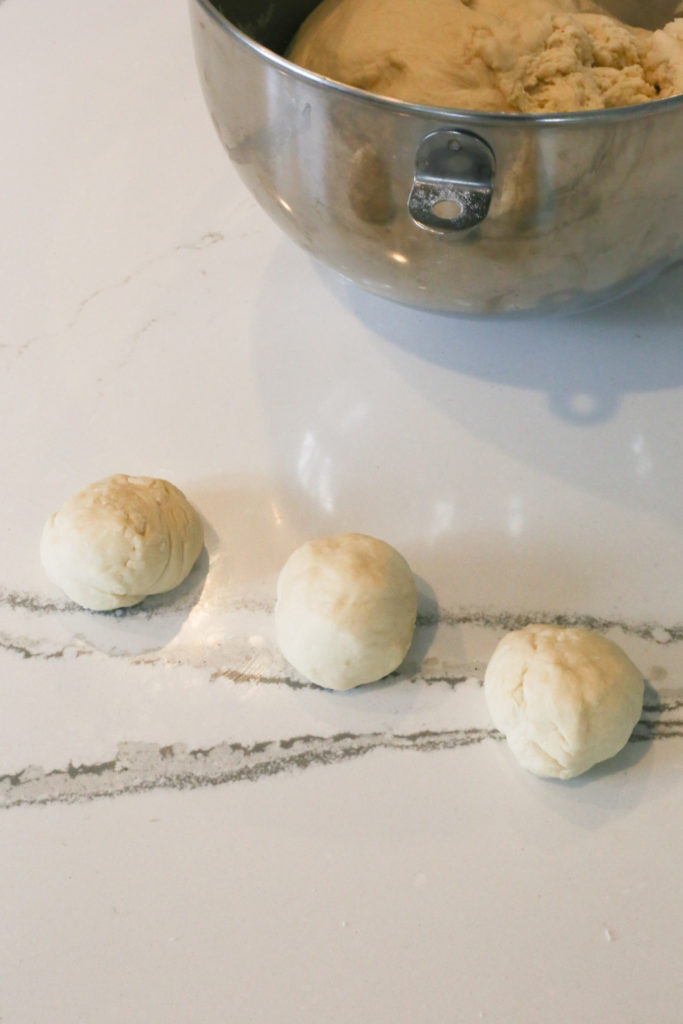
You will begin rolling these dough balls into snakes (as my four year would say).
Roll them into long thin dough ropes, remembering they will swell some during baking.
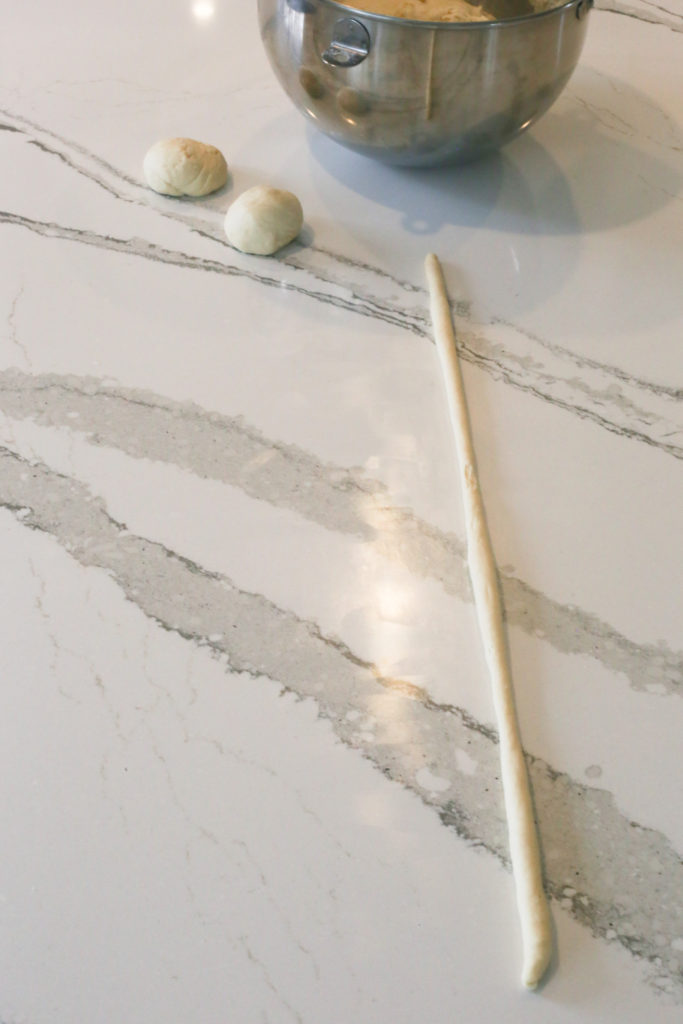
When your dough rope snakes are roughly the same size and length, you will begin assembling your braids.
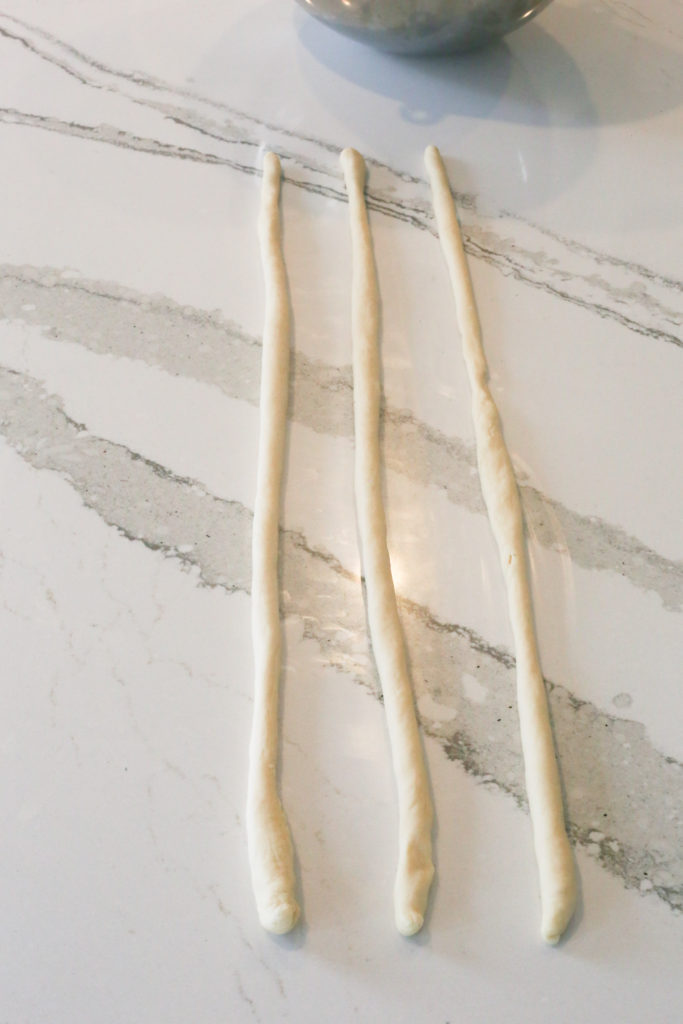
Secure the top of the braid by pressing the three ends together.
Leave plenty of space between the ropes to make for easy folding and braiding the somewhat tacky dough.
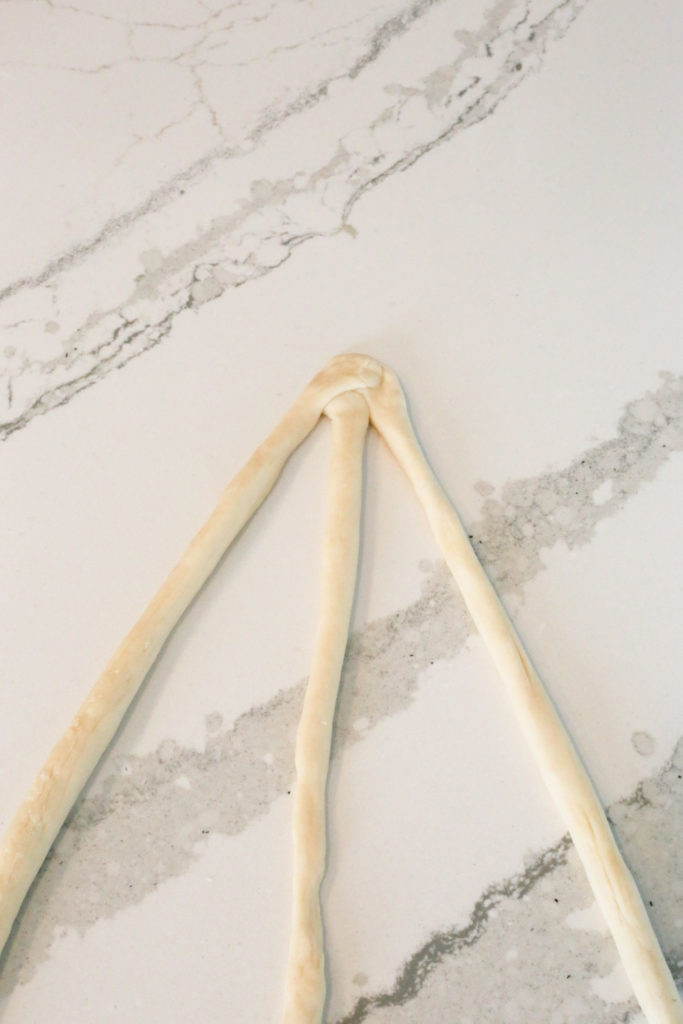
You’ll simply braid your way down the length of the dough.
This process goes fairly quickly!
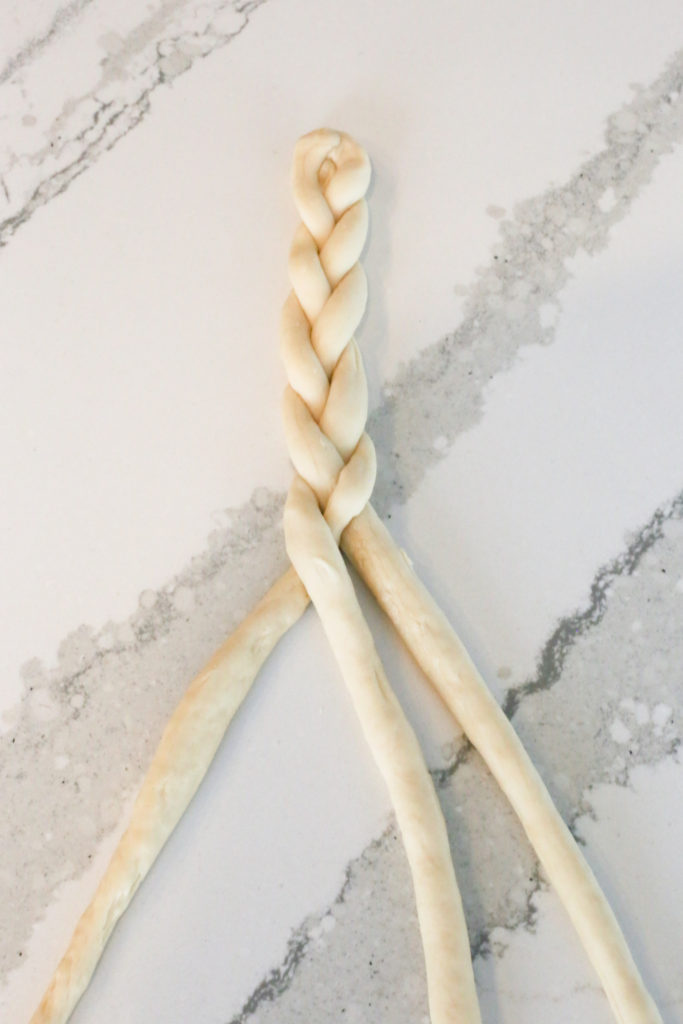
Secure the bottom of the dough in the same way you did the top of the braid.
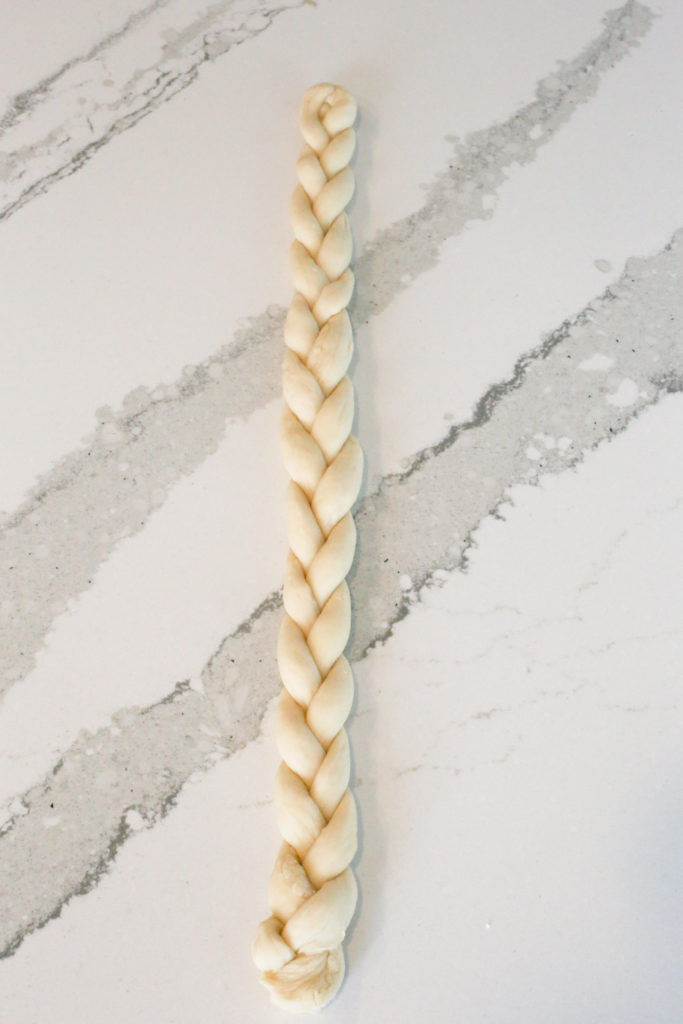
You’ll then transfer these little beauties onto a lightly greased baking sheet.
I like to let them rest (and slightly rise again) before baking.
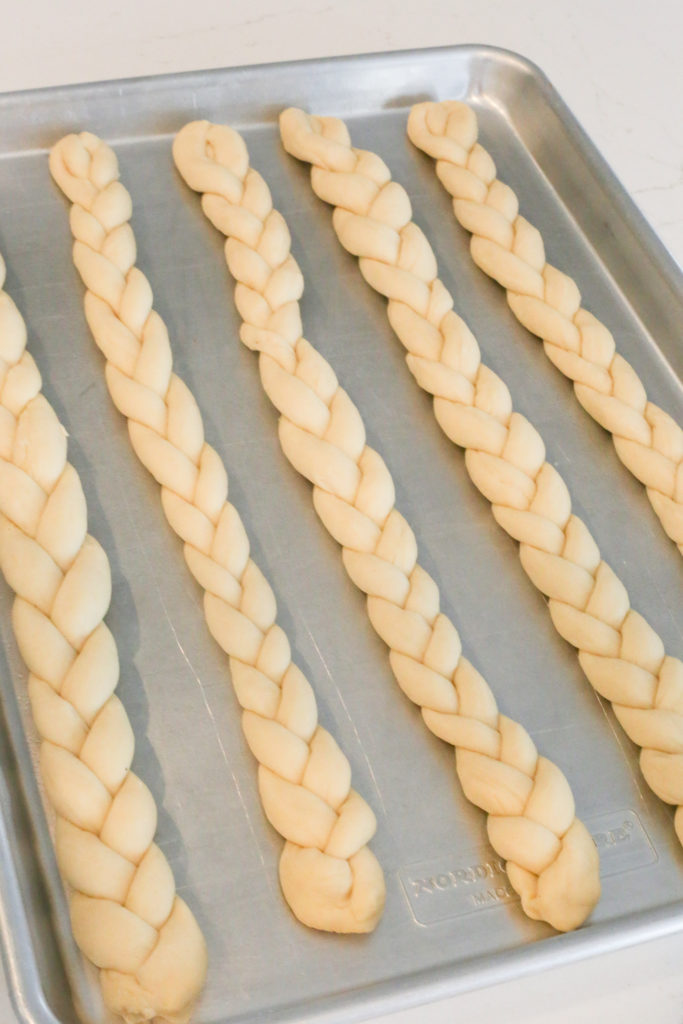
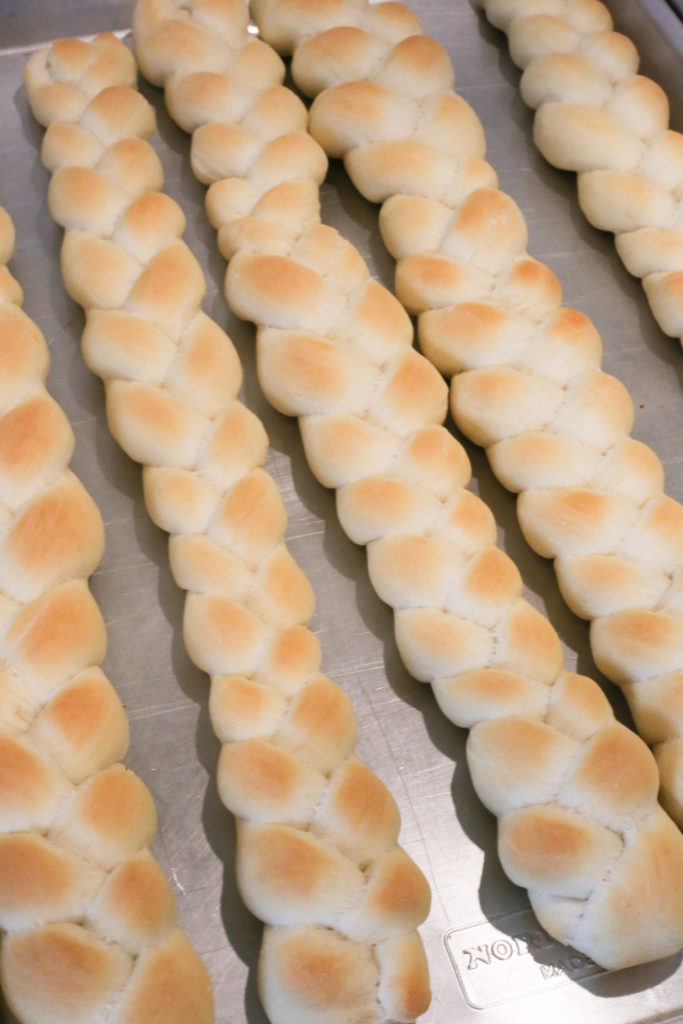
Bake these breadsticks at 375 degrees for 18-22 minutes.
You’ll want to take these out of the oven when they have just lightly browned on top.
This garlic breadstick recipe makes dozens of breadsticks.
So, I usually slightly undercook about half of the batch (15 minutes) and pop them into the freezer after they’ve cooled.
They reheat like a dream, especially with a generous slather of garlic butter!
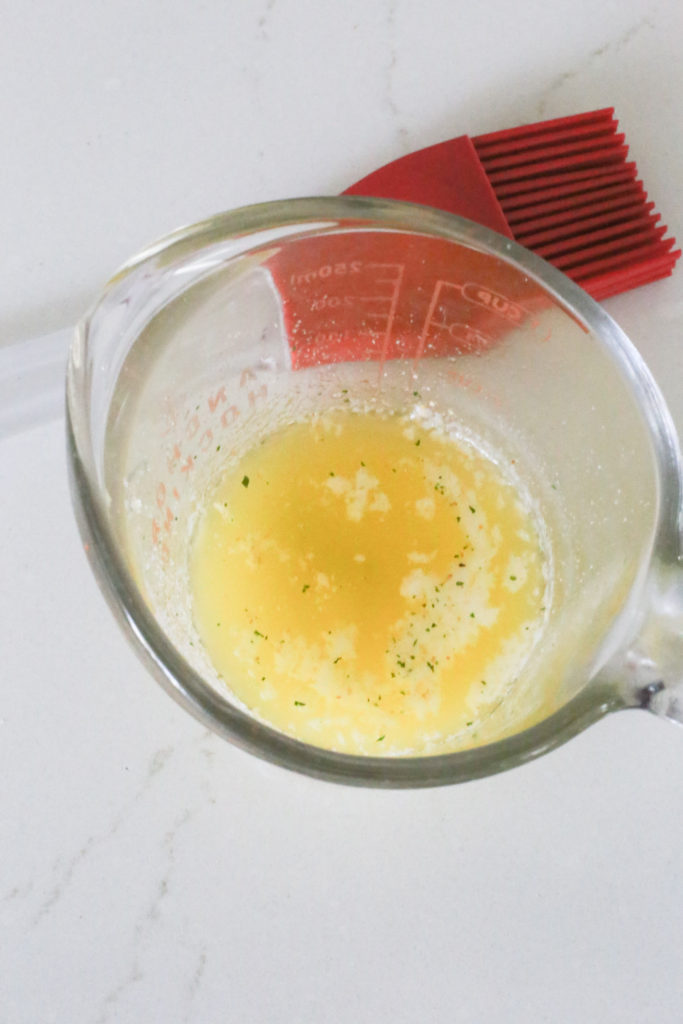
You could probably get a lot more creative here with butter seasonings here.
But I just simply melt a few tablespoons of butter and generously season it with garlic salt.
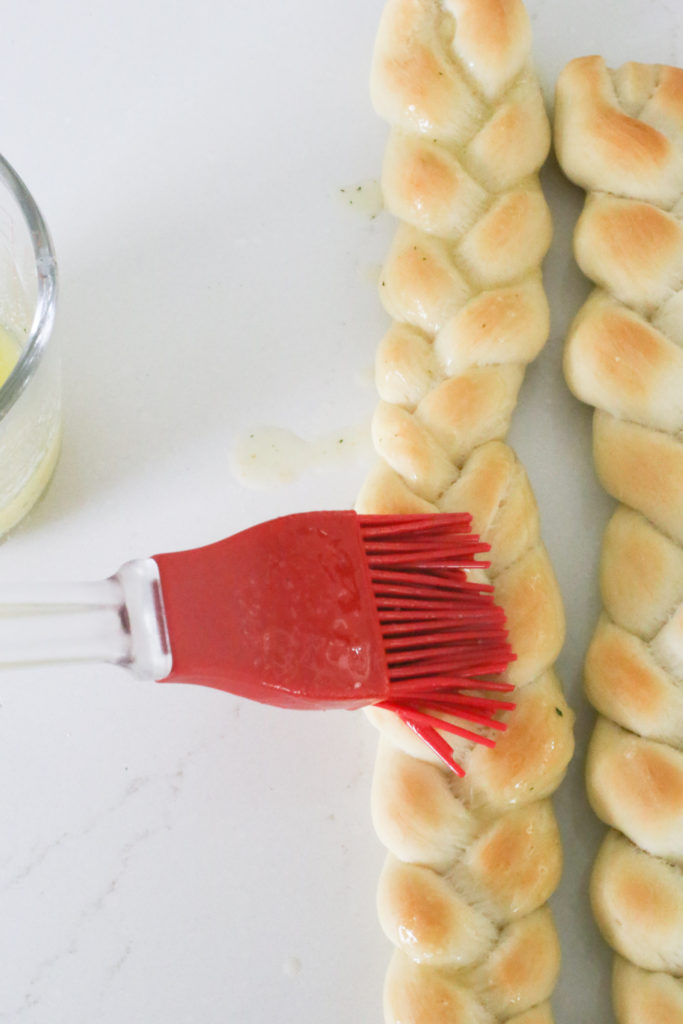
You’ll want to brush the melted butter on the breadstick breads shortly after you remove them from the oven.
This helps the butter seep into all those beautiful nooks and crannies.
These breadsticks pair perfectly with almost any weeknight dinner!
Pair them with salads, soups, stews, chili and the list goes on.

I hope you love this garlic breadstick recipe!
Happy baking my friends.
For more ideas from my kitchen and home head here.
<3 Ang
