Are you looking for an awesome Charcuterie board idea for an upcoming party or gathering?
Great, you’re in the right spot.
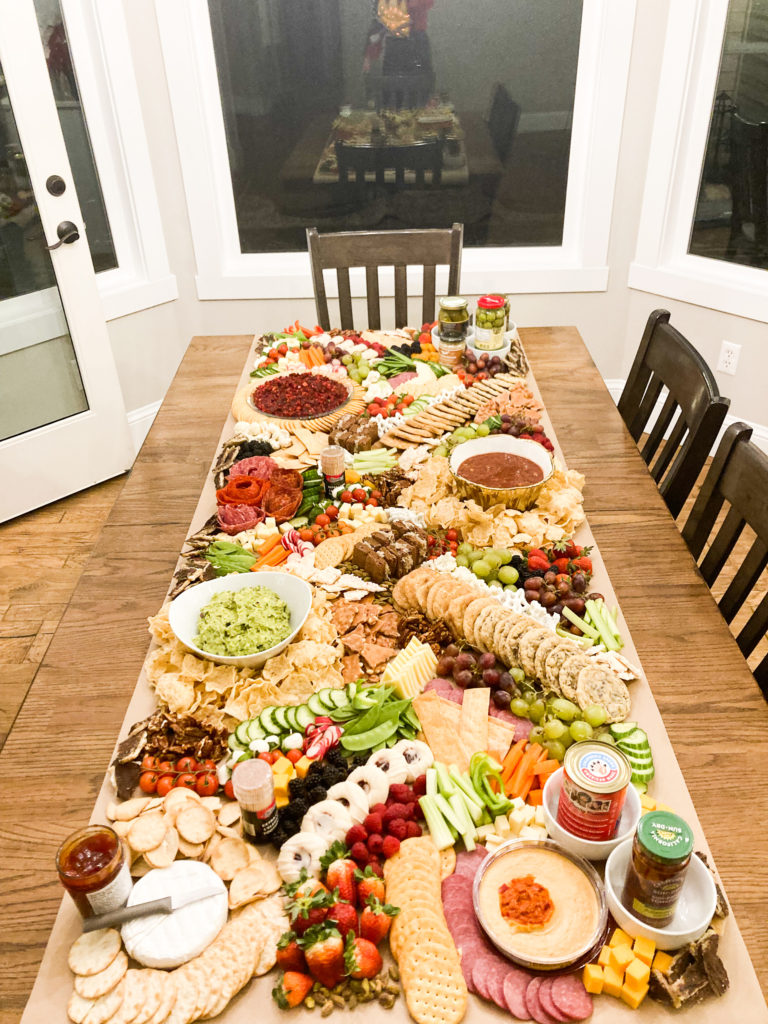
I have all the details on a larger than life grazing table I arranged at our last Christmas party.
And I also included the best simple Christmas party charcuterie board ideas to fit any size of gathering.
Regardless of your holiday gathering, these ideas are sure to inspire your next event!
For more information about a particular charcuterie board or grazing table that you love, follow the source link below the image.
And don’t forget to use the image hover ‘Pin It’ button to put a pin in your favorites for later.
Enough chit chat, let’s get to it!
This Post May Contain Amazon Affiliate Links (Paid Links)
#1) Ornament Inspired Christmas Party Charcuterie Board
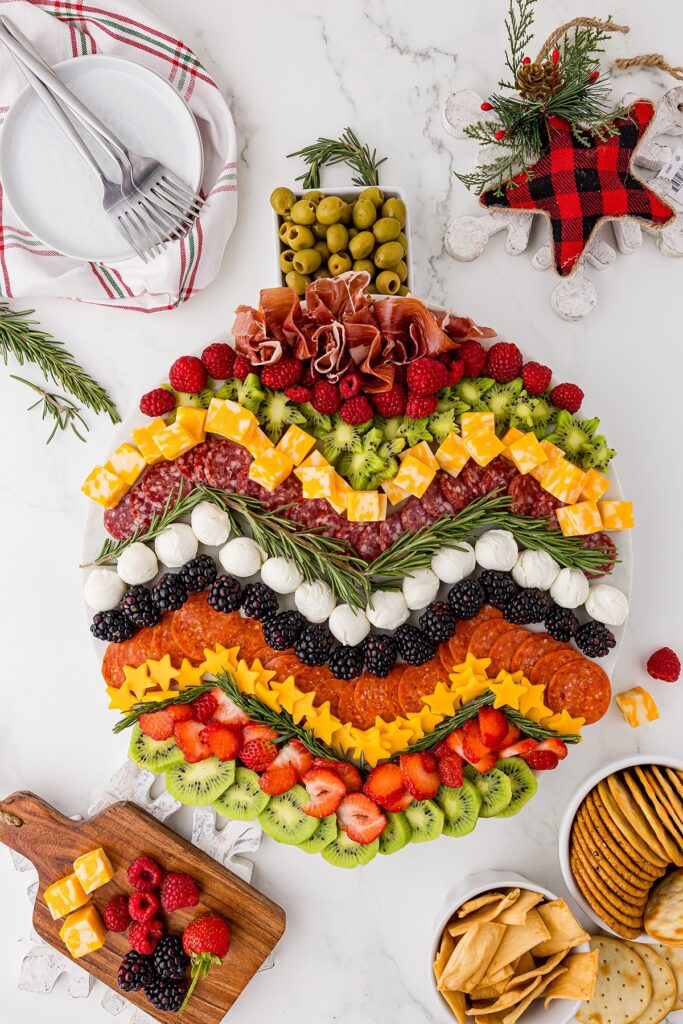
Source: She Shared
What a brilliant arrangement idea for a Christmas party charcuterie board!
Zig zag lines and layers create beautiful movement in a festive design with tons of variety.
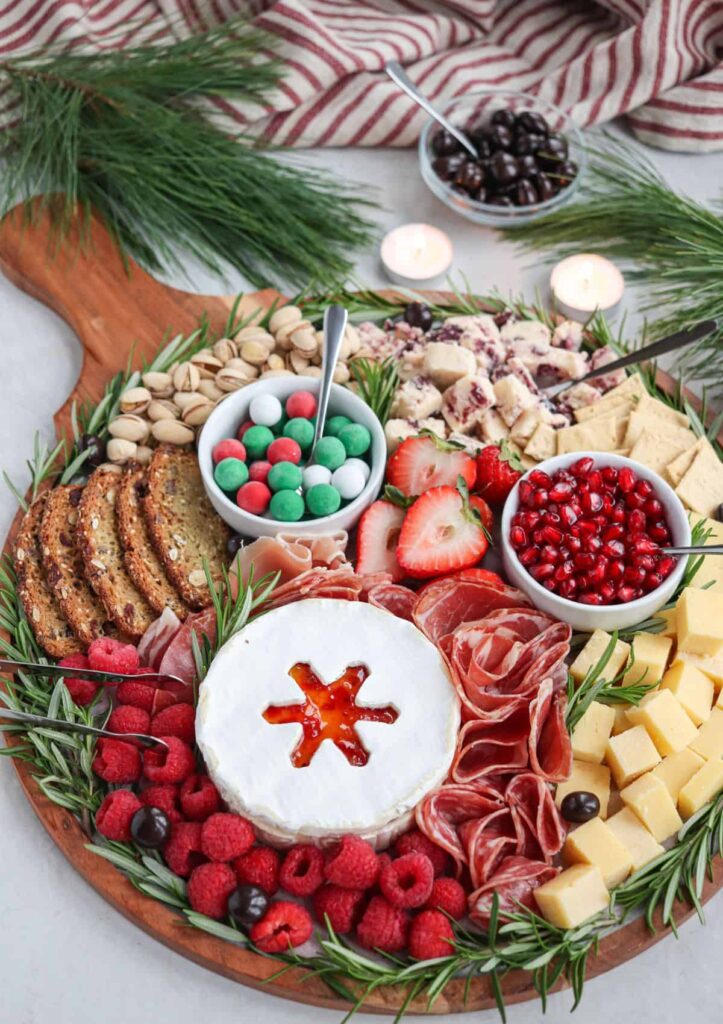
#2) Smaller Christmas Party Charcuterie Board Idea
Source: Wholly Tasetful
If you’re hosting a smaller event, and don’t want to assemble an entire grazing table consider this circular charcuterie board.
Filled with simple ingredients in a pretty circular pattern it has all the variety guests will enjoy.
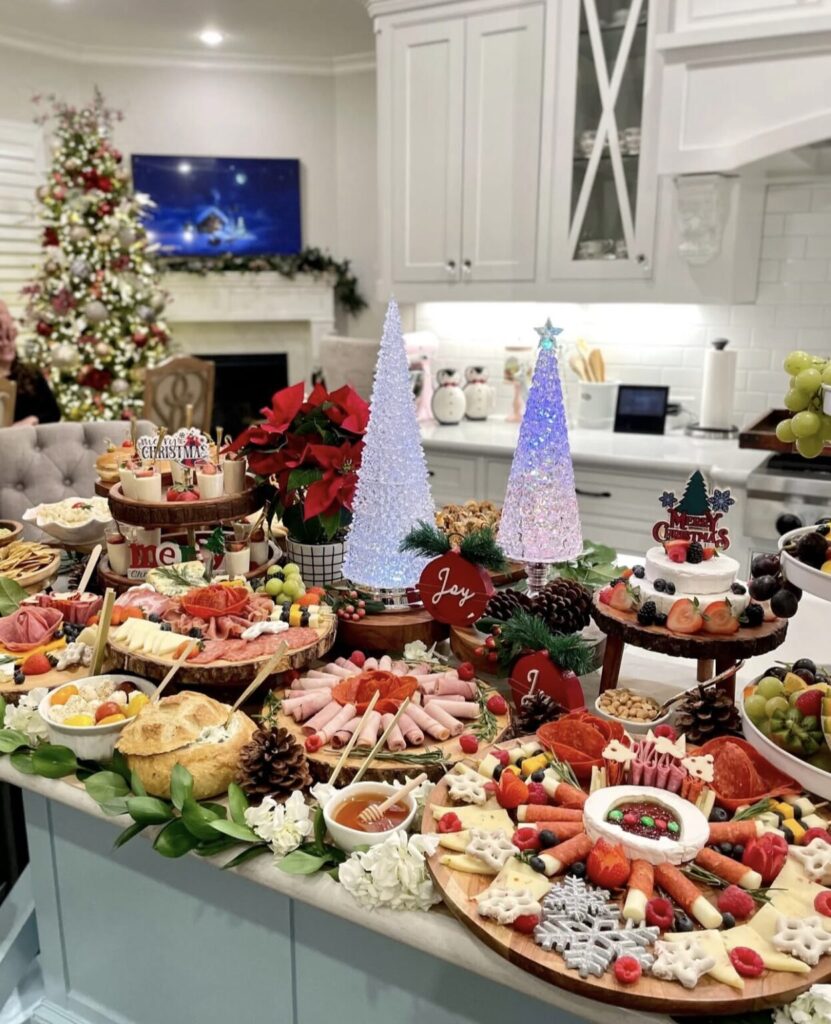
#3) Kitchen Island Christmas Party Charcuterie Grazing Table
Source: @milanosbyodi
This stunning Christmas party charcuterie display is full of variety and flavors.
Circular trays are layered with savory nibbles, while elevated stands and decor add height to the back.
Don’t forget pinecones, fresh flowers, and greenery to dress up the display.
#4) Christmas Tree Shaped Charcuterie Board Idea
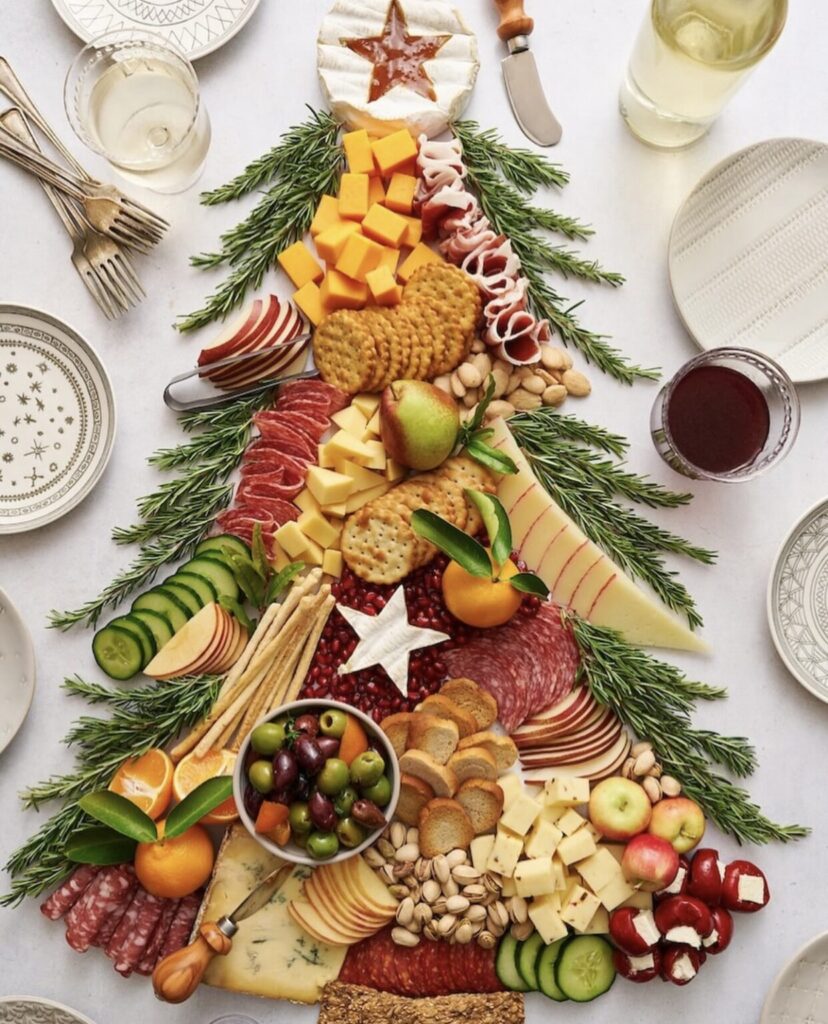
Source: @bakerbynature
This adorable Christmas tree shaped charcuterie board is arranged right on the table!
Beautiful rosemary sprig agents and fresh and savory fillers round out the center of the tree, with a brie star on top.
#5) Gorgeous Christmas Party Grazing Table
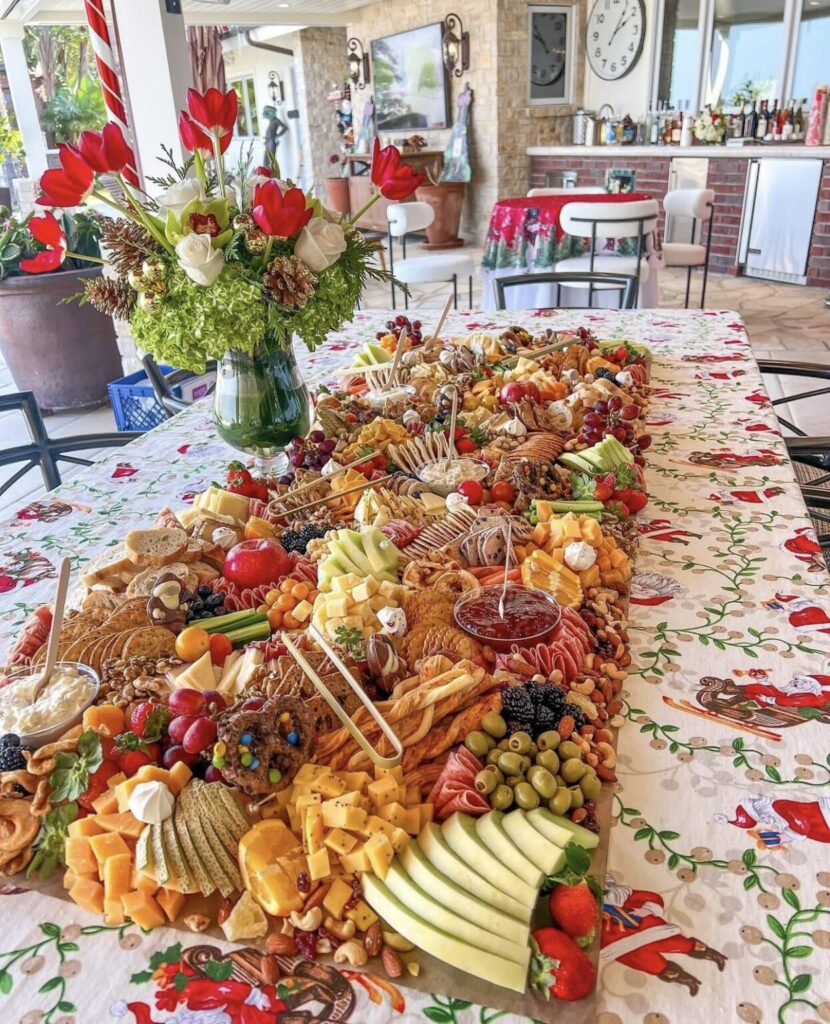
Source: @bon_appecheese
This tremendous display has nibbles of every variety, in a gorgeous arrangement.
Notice the fanned fruits, dippings sauces, fresh accents and linear cookie stacks ~ YUM!
#6) Candy Cane Caprese Board Christmas Party Charcuterie Idea
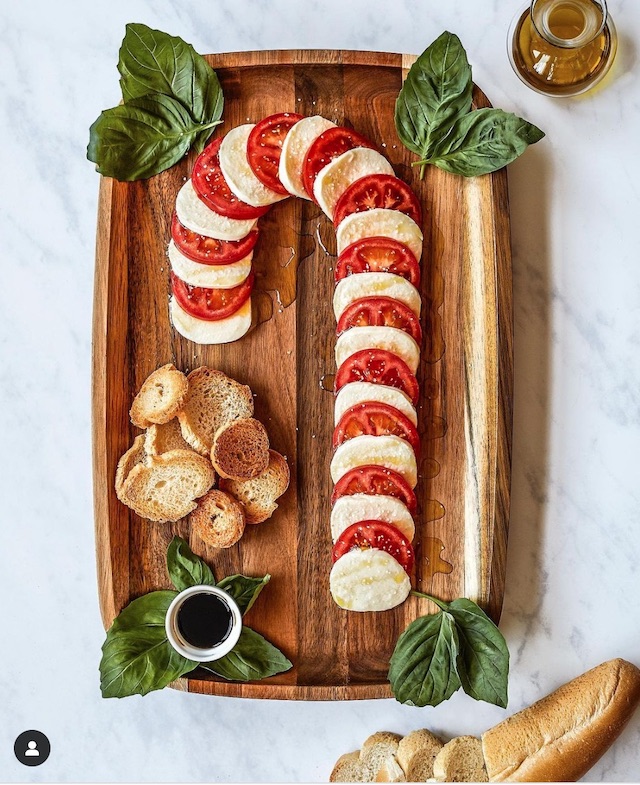
Source: The Baker Mama
This simple charcuterie inspired Christmas party appetizer perfect for the holidays.
Easy to make, and SO delicious serve this simple tomato and mozzarella candy cane with crunchy bread and balsamic reduction ~ yum!
#7) Color Grouped Christmas Party Charcuterie Board
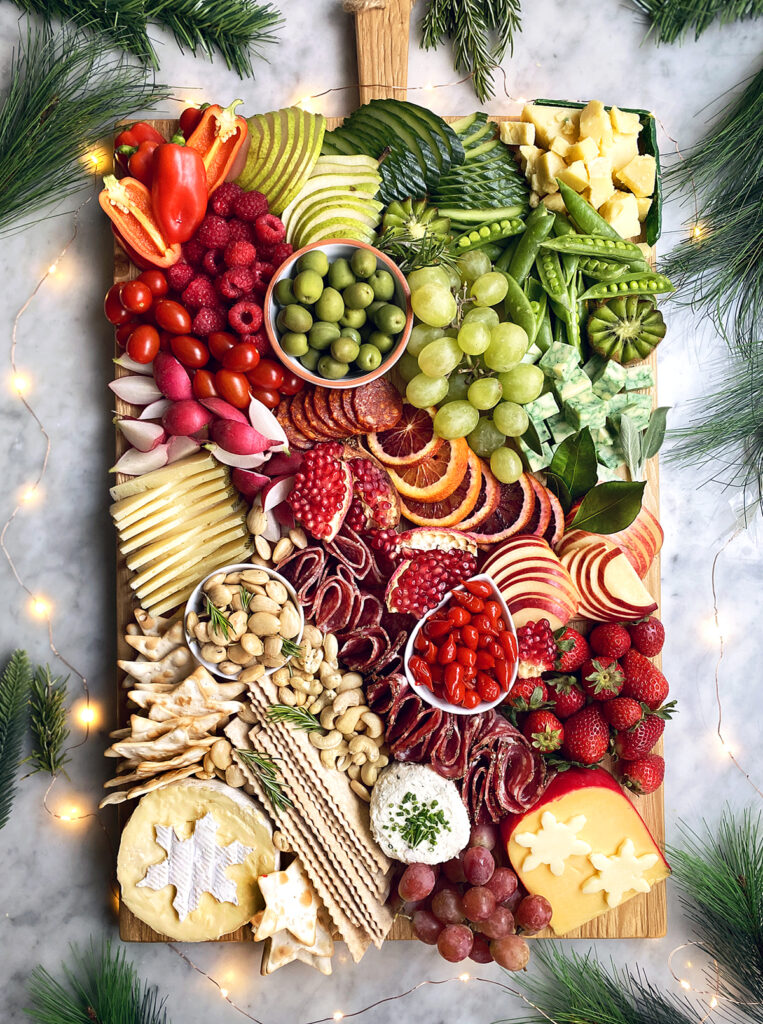
Source: The Delicious Life
This beautiful Christmas party Charcuterie board is pretty enough to act as a table centerpiece.
Notice how ingredients are arranged by color, with gorgeous red, white, and green layers throughout.
#8) Red & Green Christmas Party Charcuterie Board
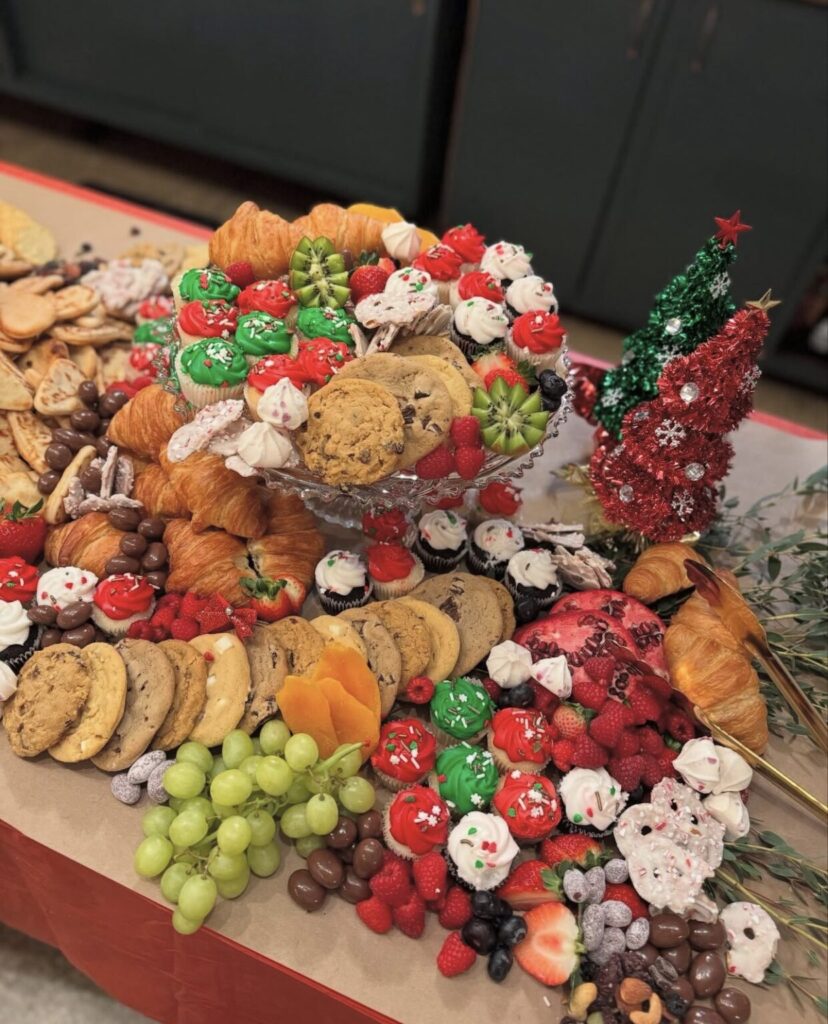
Source: @grazebyliza
This beautiful Christmas party charcuterie board is filled with festive Christmas colors.
With some smart help from the store, cookies, cupcakes, candies, and fresh accents are piled and filled to perfection.
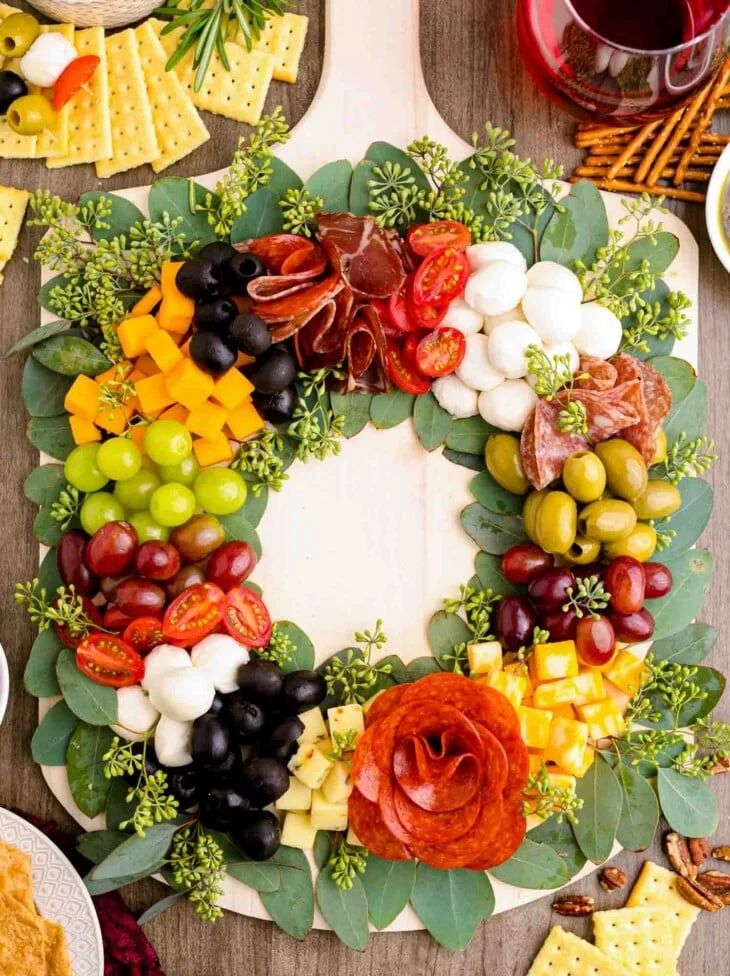
#9) Christmas Wreath Charcuterie Board Party Food Idea
Source: Little Sunny Kitchen
What a gorgeous arrangement idea that is perfect for a Christmas party.
Eucalyptus leaves are layered down below while fresh ingredients, meats and cheeses make up the circular center.
#10) Cute Christmas Tree Charcuterie Board Idea
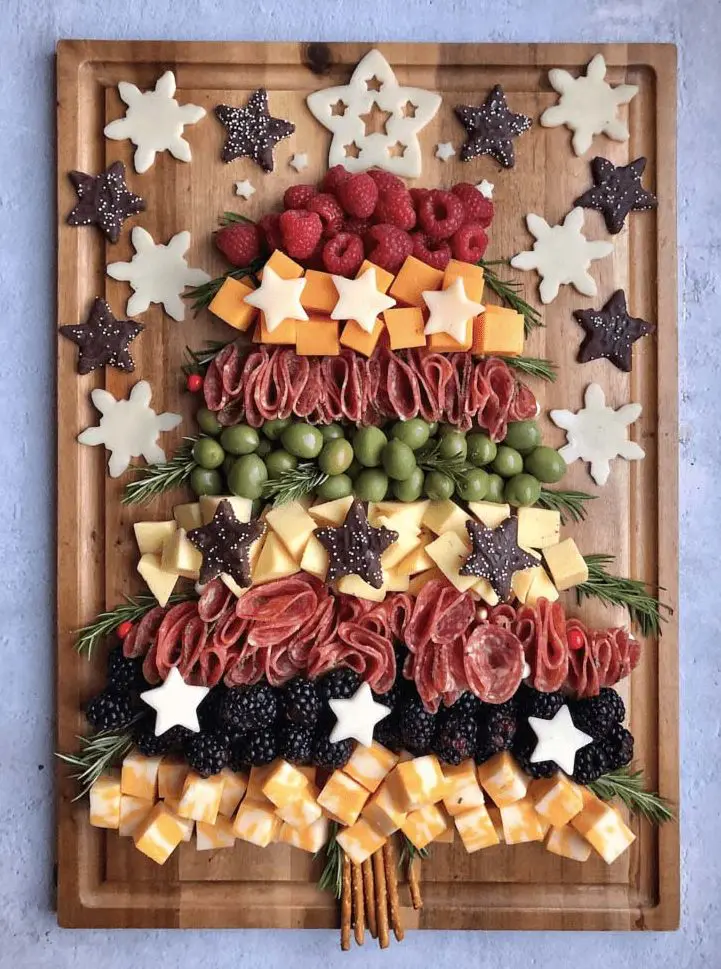
Source: Ain’t Too Proud To Meg
How cute is this Christmas tree charcuterie board? Or should I say Charcuter-Tree!
Neatly assembled layers with pretty edible ornaments add color and variety to this festive Christmas charcuterie board.

Planning Your Christmas Party Charcuterie Board or Grazing Table
Hands down, one of my favorite parts of a ‘charcuterie board’ is that you can include absolutely anything and everything you want.
Don’t stress over what to include.
Simply pick your favorite things and go from there!
I had planned to include the traditional charcuterie ingredients:
- Assorted Meats (pepperoni, salami, prosciutto, etc.)
- Assorted Cheeses
- Pickled items (pickles peppers, sun dried tomatoes, olives
- Starch (crackers, baguettes, pretzels, wafers, etc)
- Fresh fruits & Vegetables
- Jams & Spreads
But because this was a Christmas inspired charcuterie board, I wanted to add some holiday touches.
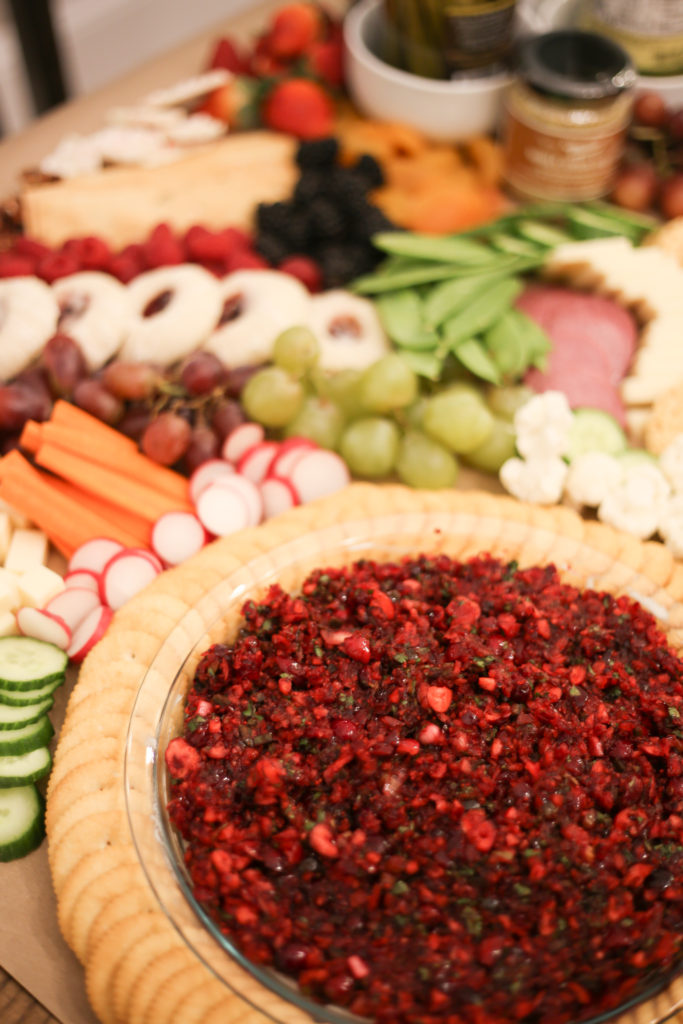
I decided to include my favorite Christmas cookies, my favorite jalapeno cranberry dip, and peanut brittle/toffees/nuts.
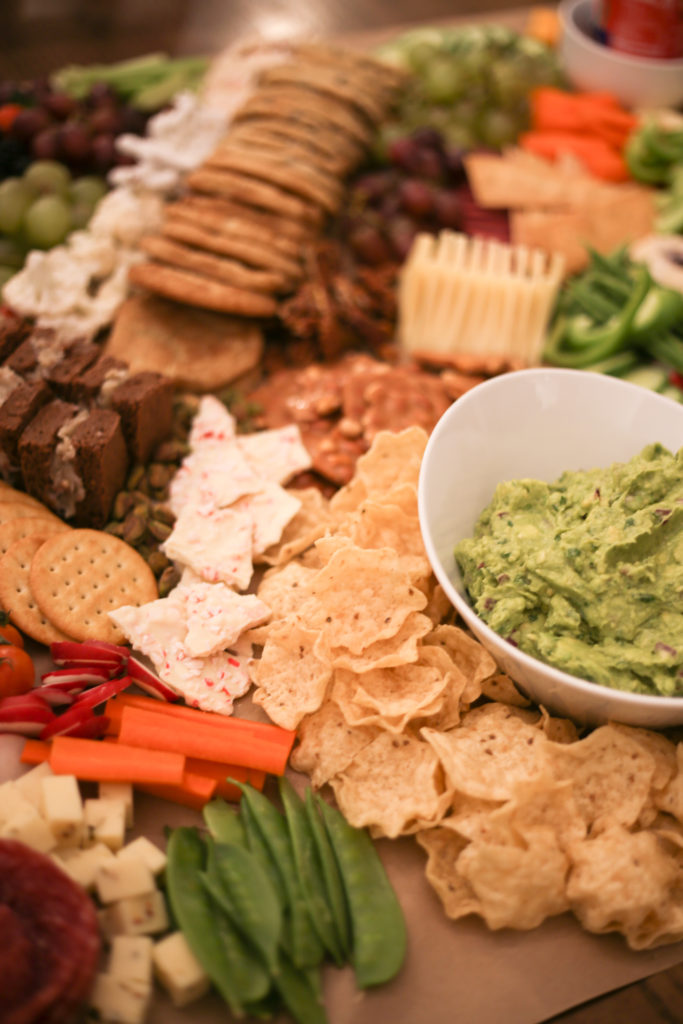
My husband also made a hard last minute appeal for chips, salsa, and guacamole.
How could I turn that down? It’s always a party favorite.
With those items on the brain, I started plotting layout.
Charcuterie Board Assembly
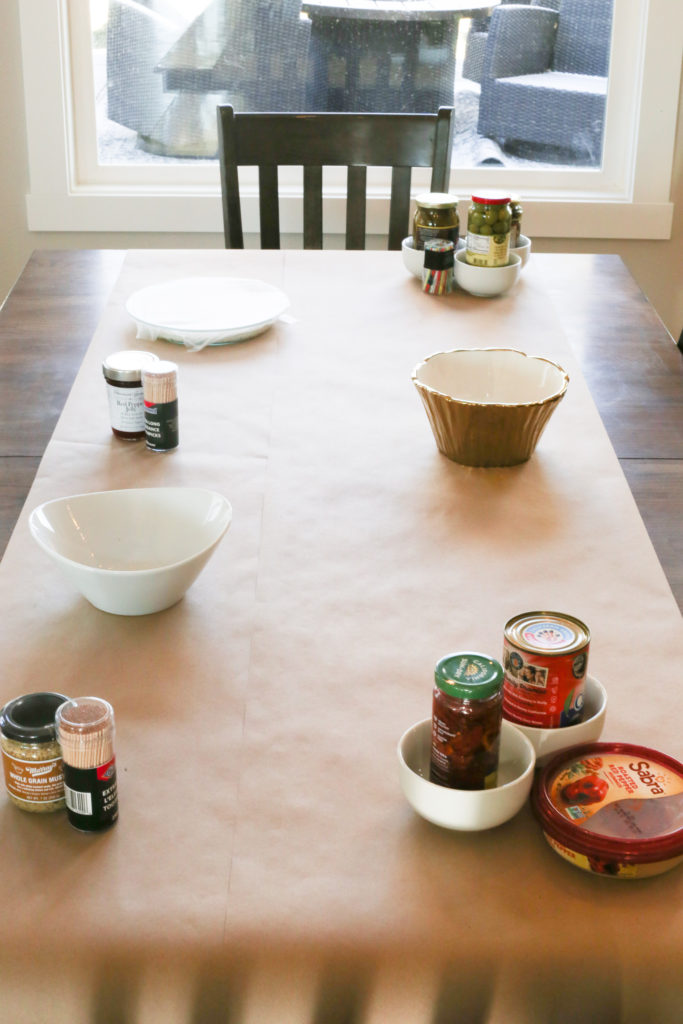
This charcuterie ‘board’ begins with a wide swath of butcher paper run length ways down the center of our kichen table.
You can easily adjust your butcher paper, cutting board size, or platter to fit your party.
Because your eye eats first, you’ll want to assemble your dishes and shapes in an offsetting pattern to keep your eye moving down the display.
I began by placing my circular serving dishes in a zig zag pattern down the table.
These held my relishes, cranberry dip, salsa, guac, and hummus and really helped anchor the design.
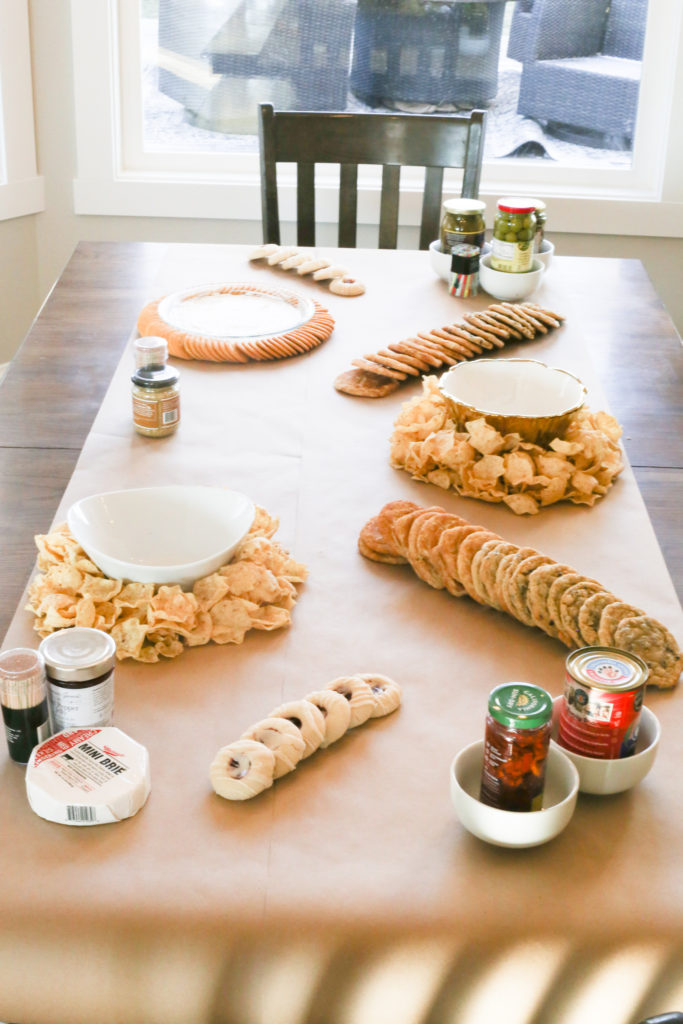
Next up, I created a fun contrasting linear angles with my cookies!
These included raspberry almond thumbprints, chocolate chip, and snickerdoodles.
I should also tell you that I always prep way ahead when I’m planning to throw a party.
That way I’m not scurrying around and stressed out just before guests arrive.
For this spread, that simply meant that I utilized a few spare hours during the week leading up to the party to bake my cookies.
I simply popped them in the freezer after they cooled and pulled them out a few hours before party time.
No one would know they weren’t baked fresh that day! 😉
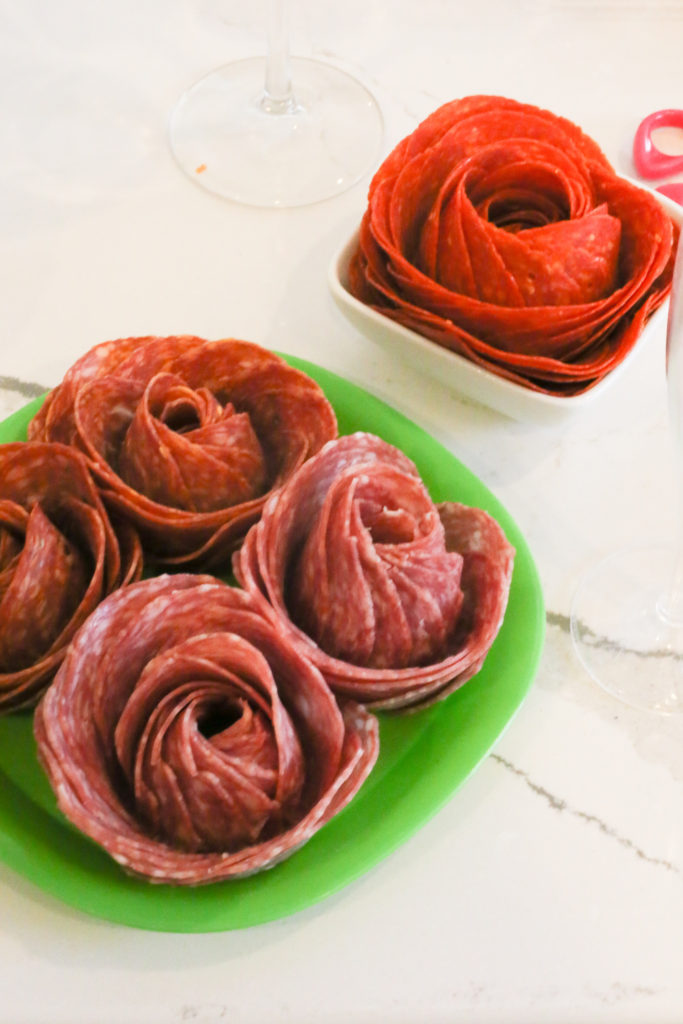
After those were in place, my focus turned to the remaining savory items that needed a good amount of space.
That being mainly the meats and cheese.
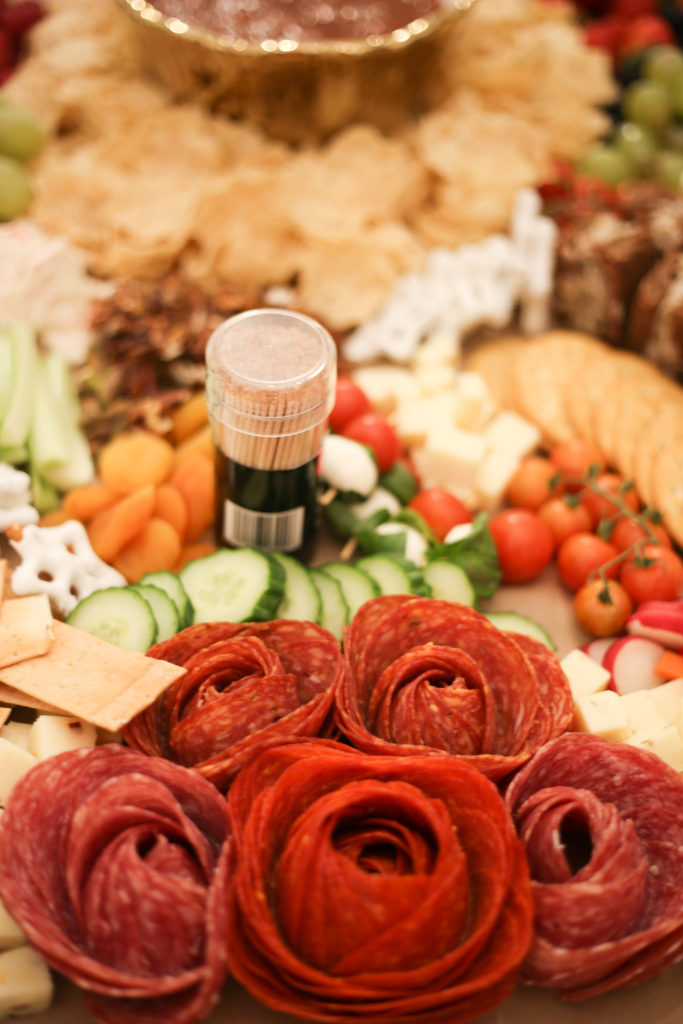
I made these adorable salami and pepperoni roses by simply repetitively folding oversized circles over the edge of a wine glass/champagne glass.
Here is a tutorial that you can check out if you need a visual.
Inverting the glass with folded meat onto a plate makes a stunning rose design that is also easy to pull apart and eat.
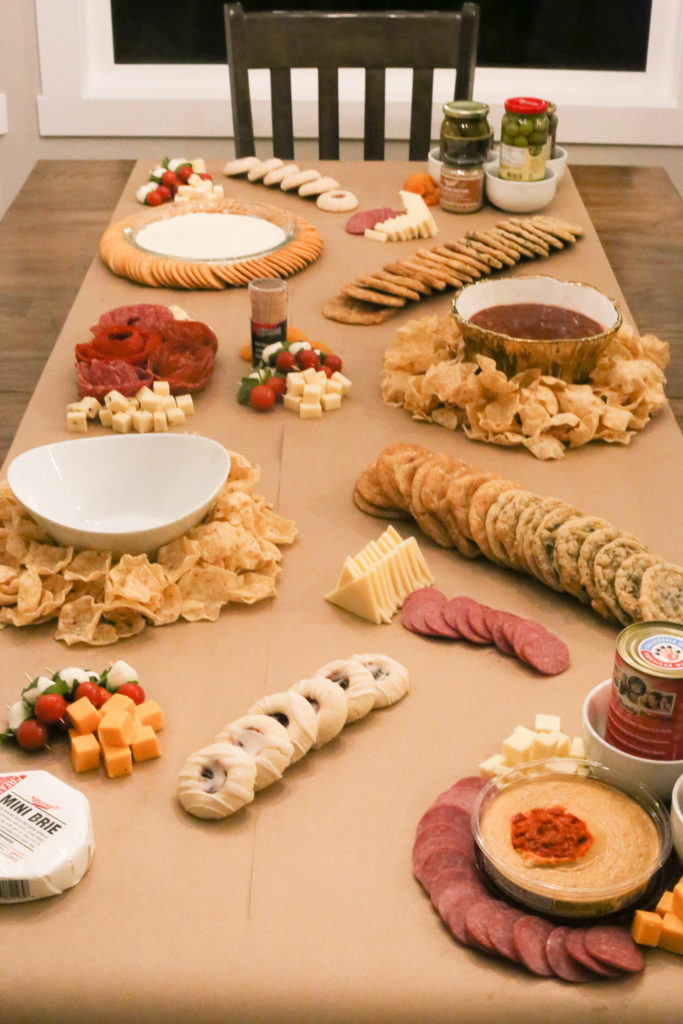
These lovely salami and pepperoni flowers needed to be in the center of the table.
I simply complemented them with smaller groupings of meats, cheese, and caprese skewers down the length of the table.
It’s also a good idea to add in skewers and toothpicks along the way so that guests can snag their tasty morsels without using their hands. 😉
Charcuterie Board Ingredients
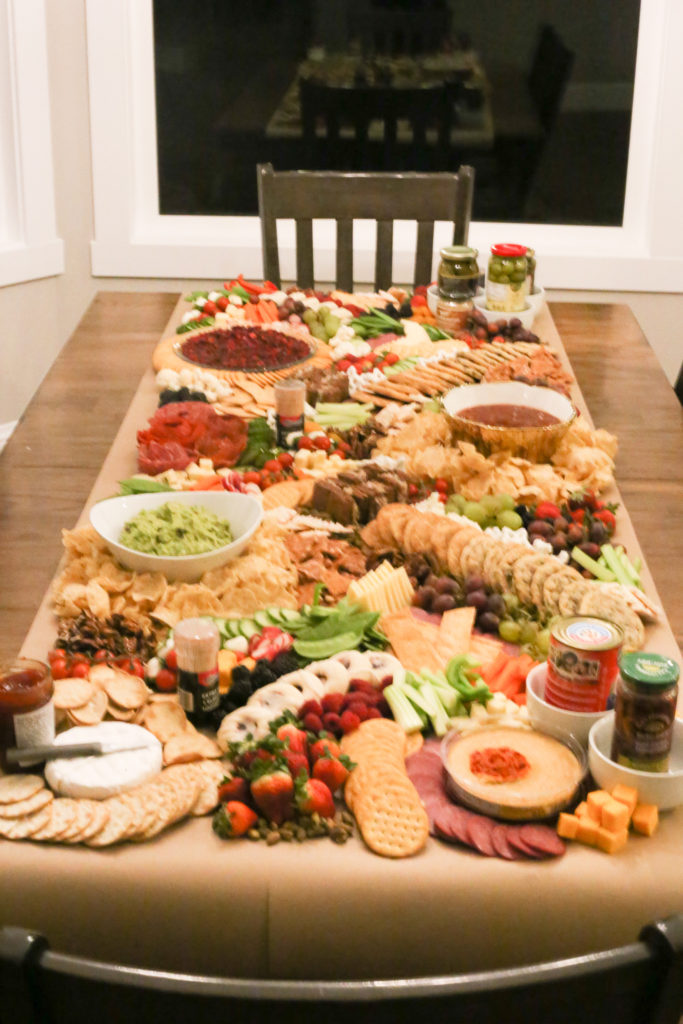
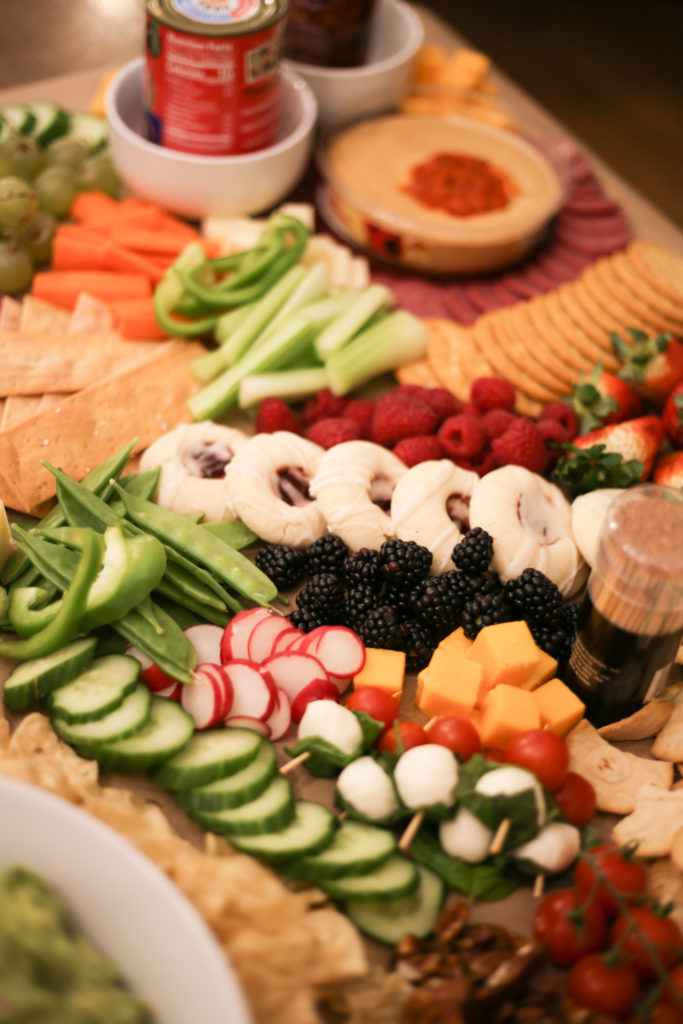
The final step to completing this spread is filling in the holes with fresh ingredients.
This part was so much fun!
I tried to keep colors in mind, by alternating color patterns down the length of the table.
Adding color, variety, and texture with fresh ingredients really creates a beautiful appetizing finish.
You also have my complete permission to take as much help from the store as you need! 😉
I focused on creating a couple really yummy home made items, and then purchased a bunch of other filler items at the store.
I couldn’t have been more pleased with how it turned out!
Just before my guests arrived I had a few minutes to snap a few close ups.
However I quickly abandoned my camera in exchange for a mistletoe kiss cocktail as guests were starting to arrive. 😛
Oh, and I almost forgot!
Along with my cookies, I also made some really delicious german chocolate brownie bites!
I made my favorite sheet pan brownies and cut them into very small squares.
Then I glued two pieces together with my favorite from scratch german chocolate frosting (recipe coming soon).
So yummy!
Cheers my friends!
I hope you found some fun charcuterie board ideas that you can entertain with.
If you want to see more ideas beyond what’s shown here, as well as some practical advice on wine/cheese pairings, check out this post!

