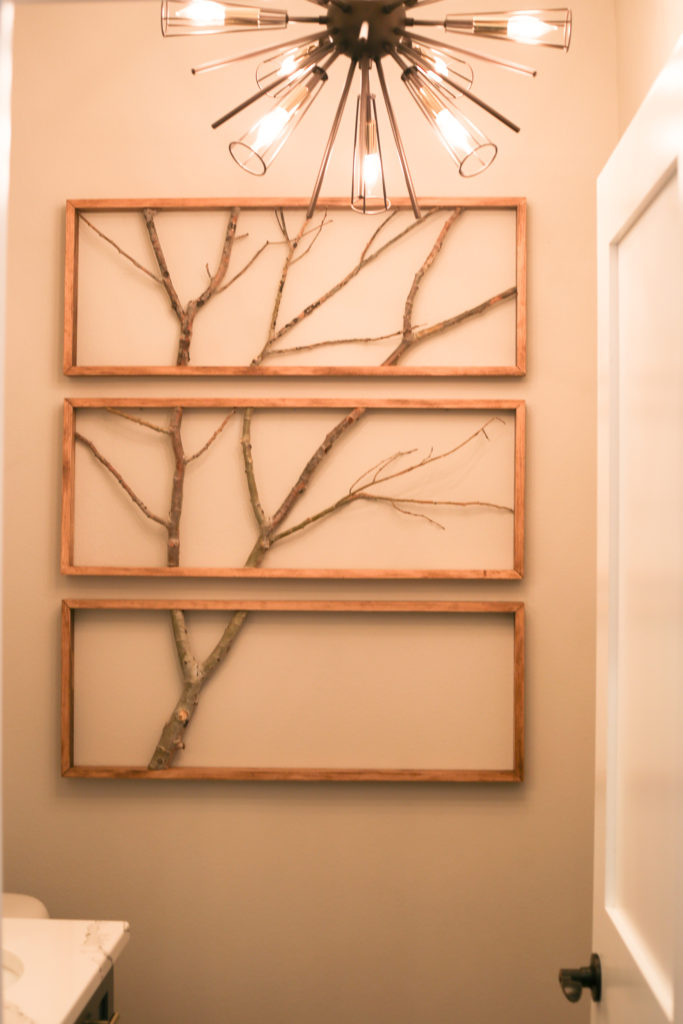
Hey there DIY decorators! If you’re looking to create a large wall decor statement piece then you are in the right spot!
Large wall decor can be tricky…aka pricey!!!
Lucky for you, you don’t have to break the bank to expertly style your large wall spaces.
I absolutely love the way this DIY framed branch wall art turned out, and it cost less than $40 to create.
That’s pretty awesome!
This Post Contains Amazon Affiliate Links (paid links)
After recently renovating our modern farmhouse from top to bottom, I’ve been searching for large wall decor ideas to help personalize our spaces.
The origination for this project was spurred on after months of staring at the blank back wall space in our main level half bathroom.
While the placement might seem a little strange, it’s highly visible from our main living area and close to where all of our guest congregate when we entertain.
I decided this would be the perfect spot to put something custom and creative.
My handy husband John (who is also the fixer of all things) said he would rate this DIY project as an ‘intermediate level.’
But you should know that you can tweak the process of this project to fit your space, budget, and skill level. 😉
Let’s get to it!
DIY Project Supply List:
First, you should know when I was designing this project, I referenced this pin from Pinterest.
Once I knew where I wanted to recreate this cool design, I measure the space and made plans to create frames that would fit it perfectly.
I’m a really visual person, so I even went as far as taping some blank pieces of paper to the wall to mimic the general outline.
I’m so glad I did this!
It helped set the size for the design (which ended up being roughly 1’x3′).
I highly suggest you find some scrap paper light weight object that you can play around with to find the best size for your open wall space.
After you have a rough idea of what size works best, here is what you’ll need:
- 1″ x 2″ Pine Boards (they are usually sold in 8′ lengths and we purchase 4)
- Hand Saw (Or Miter Saw)
- Corner Braces
- Sand Paper
- Wood Stain (we used provencal)
- Rubber Gloves
- Staining Rag
- Drop Cloth
- Assorted Tree Branches (we used Aspen)
- Pin Nailer (or hot glue gun + small finish nails)
- Tape Measure
- Pencil
DIY Framed Branch Decor Step #1) Create Your Frames
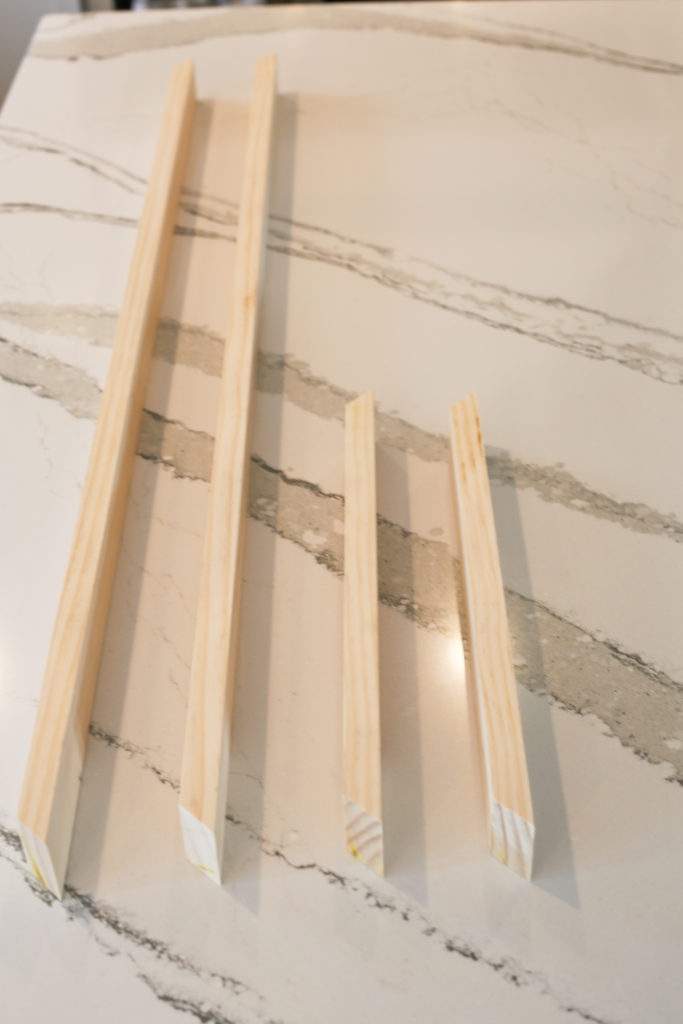
After deciding on our frame size of 1’x3′ my husband used his miter saw to cut the boards for each frame.
Each framed box required (2) 1′ pieces and (2) 3′ pieces for a total of 8′ of length per box, and we made three boxes.
It’s never a bad idea to purchase a little extra wood when planning a DIY project with cutting involved.
We all make a miscut from time to time, and when you have a little extra material it’s a lot easier to recover from the mistake if this does happen. 😉
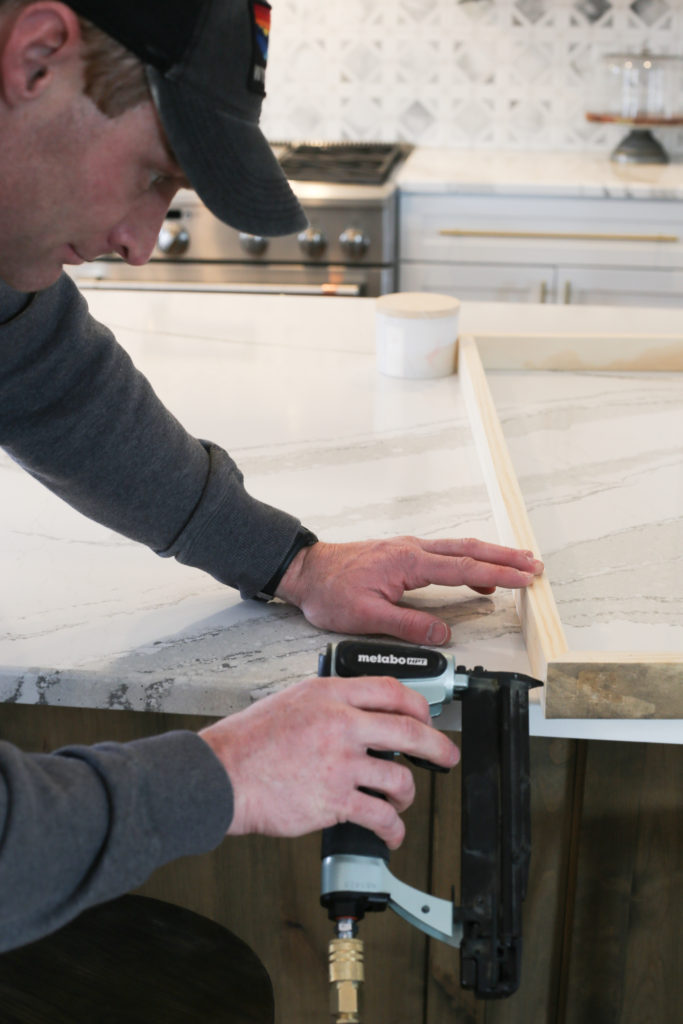
Don’t freak out when you see the finish nailer above!
My husband John is the kind of guy who is looking for a reason he can whip out a new tool he has been storing in the garage. 😉
To create the frames the way he did, you can cut 45 degree angle cuts on a miter table saw. This creates a finished a picture frame type look.
He fasted them with and small amount of wood glue and the finish nailer shown above.
It’s Important To Know…
You can create a great looking frame without using any of the fancy tools listed above!
You could simply use a hand saw to make straight cut edges for your frame. And then attach them with corner braces like the ones below. 😉
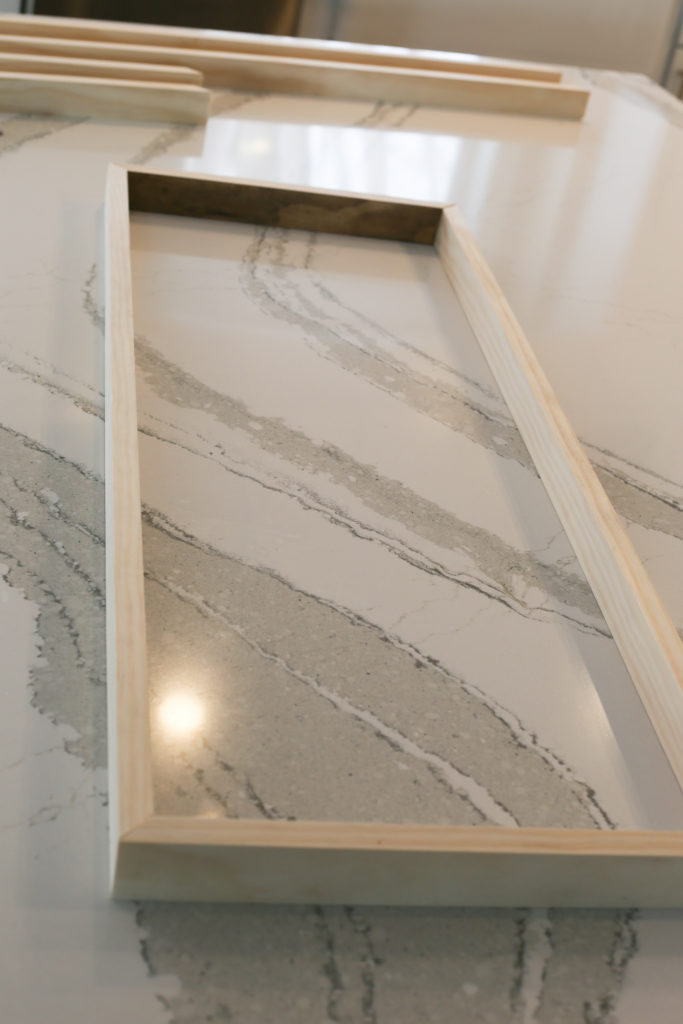
After your boxes are assembled, they will benefit from a light sanding.
There is usually a small sheen to wood that comes from most big box stores, and lightly sanding helps the surface take stain more evenly.
DIY Framed Branch Decor Step #2) Stain Your Frames
If you really want to go the extra mile, did you know you can make the grain of the wood really pop by misting it with a spray bottle of water just before staining? 🙂
Something to consider depending on the look you are going for!
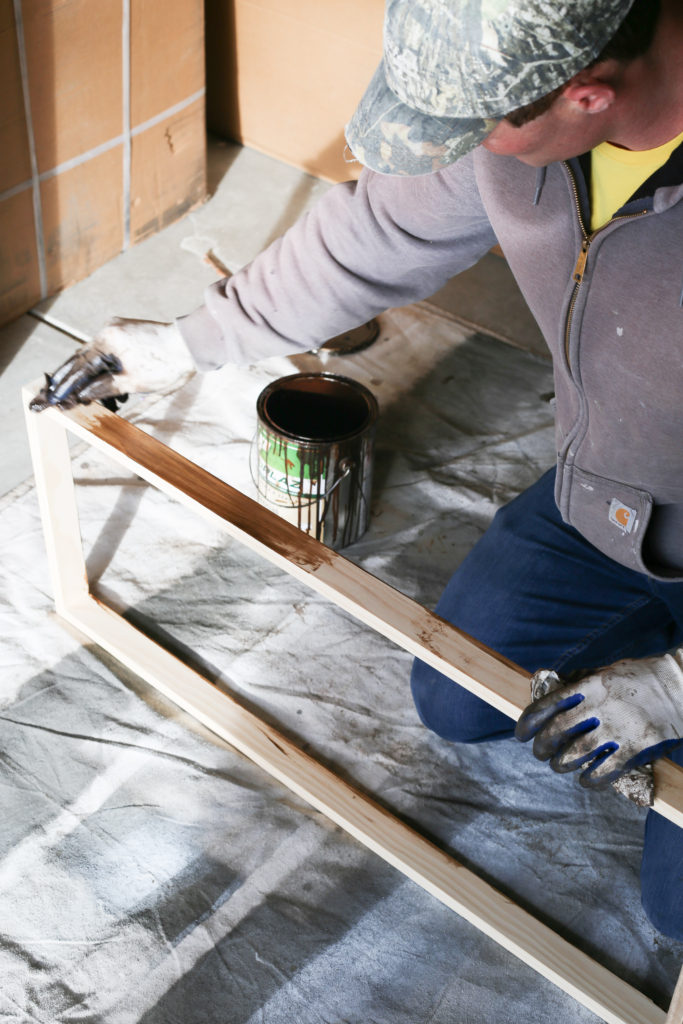
For these frames, I found a stain that nearly matched our flooring color.
After clearing a space in the garage we put down a drop cloth. You could use any floor covering that could soak up a few drops of stain, like extra cardboard.
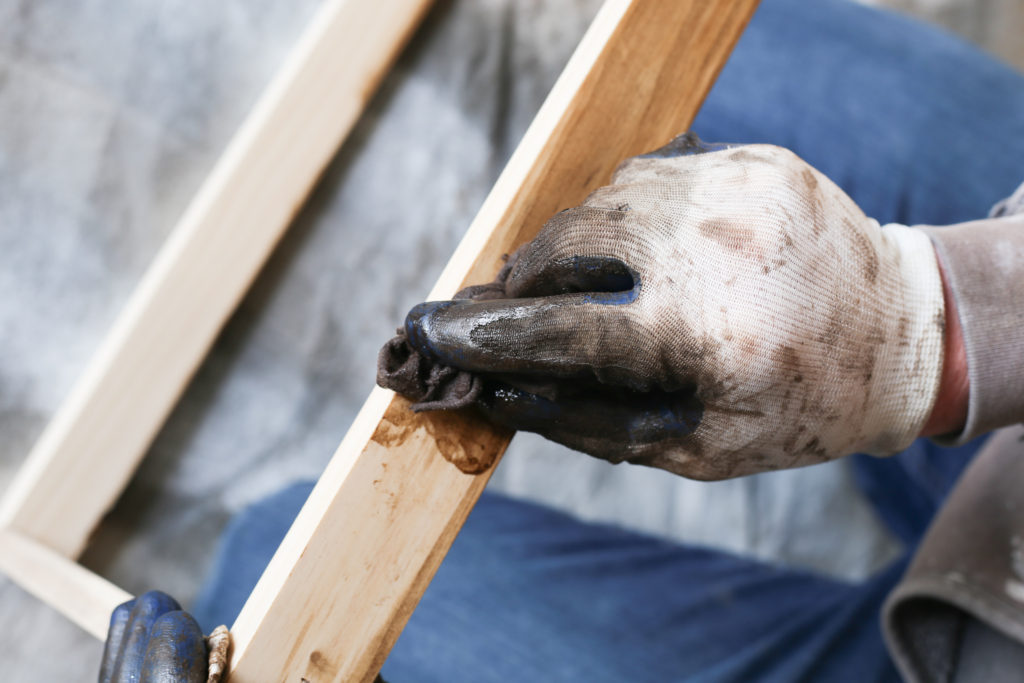
Be sure to wear water proof gloves and apply per the directions on your can of stain.
We simply used a dry rag, dipped in stain and gently rubbed it on the frames to apply.
CAUTION!
Did you know that rags that have been soaked in stain can spontaneously combust?!?
Seriously! This stuff is extremely flammable and should be used with caution.
Don’t throw these in the trash when you are done!
We use an empty metal can or bucket and store them in there until they are completely dried out.
Speaking of dry…
After your frames have dried (24hours or per stain directions) it’s time start assembling your branched art creation!
DIY Framed Branch Decor Step #3) Assembling Your Branches
If you have some trees in your yard that are in need of trimming you can go shopping there.
If not, consider checking your local nurseries, city disposal areas, or asking a friend that has a tree filled yard! 😉
When looking for branches I tried to keep a couple things in mind:
- Look for Y branching structures in assorted sizes
- Look for branches that have a somewhat flat plane
- While you can manipulate some smaller branches fairly easily, you don’t want one branch sticking way out of the frame. It works best when the branches will lay somewhat flat within the frames. We did prune a few unruly branches to make this happen!
- Gather a variety! I looked for one lead branch to set the base of the design, a number of smaller fillers we could piece in as needed. 🙂
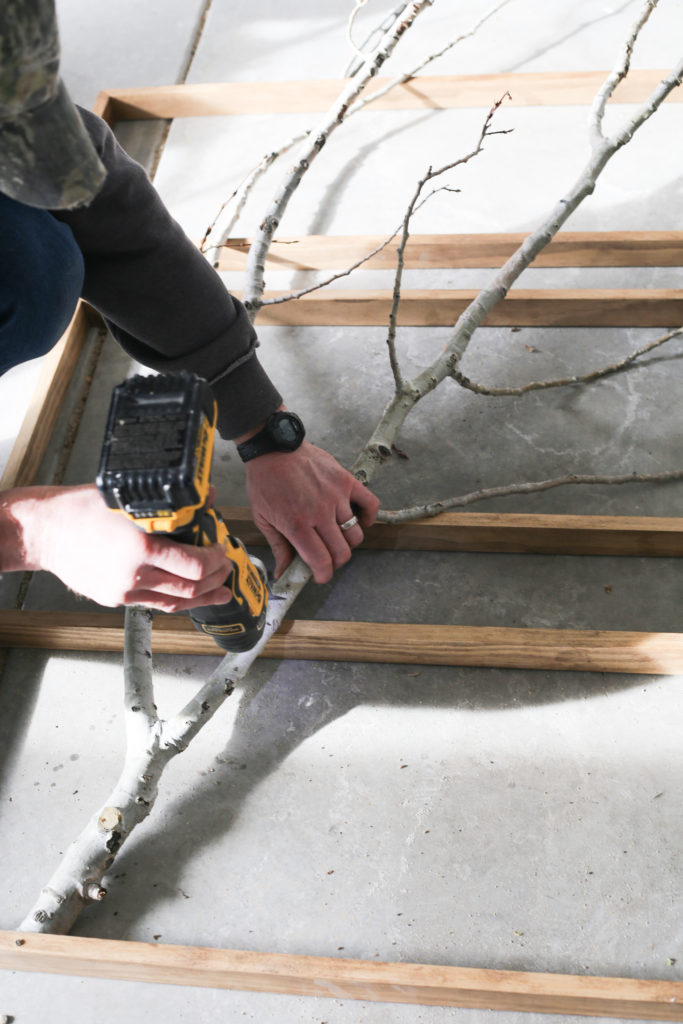
We then placed our frames on the ground, and started arranging the design.
Start with the bottom first, and worth through the first two boxes before you make any cuts.
When you feel like you have a design that you like, it’s time to start trimming. 😉
My tool happy husband used this nifty Dewalt Oscillating tool to make quick work of these freshly chopped branches.
But it would completely fine to use your hand saw and pruning sheers here too.
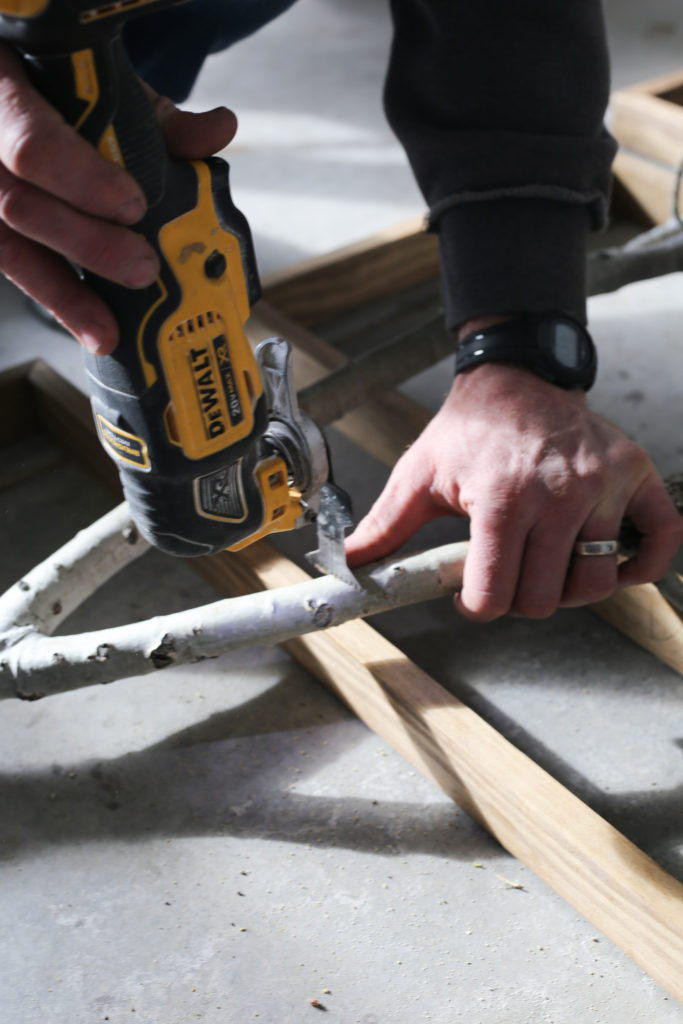
One note for cutting your branches to fit inside the frames: cut them a tad long!
You can always shave off or sand down the ends to create an exact length for a clean snug fit.
You don’t want to trim them too short and then have to waste a perfect branch because of a quarter inch gap. 😉
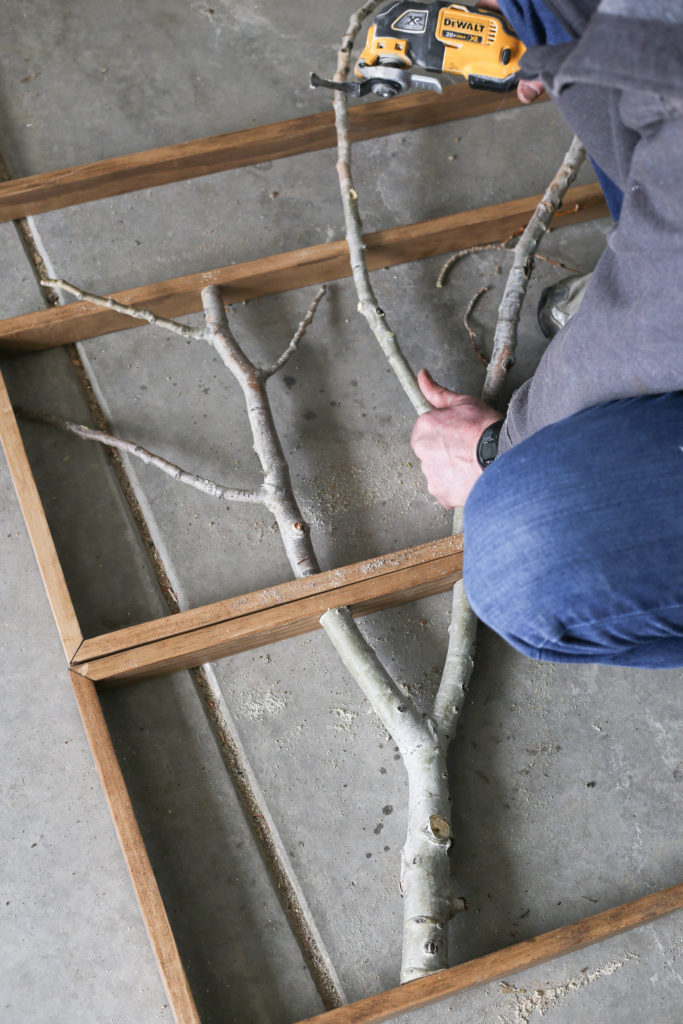
We simply kept working up from there, following the branch pattern as we went up.
We laid out the entire three frame design and arranged the trimmed branches in a design that we liked.
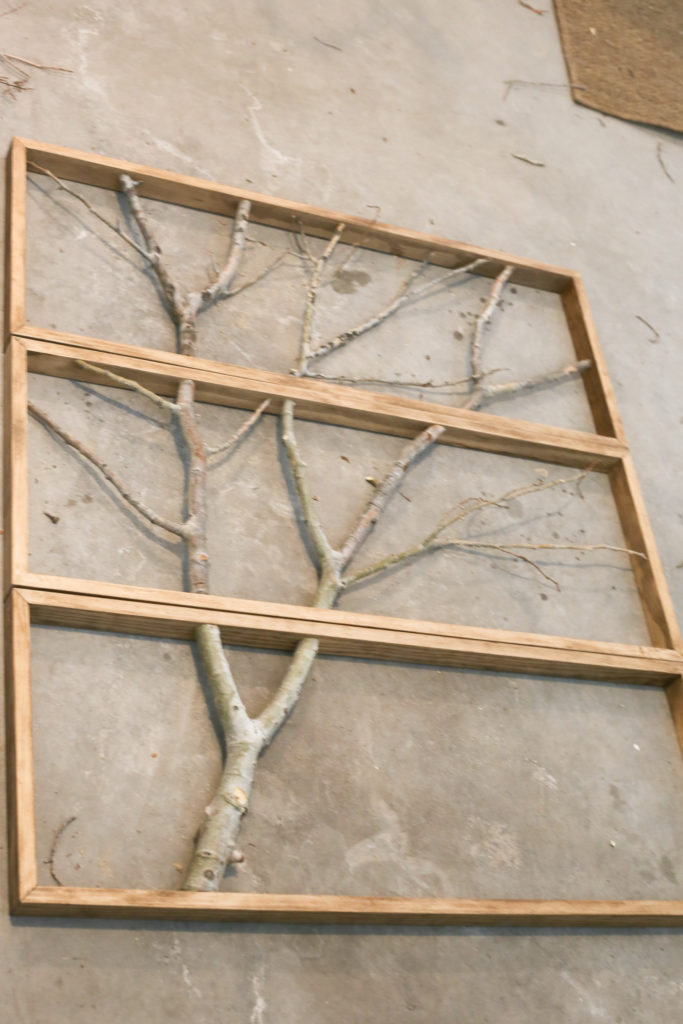
After we had the design laid out, we started attaching the branches within the frame.
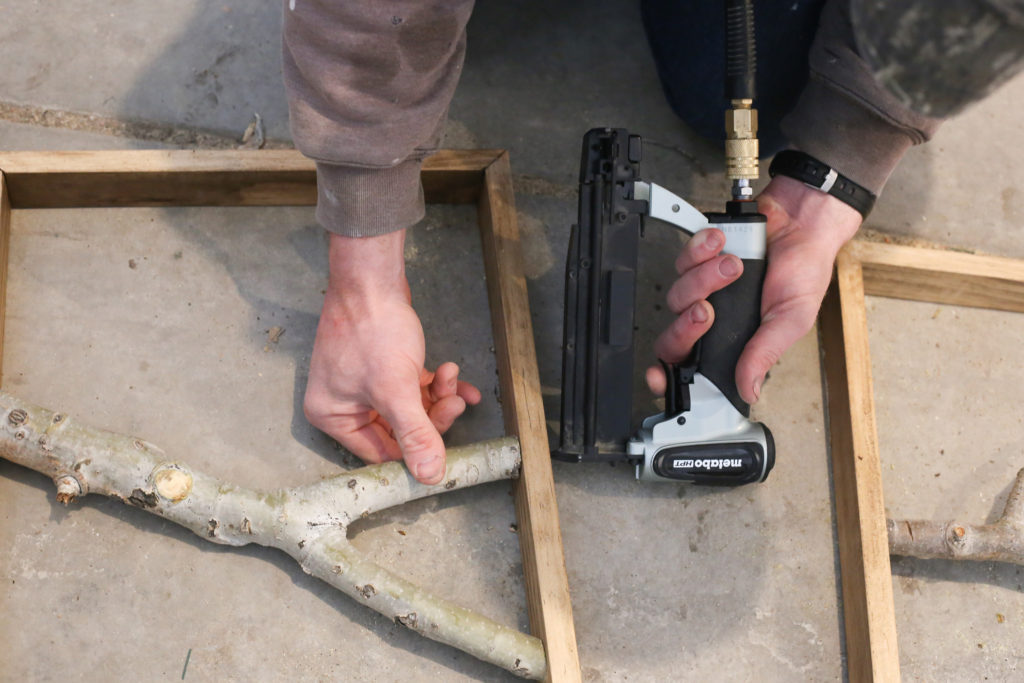
This handy pin nailer made quick of that!
If I had to pick one of John’s tools that would be highly useful for this project it would be this one!
It’s similar to a nail gun, but shoots smaller finish pin nails in that you cannot see whatsoever. Even after going through the outside of the frame they are so small that no filling is requierd!
You can also find a great one on Amazon without breaking the bank, like the one below!
Though we haven’t tried it personally, we both agreed you could probably tackle the assembly with a hot glue gun, and small finish nails.
This would probably take a little more work and manipulation but it would be possible.
Last but not least, it was time to get this baby on the wall!
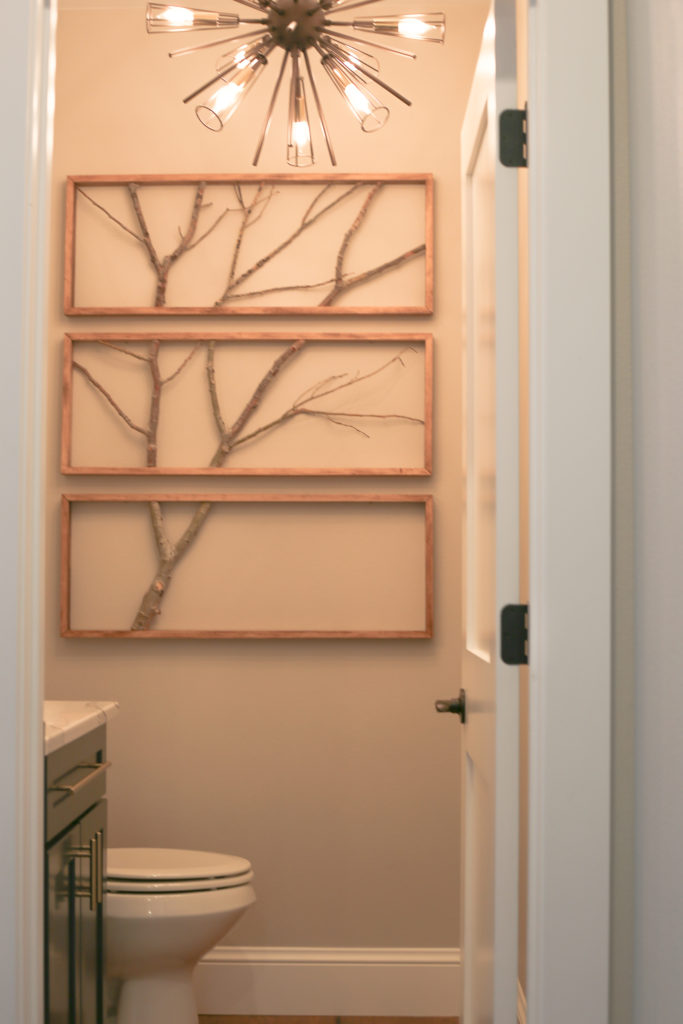
It looks a lot better here than on the garage floor, don’t you think? 😉
We simply used two small picture hanging nails on the inside of each frame to hang it.
Happy DIY Projecting!
Let me know if you have questions down below.
Expect to play with the branch design a fair bit, and needing to trim here and cut there.
Don’t be discourage by a little trial and error! It’s part of the fun in creating a completely custom piece of decor for your home!
I know you’re going to nail it! 😉
Cheer for now.
<3 Ang


