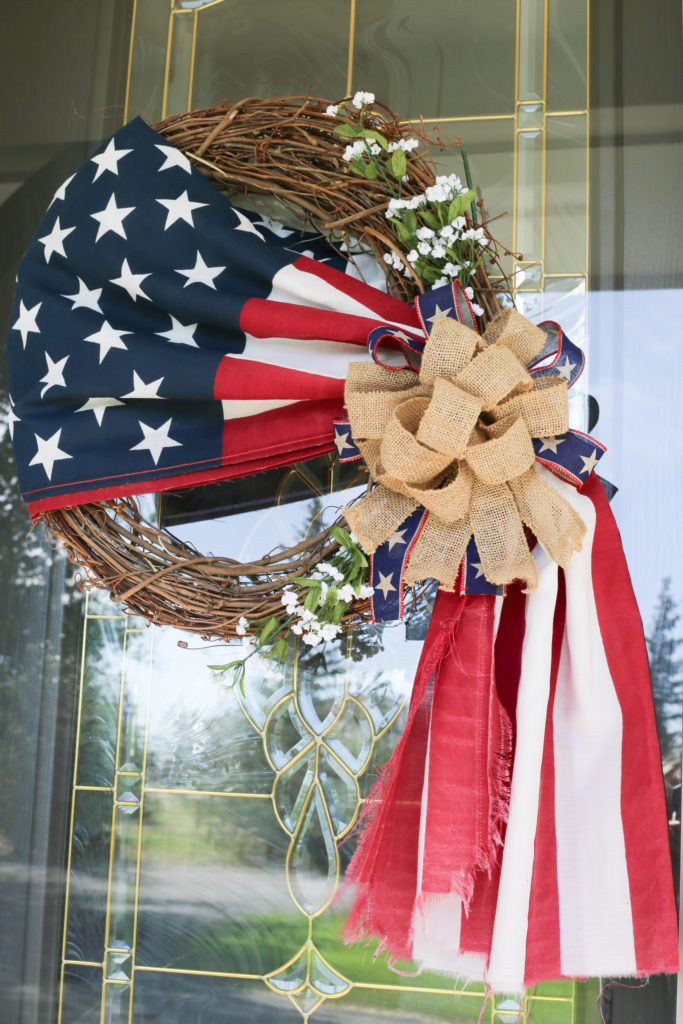
Hey there! If you’re looking for a 4th of July flag wreath tutorial you are in the right place.
I had so much fun transforming this old tattered flag into a stylish and patriotic front door wreath.
It was surprisingly easy to make, using just a few simple materials.
Not to mention, it cost just a fraction of the large 4th of July wreaths for purchase.
I’ll spare you with any more commentary and hit you with the step by step process directly below.
Let’s get to it!
This Post May Contain Amazon Affiliate Links (Paid Links)
4th of July Flag Wreath Materials
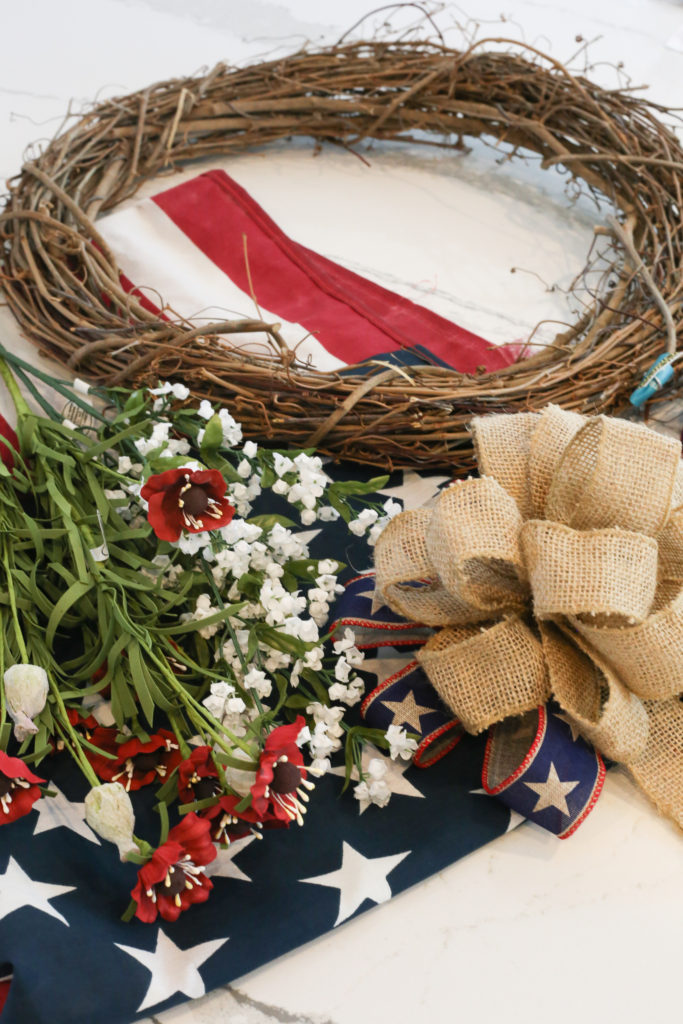
For this simple 4th of July flag wreath, I gathered the following materials:
4th of July Flag Wreath Assembly
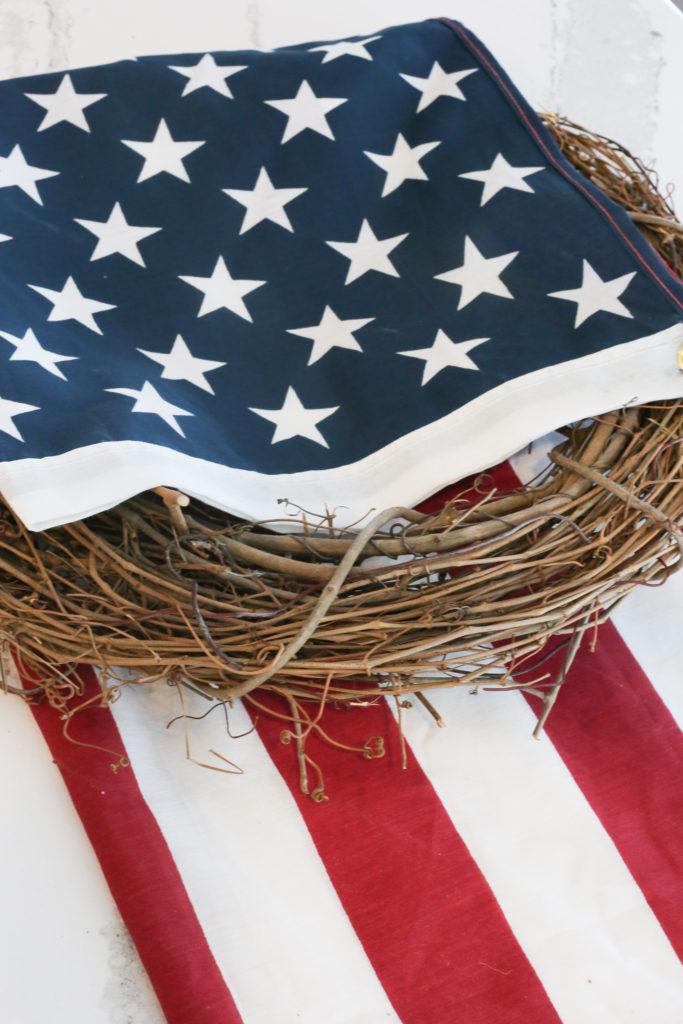
To begin, simply fold your flag in half lengthways.
Next you’ll position your twig wreath on what will be the back of the flag.
I liked to position it with half of the stars and stripes showing on the front side.
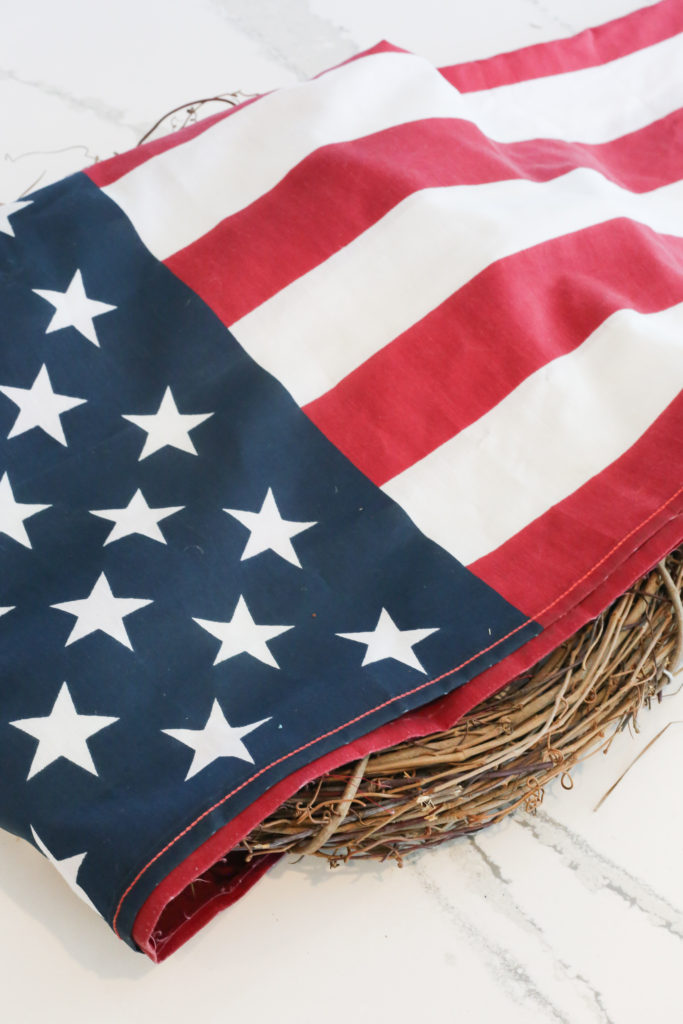
Check the placement of your flag by flipping the wreath over to ensure it’s in the perfect position.
It’s easy to adjust the location by sliding the wreath up or down the folded flag.
Securely Fastening Your Flag Wreath
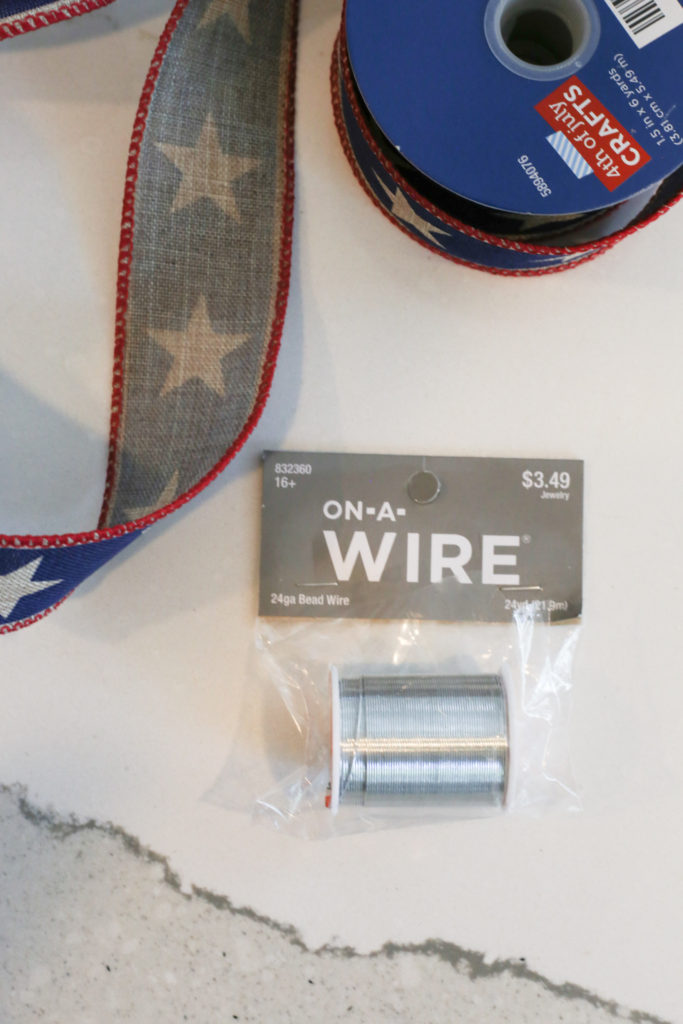
This inexpensive and malleable jewelry wire made fastening this flag wreath so easy!
Its easy to bend and cut using standard kitchen shears.
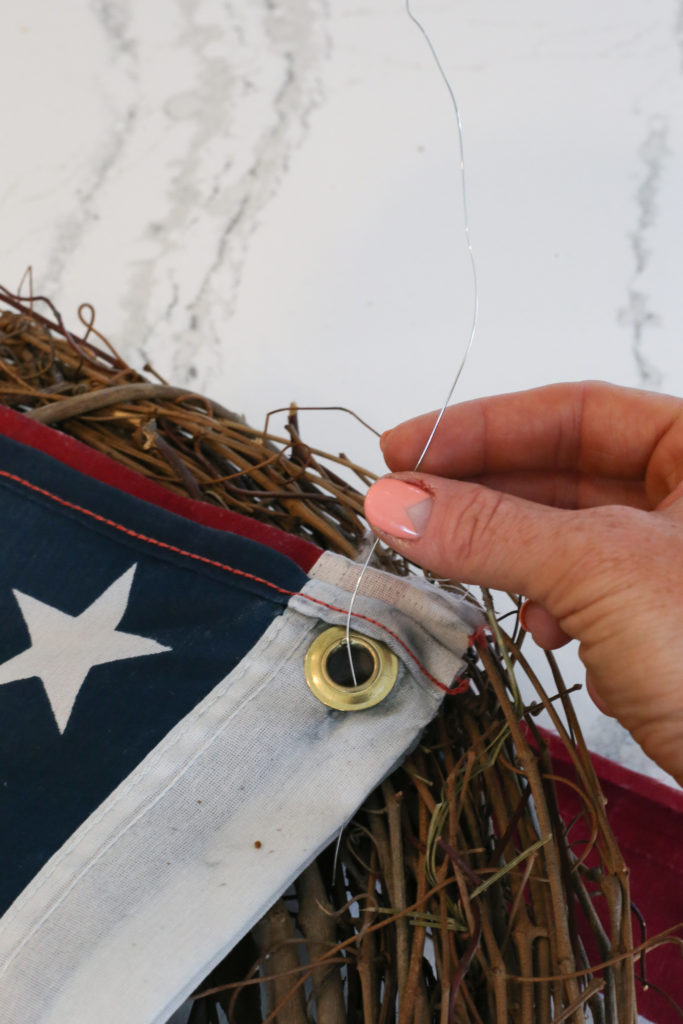
After you have flipped your wreath over to the backside once again, it’s time to secure your flag.
The twig structure of the wreath makes this really simple, as well as the grommets on the flag itself.
I simply cut a piece of jewelry wire, and fastened it to the backside of the the twigs
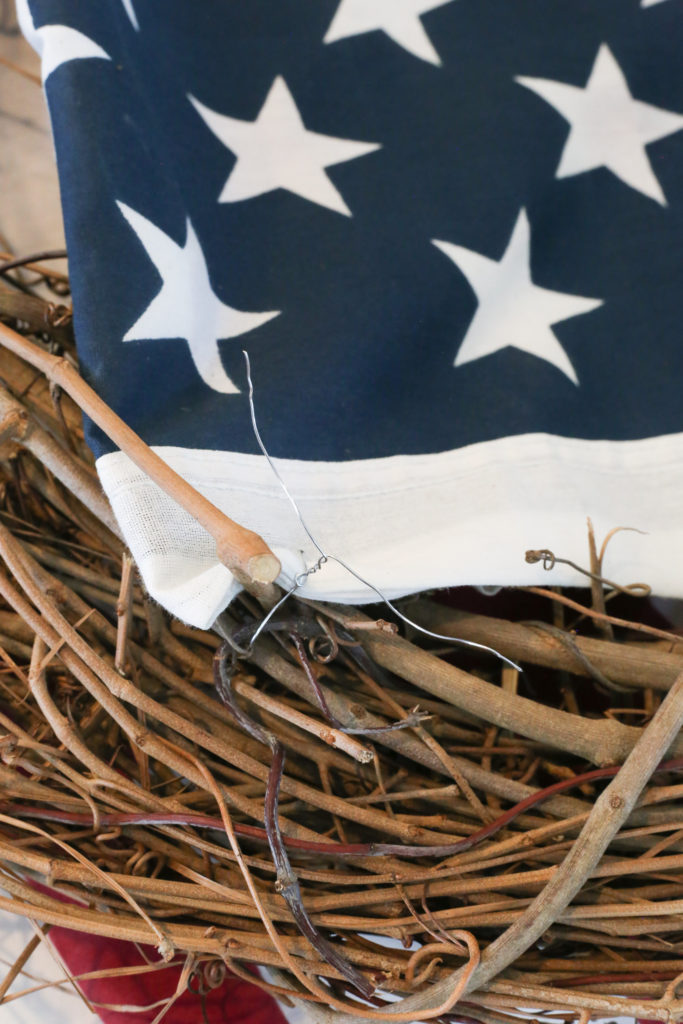
I did the same with the other corner of the flag.
Because there was no grommet holes, I simply pushed the wire through the folded fabric of the flag.
Remember, your flag will be gathered into a bundle at one side when it’s finished.
Keep this in mind and attach the two corners of the flag fairly close together.
Folds are completely fine!
Be sure not to stretch the flag across the back width of the wreath, this will show through when you flip it over to finish the front side.
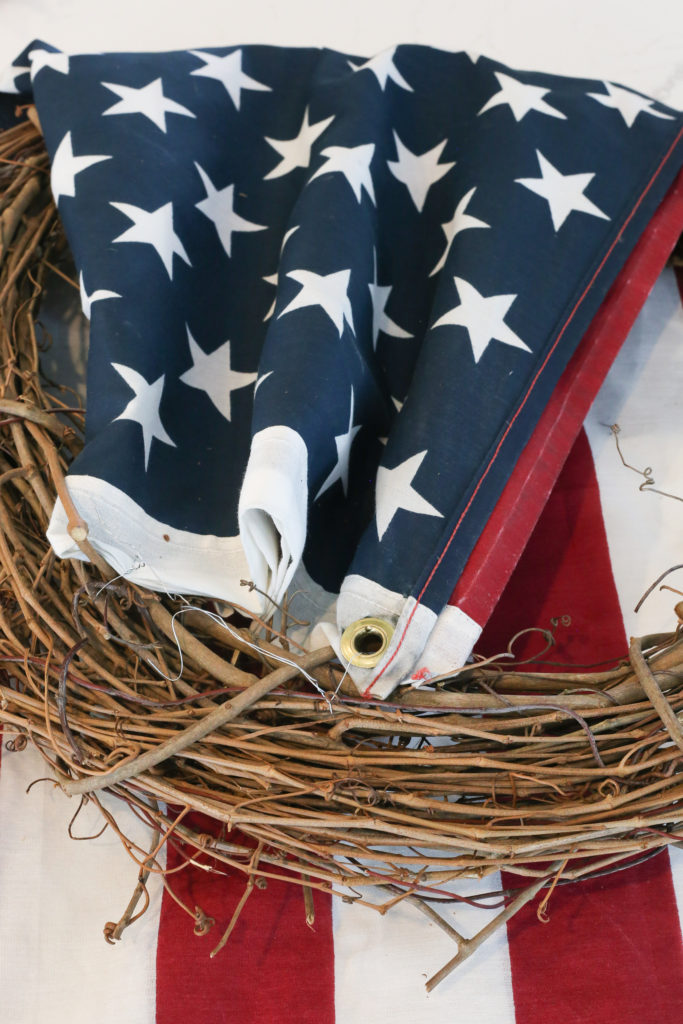
Fastening the flag at just two points seemed to hold well.
Twisting the wire around a bunch of sturdy twig stems did the trick for this DIY.
Now, onto the front of the wreath.
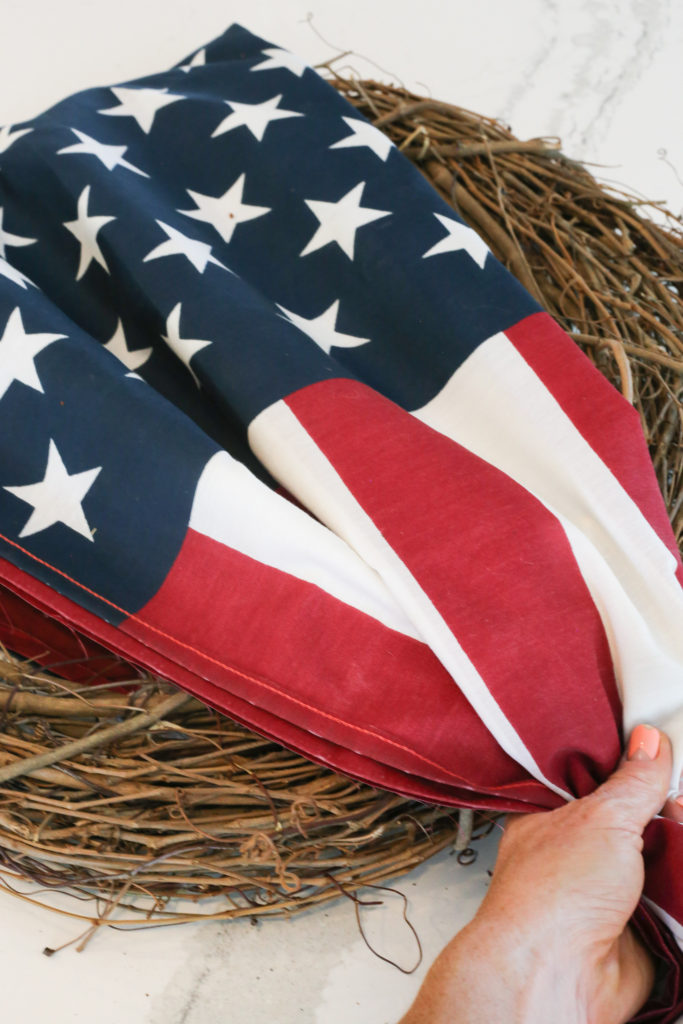
Simply gather the front of the flag fabric to a single bundle at the edge of the twig wreath.
I worked a bit to make sure my gathered flag hid the fastening holes in the back.
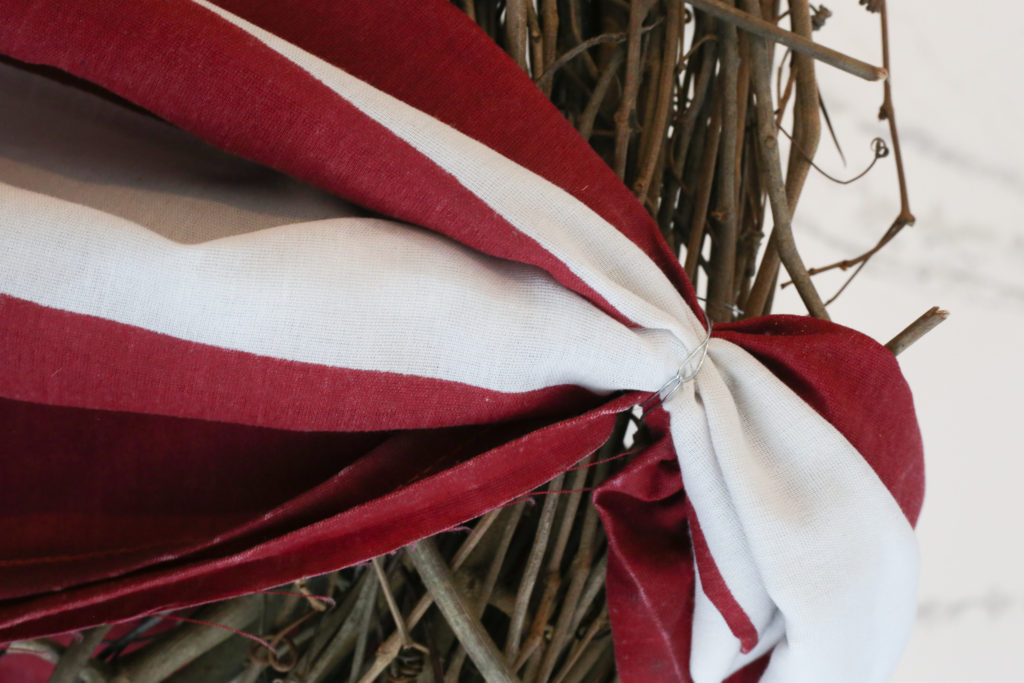
When I had the flag bunched together, I simply secured it with a wire knot.
I also made sure that wire knot was securely fastened to the twig wreath itself.
The remaining tail of the flag will flow down below the wreath past the gathering point.
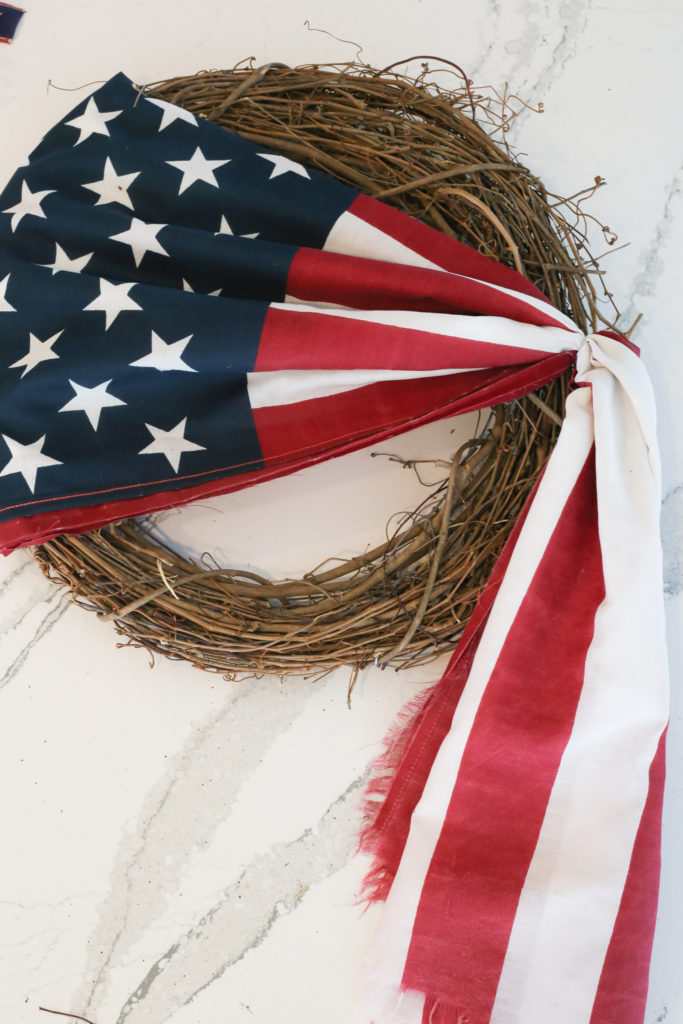
I thought this wreath looked pretty great at this point!
But, I wanted to add a few finishing touches before hanging on the front door.
4th of July Flag Wreath Finishing Touches
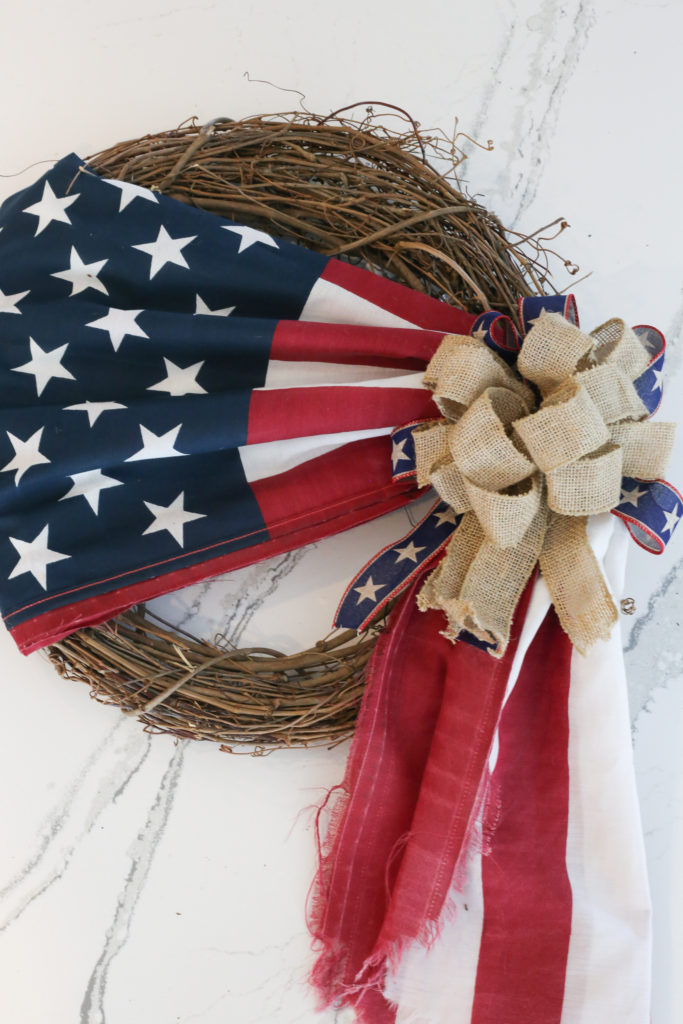
Next, simply fasten your large burlap bow over the gathering point on the front of the flag.
This helps hide the wire and add some pretty finishing touch.
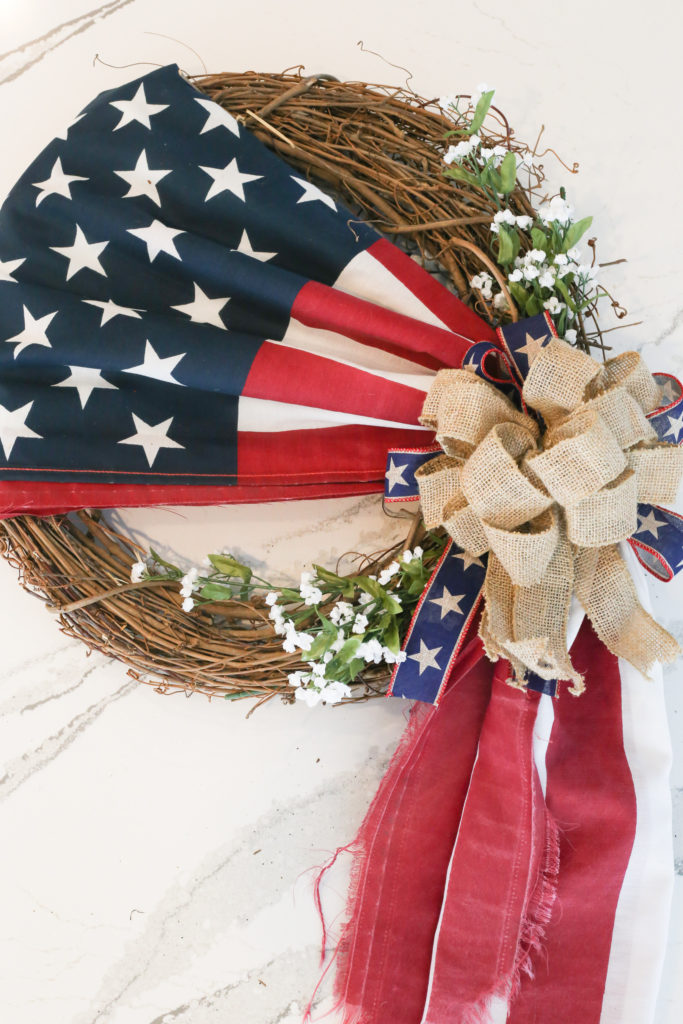
Another optional but attractive finishing touch is to tuck flower sprigs into the wreath along either side of the bow.
I’ve seen pictures of a number of red, white and blue flowers that all look really nice!
Have fun experimenting with any patriotic colored flowers that you like.
The twig stems make them really easy to stick in and they hold well.
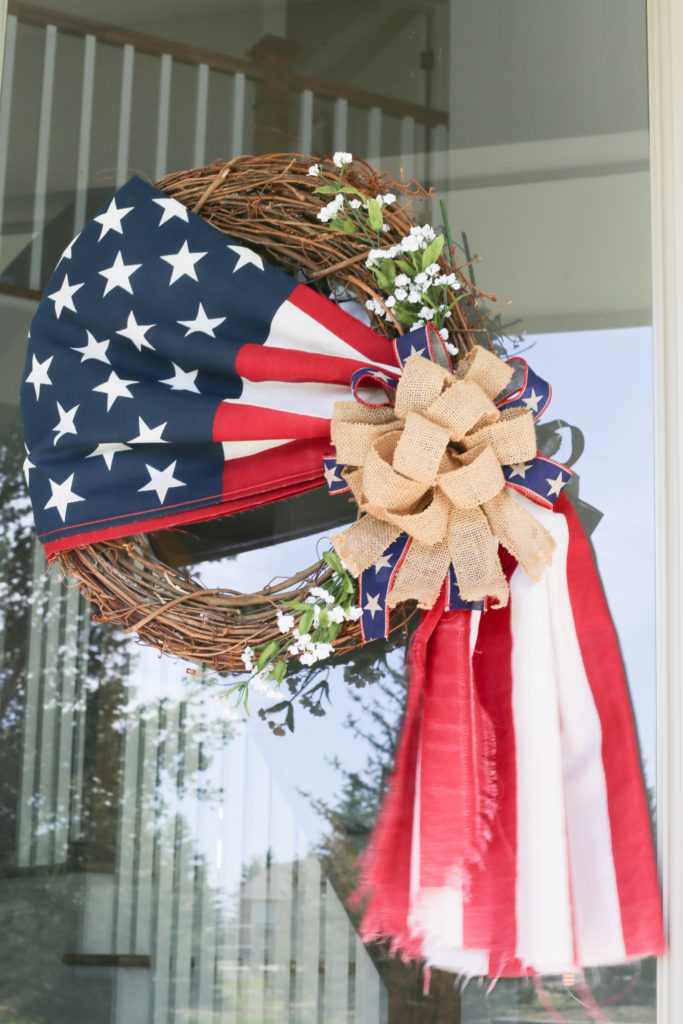
Lastly, fasten your DIY flag wreath to your front door!
It instantly adds such a pretty patriotic piece of 4th of July home decor.
Speaking of 4th of July decor, check out a few of these other pictures from around the house.
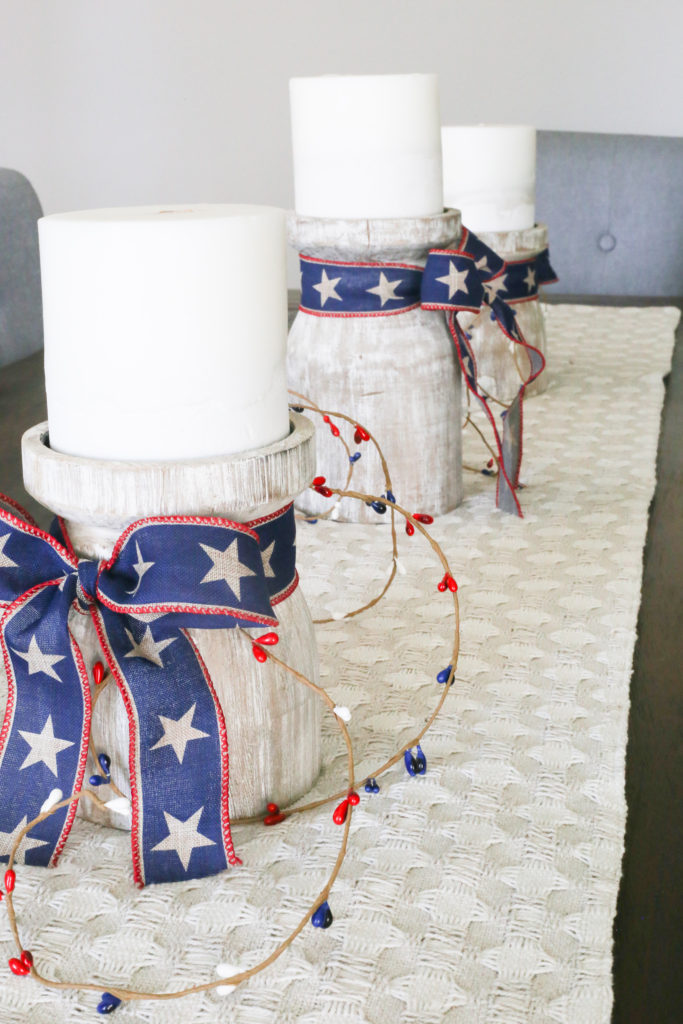
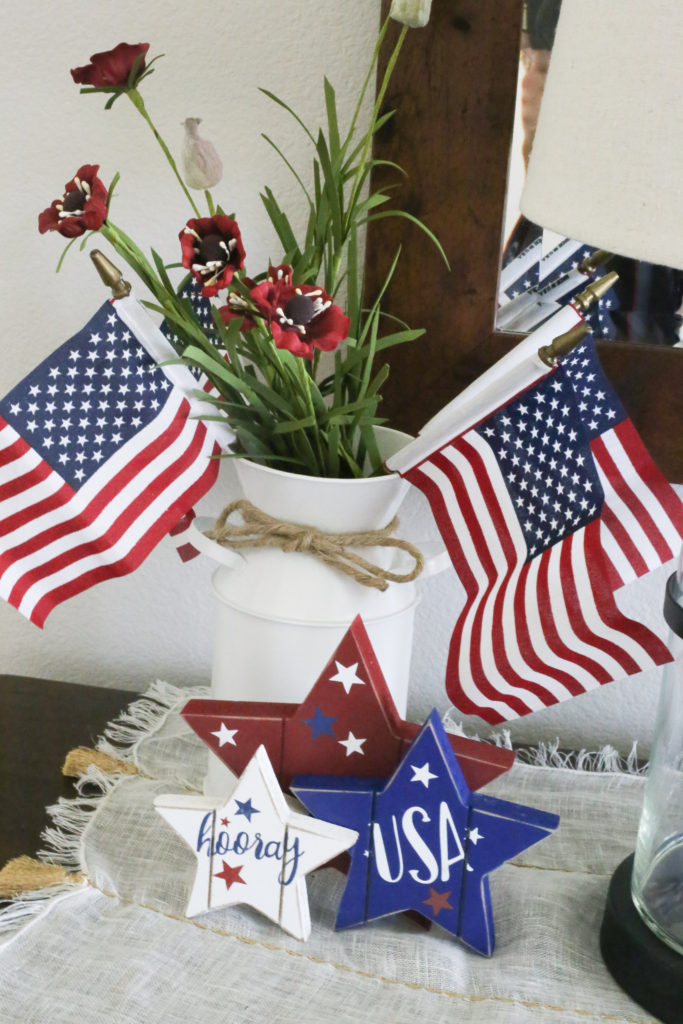

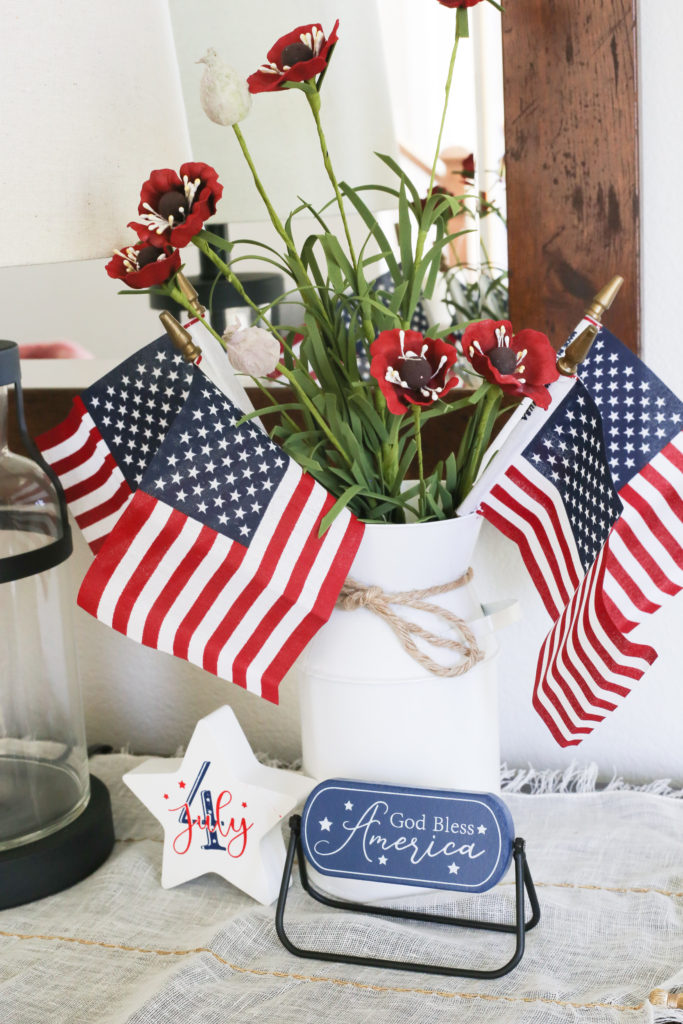
Cheer for now my friends!
Let freedom ring.
For more 4th of July Inspiration, check out these posts!
- 15 Farmhouse 4th of July decorations
- 7 Go To Backyard Entertaining Ideas For The Best Party Ever
- 25 Easy 4th of July Party Ideas
- 12 Star Spangled 4th of July Wreath Ideas
<3 Ang


