Surprisingly Easy Homemade Apple Pie Recipe
Hi there! Are you looking for an apple pie recipe that is bursting with undeniable homemade flavor?
Perfect, you’re in the right spot.
Making a homemade apple pie is actually easier than you might think.
And the effort is not only rewarding, it’s beyond delicious as the flavors blow away any kind of canned filling or store bought pie.
This apple pie recipe is made completely from scratch with a homemade crust (that I use for every pie I make) and a homemade apple pie filling.
But don’t let that scare you.
In fact, if you can peel apples or roll out dough into a circle then you are well on your way to nailing this!
I’m sure you’re busy, so I’ll save you any more commentary and hit you with the recipe details directly below. 😉
But as always, to get the tips and tricks to make sure yours turns out to perfection you’ll want to follow the photo walk through below the recipe.
Let’s get to it!

Homemade Apple Pie Recipe

- 1 C Crisco
- 3 C Flour
- 1 tsp Salt
- 2 Tbs Sugar
- 2 large Eggs
- 1 tsp vinegar
- 6 Tbs Cold Water
- 6-8 Tart Apples
- 1 Cup Sugar
- 2.5 Tbs All Purpose Flour
- 1 tsp Ground Cinnamon
- 1/4 tsp nutmeg
- 2 tsp Lemon Juice
- 1 tsp cinnamon sugar mixture
-
Begin by making the pie crust. Cut crisco, flour, sugar and salt together with a fork until crumb mixture is formed
-
Whisk eggs, vinegar, and water together, and gently combine with dry ingredients
-
Gently work dough until soft dough ball is formed. Wrap in plastic wrap and chill in the fridge for at least 30 mins (can store up to one day).
-
Peel, core, and slice apples and place in a large mixing bowl.
-
Gently toss sugar, flour, cinnamon and nutmeg and lemon juice with apples until well combined and evenly coated. Set aside.
-
Remove chilled dough and cut roughly in half, with one dough ball being slightly larger than the other.
-
Start with the larger of two dough balls on a generously floured counter top and gently roll the dough ball into a circular shape using a flour dusted rolling pin. Roll dough to a large enough circle that it will easily cover a 9' pie pan with overlap.
-
You will then work to carefully fold the dough into a half circle and transfer it to your pie pan. Don't worry if your pie crust sticks, tears or cracks in areas, you can seam edges together when the pie crust is in the pan.
-
Next fill your pie crust with your prepped and seasoned apples.
-
Repeat crust rolling with the second ball of pie crust dough, rolling it large enough to cover the top of your pie pan.
-
After transferring top crust layer, seam the top and bottom pie crust layers together by gently pinching together with fingers. Any homemade pattern will do! I gently use my thumb and pointer finger to crimp dough along the edge.
-
Finish by trimming the excess dough from the perimeter edge of your pie plate, poke multiple vent holes along the top with a knife or fork, and generously dust with a a cinnamon sugar mixture.
-
Bake pie in a preheated 400 degree oven for 40-50 minutes.
Apple Pie Recipe Details
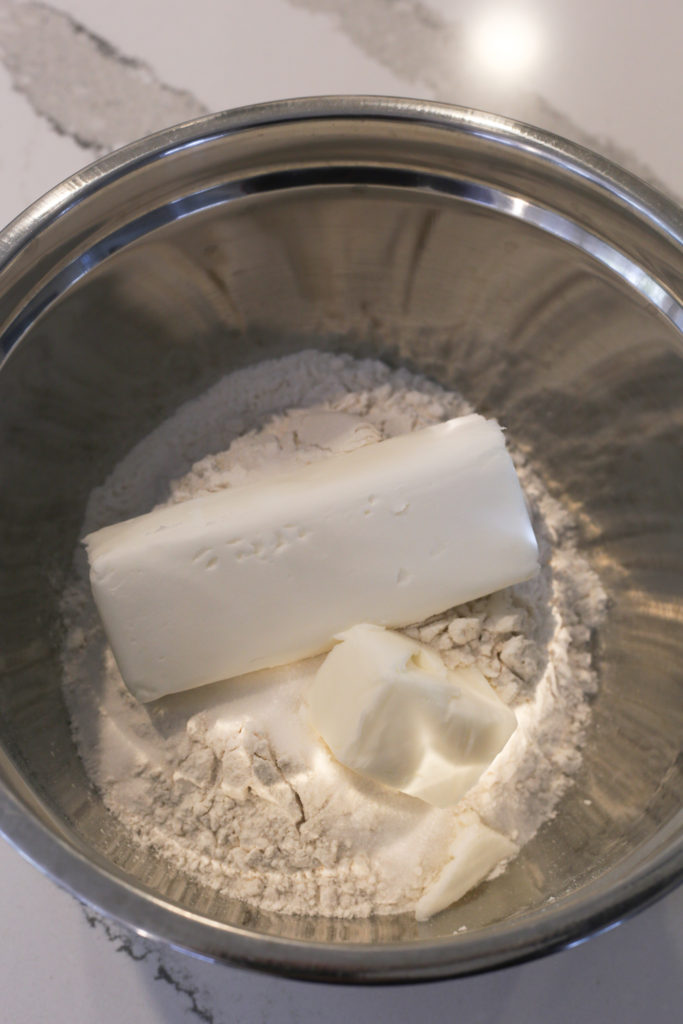
First you’ll start by making your crust.
Cut dry ingredients together until they are well incorporated and crumbly.
Some people use a pastry cutter for this, but I find that the back of a fork works well too!
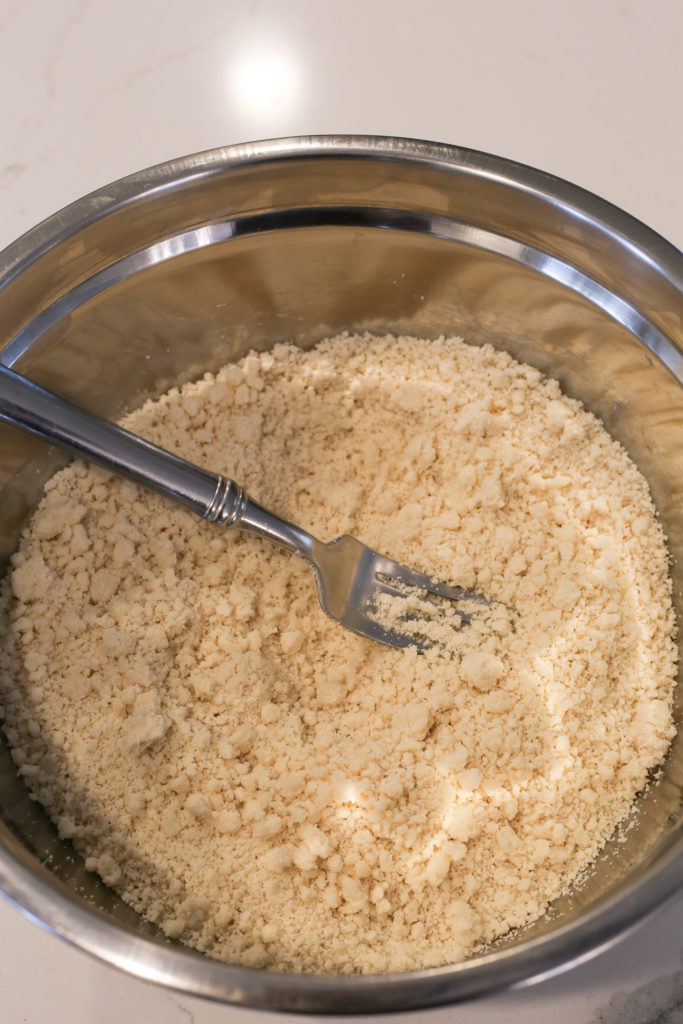
After your pie crust shortening looks like this, you’re ready to whisk up the wet ingredients!

Whisk your eggs, a tiny bit of vinegar and cold water together.
When wet ingredients are well combined, form a well in your dry ingredients and pour your egg mixture inside.
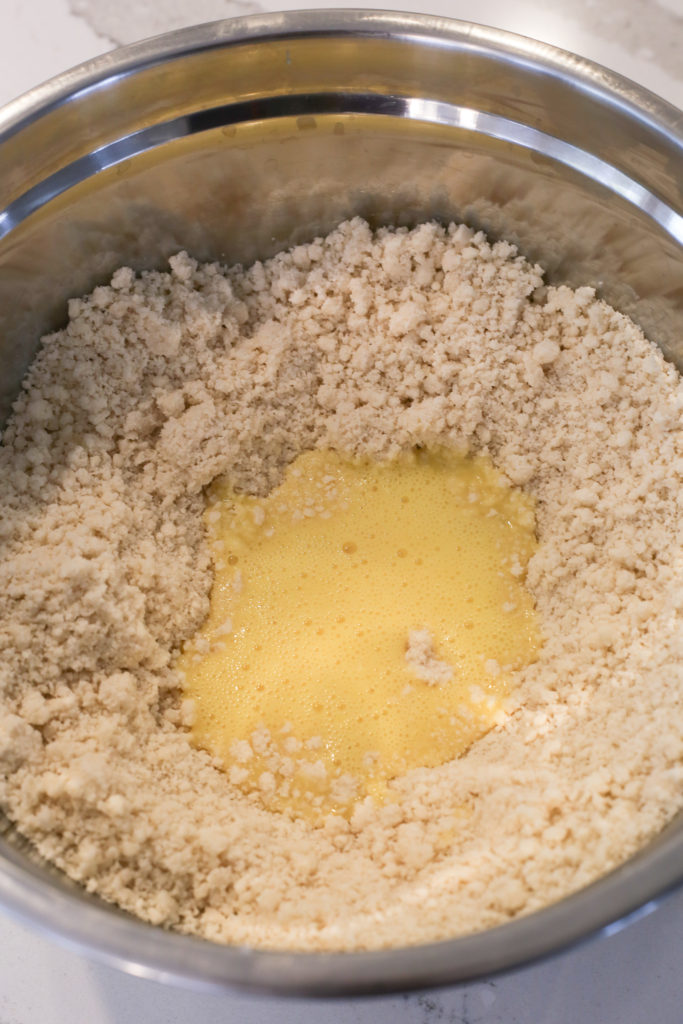
You will then gently combine the wet and dry ingredients together.
I like to use a spatula for this and gently fold them together until the dough ball comes together.
I finish by gently kneading the dough together by hand.
The less you mix, the lighter and flakier your pastry crust will be!
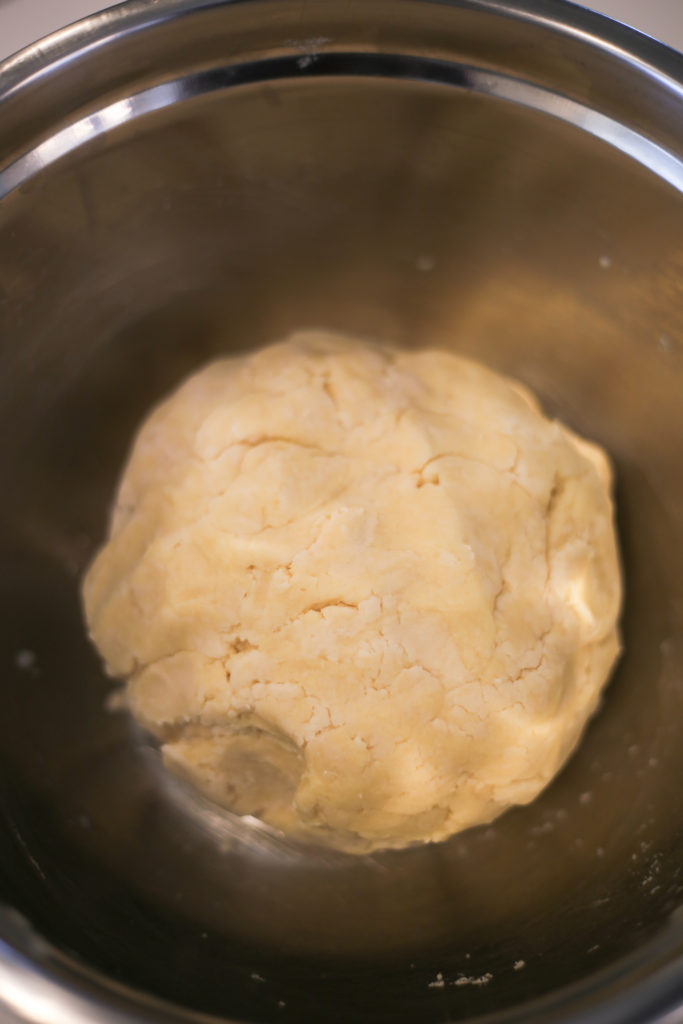
Once your dough ball is formed you will want to cover it, and transfer it to the fridge to chill.
For best results, let your dough chill for two to three hours before rolling it out.
The cooler it is, the less likely it is to stick to the counter top.
That being said, when I’m make pies I often do it in a couple phases.
I make the crust ahead of time and let it chill. Then, when I’m ready to bake the pie later, I have everything ready to go.
If you’re looking to do it all in one fail swoop, that’s fine too.
Just allow the dough at least 30 minutes to chill and use plenty of flour when rolling out the dough on your flat surface.
Homemade Apple Pie Filling Recipe
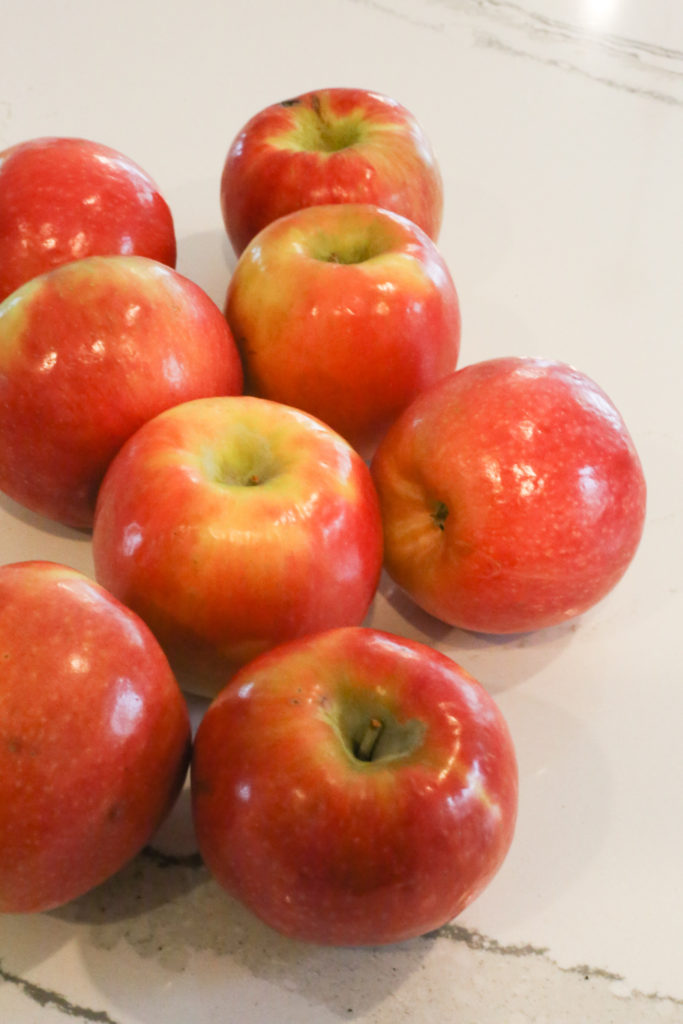
For a tangy and delicious apple pie, I like to use really tart apples.
Varieties like pink lady, Braeburn, or gala work well for this!
If you have sweeter or milder flavored apples on hand, simply add a little extra lemon juice.
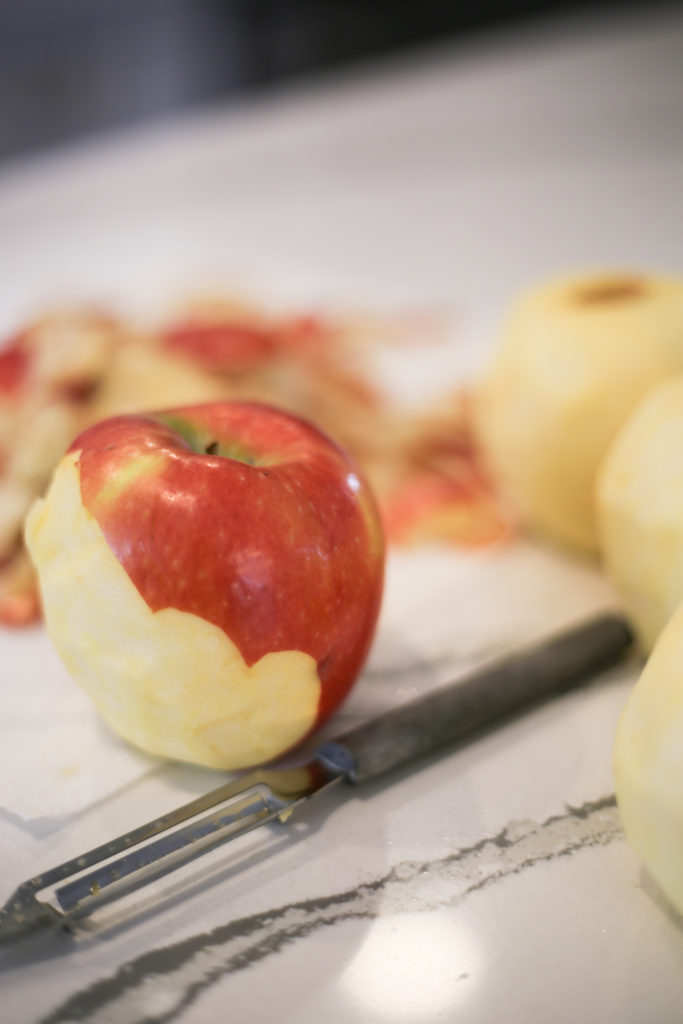
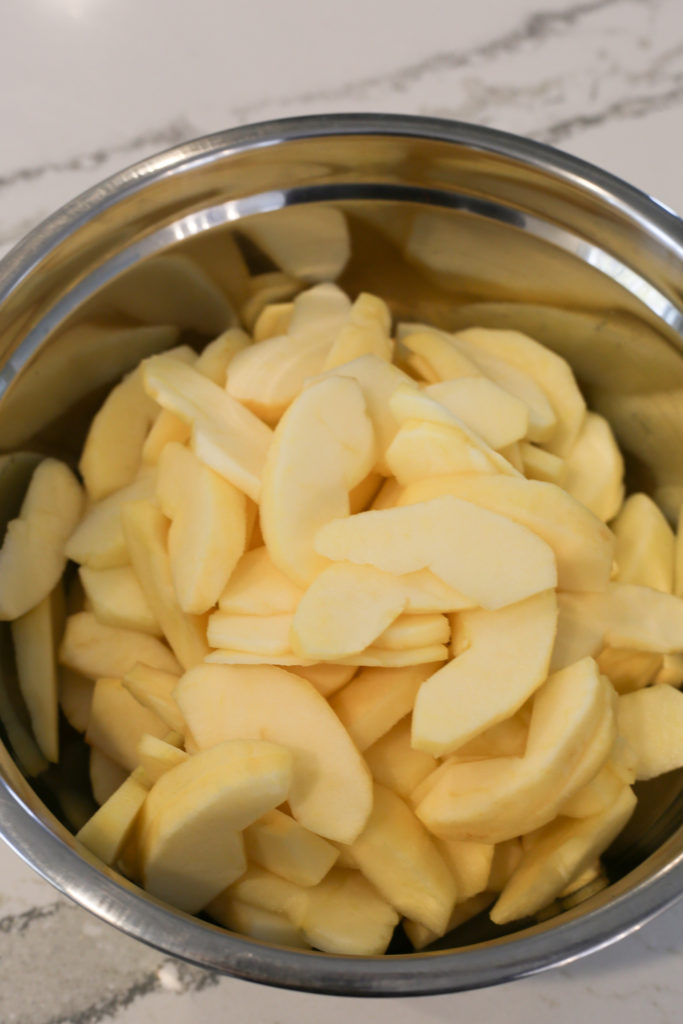
Next up will be prepping your apples. This is probably the most work of the entire apple pie process, but it’s completely worth it!
Start by peeling all of your apples, then you will cut and core them.
You can slice or dice your apples depending on what texture you prefer in your pie.
I like thin slices.
I do try to avoid cutting them too thick which can prevent them from getting tender during the baking process.
After your apples are prepped and ready to go you’ll season them with the rest of the filling ingredients.
Aaaaand, it’s ok to snack on a few! 😉

You will then toss the remaining sugar, flour, spices and lemon juice with your apples.
Fold all the ingredients together until everything is well combined.
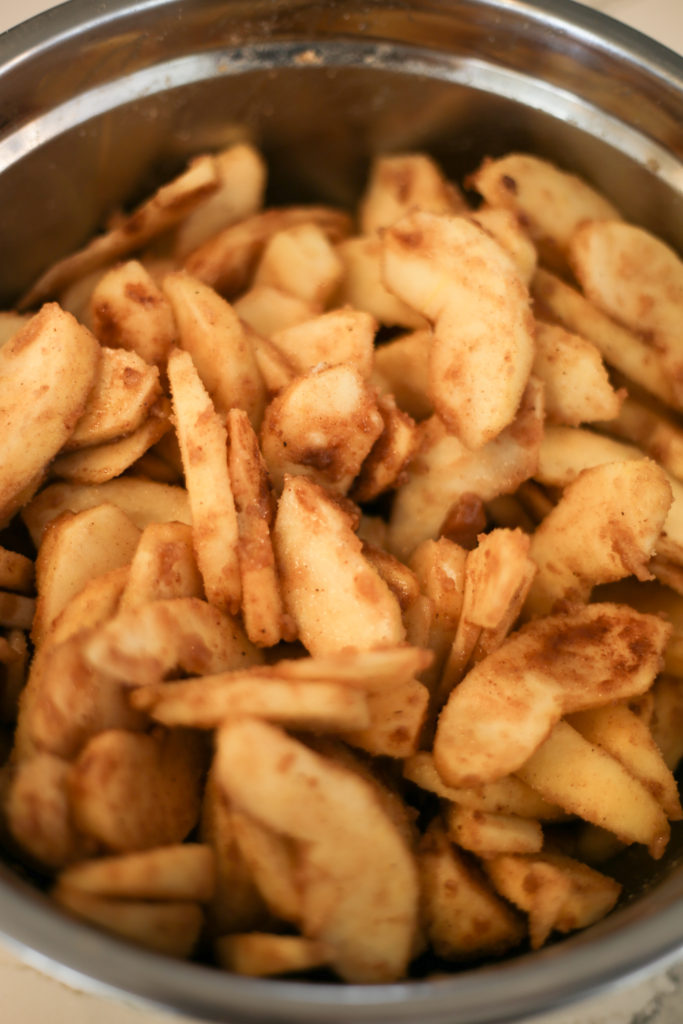
When you’re apples look like this, they are ready to become pie filling.
Get ready to grab your pie crust, which should be well chilled by now.

Cut the dough ball roughly in half, leaving one half slightly larger than other.
Sprinkle plenty of extra flour (1/4 c +) on the counter top, as well as dust your rolling pin with flour.
Gently roll your dough into a large circle.
I often adjust the shape by hand and smooth edges together with my hands in between bouts or rolling.
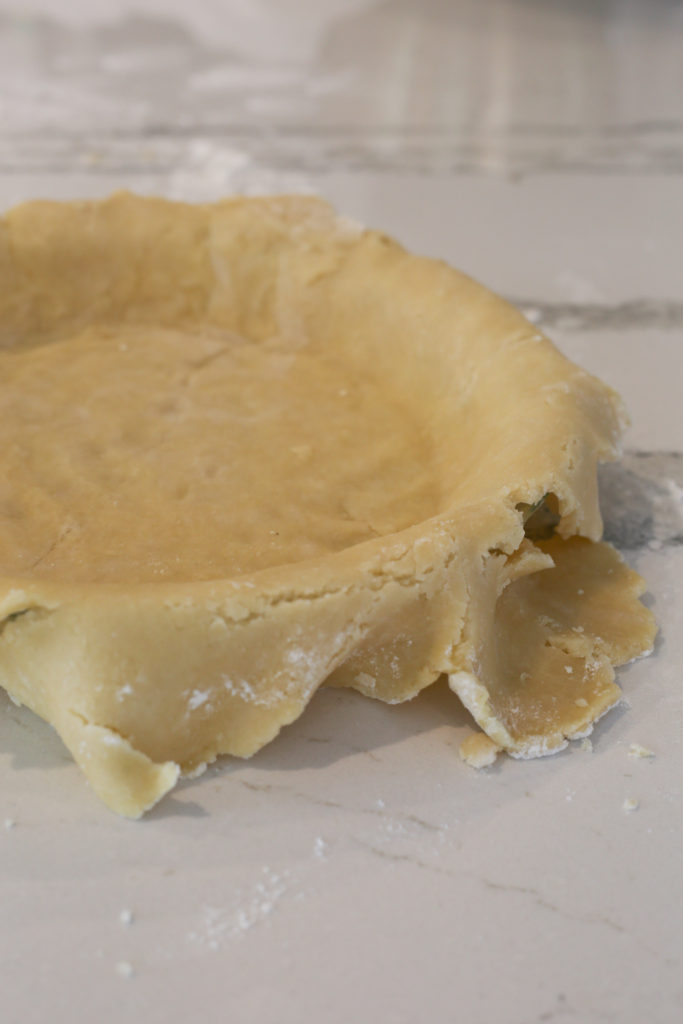
When your crust is large enough to generously cover your 9′ pie plate, you will carefully fold it in half and transfer it to your pie plate.
I rarely do this without a few cracks and tears haha.
But that’s fine! 🙂 This is a homemade pie remember?!? 😉
When I get the majority of the crust placed in the pan I simply press together and fix torn seams and edges.
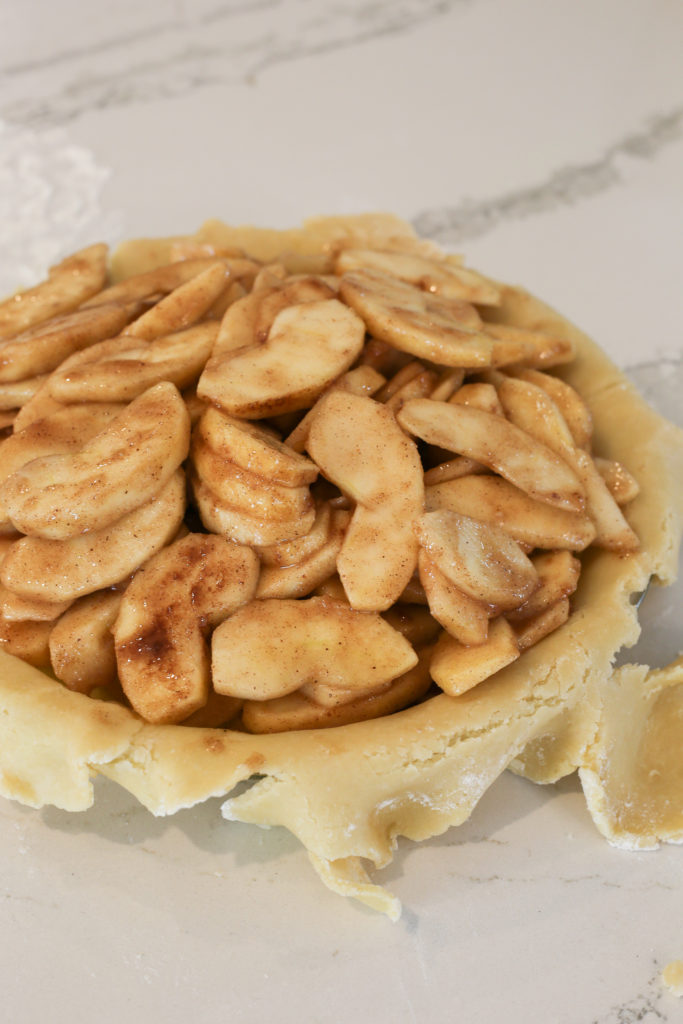
Next, you’ll fill your pie shell with your beautifully prepped cinnamon apples.
Repeat the rolling process for the top crust, and place on top of your apple filling.
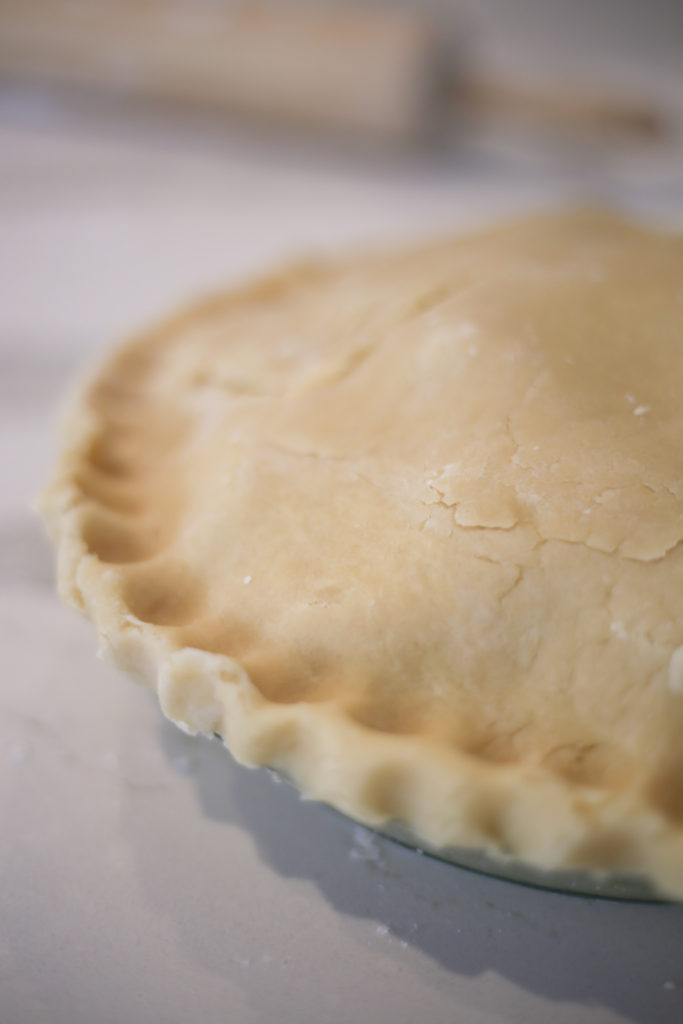
Next you’ll want to seam the bottom and top crust layers together.
To do this I gently use my finger tips to crimp them together. Any which way is completely fine.
But if you want to see how the pros do it, or check out a variety of ways you can finish a pie edge check out this video here.
Lastly, you’ll dust the top of your pie crust with a cinnamon and sugar blend.
Also use a fork or paring knife to cut vent holes through the top of your pie.
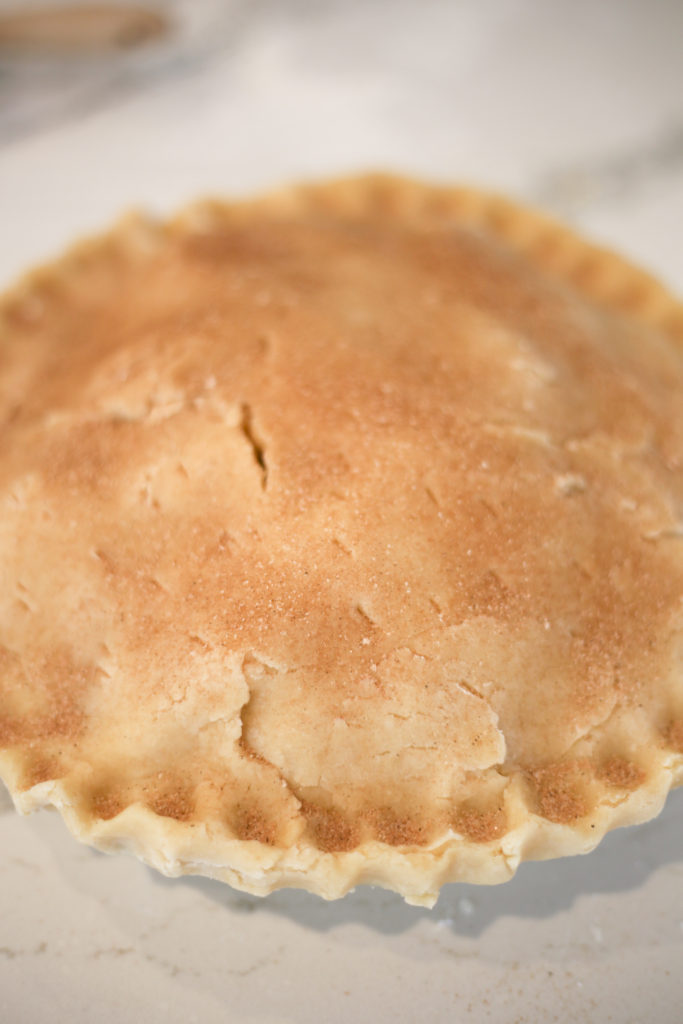
Now it’s ready to bake!
Pop into a preheated oven and enjoy the aroma.
If your pie is really full, you may want to place it on a baking sheet to prevent oven spills. 🙂

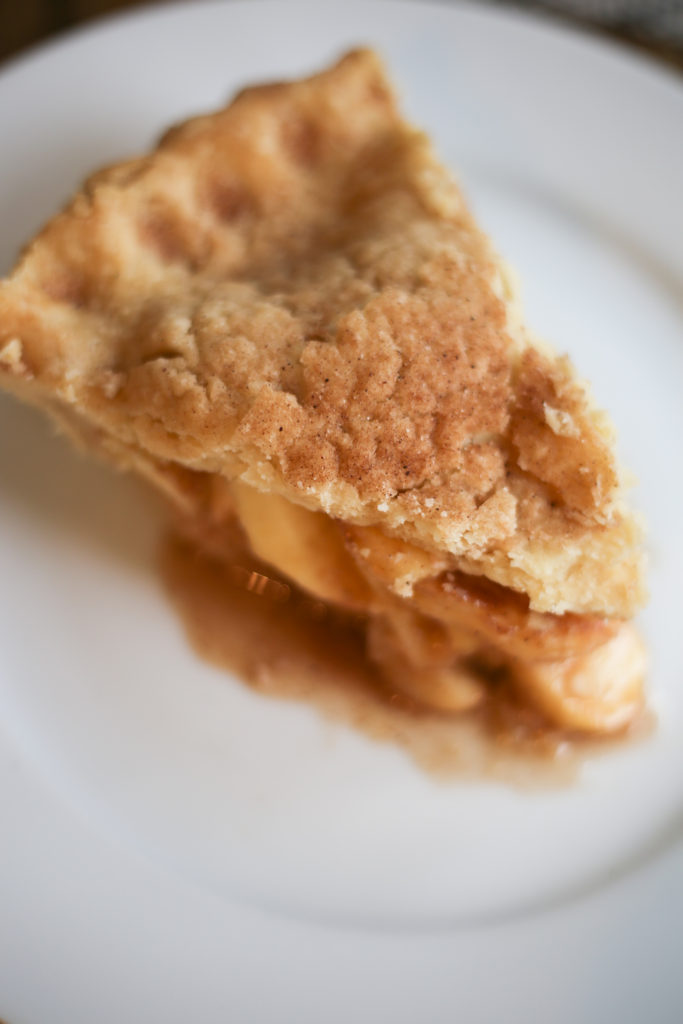
How pretty is this?!
Yummy!
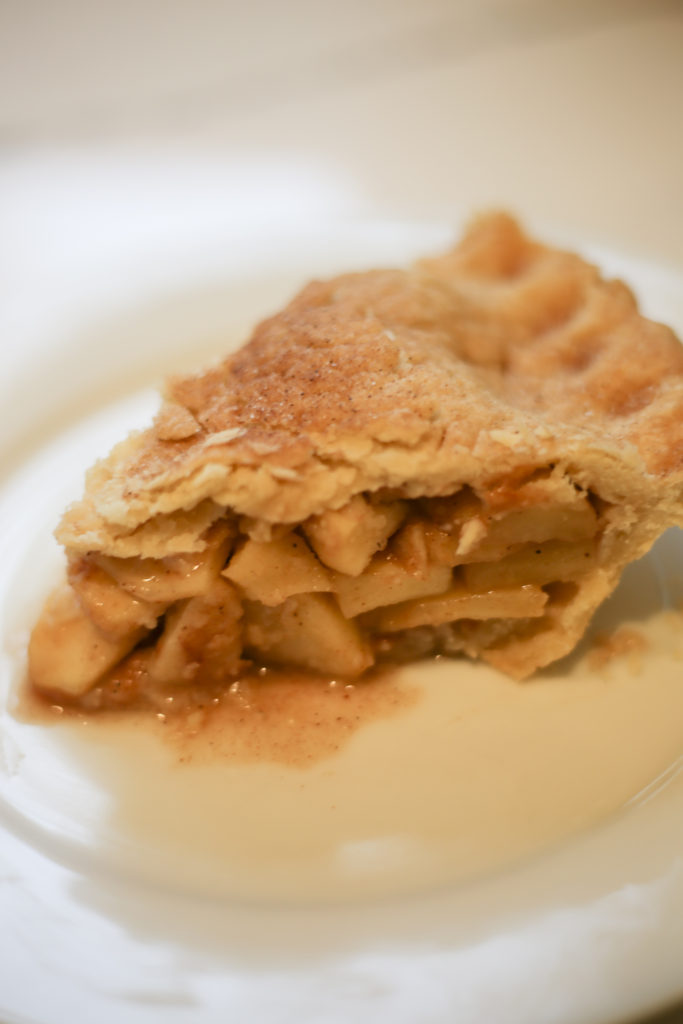
Lastly, it’s a complete necessity to serve this delicious pie next to a heaping scoop of really good vanilla ice cream.
This classic flavor combination is undeniably delicious, and you are getting them at their best in this homemade apple pie.
Happy apple pie baking!
Cheers for now my friends!